Monday, May 20, 2019

Clermont - Painting tracks

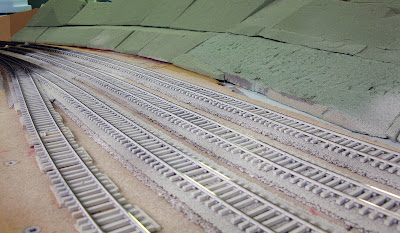
Painting track is far to be on top of my list, mainly due to the 3-step process I use. However, all the time invested in this step do pay off later on and it can be fixed later. Thus, it was time to move forward and paint all the shiny tracks in Clermont.


First, tracks are primed in white. To make sure primer will stick during the next step, it is let to dry and cure for about a week.


Then, ties are completely masked with 1/4" tape, leaving only the rails and tie plates visible. When done, a coat of Krylon camouflage brown is sprayed over and the tape removed.

Mask and ventilation required!

Unfortunately for us, it seems our tape was a little bit old and not that much sticky. In some areas, the tape lift and overspray happened. Also, some white primer on ties did lift up.


With a small brush and white paint, I touched up every annoying brown spots until I was satisfied.
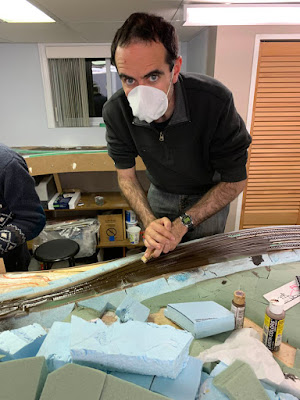
Jérôme cleaning up the track... A crucial step!

Jérôme, using MDF blocks and very fine grit sand paper cleaned and polished the rail heads. To make sure we didn't miss any spot, we took our most capricious locomotive - a Rapido 6-axle GMD-1 - and ran it over very piece of track at step 1. Quite slow is you ask me, but only a crawling engine can track every issue with trackwork.

Now, all this paint will be left to dry another week before we apply several oil paint washes to create a convincing weathered wood effect. This step is really worth all the efforts!


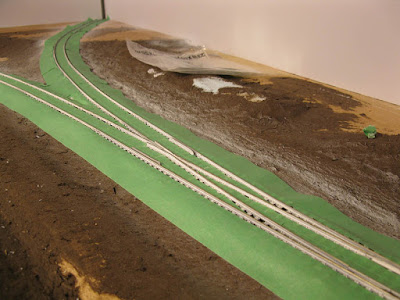
Meanwhile, Louis-Marie have been working hard on the topography. He did a terrific job and with minimal sanding, we now have realistic rolling hills and a nice set of streets. Still a lot of work ahead, but the most complicated areas are now done and ready for scenery.


Speaking of scenery, we started to fill all the gaps in scenery with mud (Celluclay + water + flat latex paint). Can't wait to ballast and add vegetation. I'm growing tired of seing plywood and foam. It's time to bring back some life to the layout!
Thursday, May 16, 2019

CN Woodchip Car - Live & Learn

Designing 3D printed product with a goal toward semi-commercial replication isn't something that can be done seamlessly. The learning curve is indeed steep and I had to master 3D modelling in a way I wasn't accustomed to.

Modelling 3D architecture is one thing, but creating solids that will print correctly is another thing. When I ventured into this project, I certainly didn't know the subtle differences between both type of 3D models. In my mind, 3D was 3D. But STL files and 3D printer were quick to teach me otherwise.


It’s not my goal to detail all the problems I encounter, but it was a good occasion to learn about my own ignorance on the subject. I also came to appreciate how 3D modelling isn’t that different from scratchbuilding. Basically, it’s the same process of looking at something, trying to figure out how it is made and then proceeding to create complex assemblies using basic shapes.

Another pitfall for a while was my use of SketchUp. This free software is well-known for its ease of use, but we dealing with solids, it can be tricky. I quickly found out it wasn’t wise to draw to HO scale. The software has a hard time dealing with very small complex shapes. Thus, it is required to work on a larger scale (let’s say 10 times 1:87) to ensure a trouble free experience. I also had to learn using software extensions that made some process easier.

Had I known all that from the start, my life you have been easier and I suspect design time would have been decreased by a fact 4. But you’ve got to start somewhere anyway and I feel this project was simple enough to be tackled yet providing substantial challenges to improve my skills.

With that said, I hope to get some printed parts in my hand by the end of May as promised.