 |
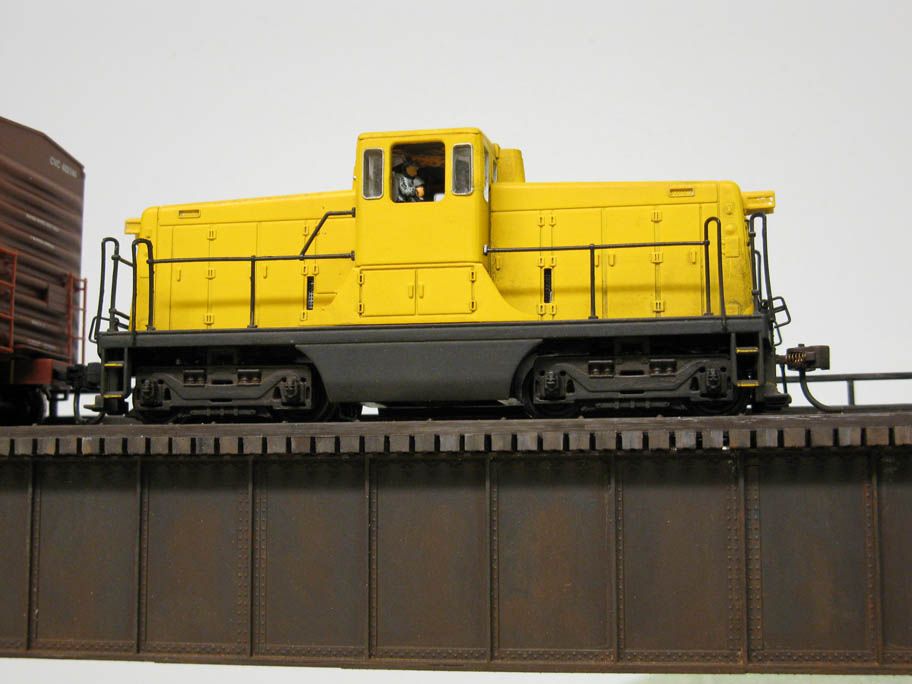
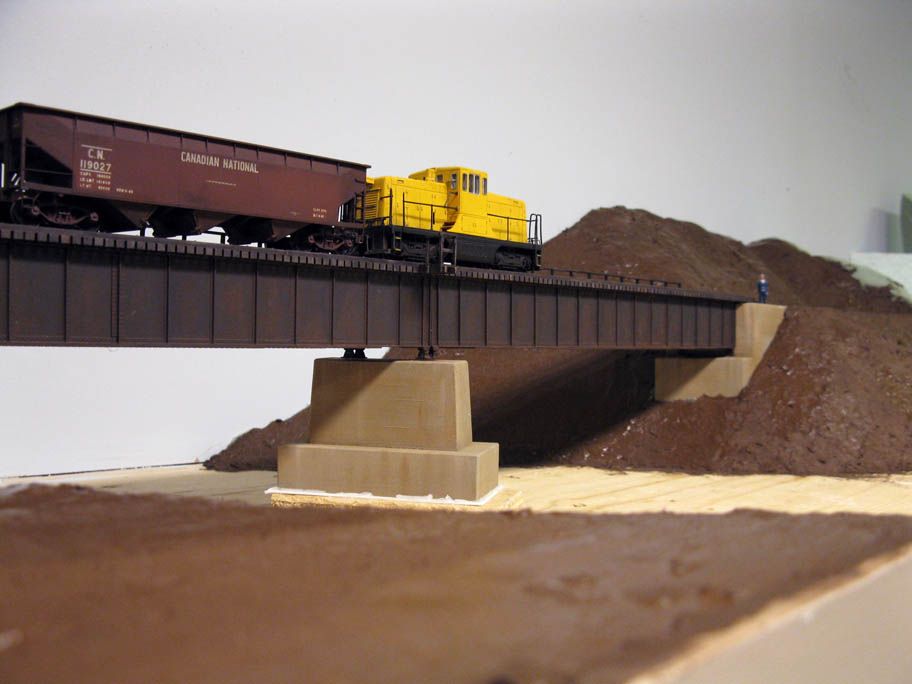
| Donohue's GE 44-ton switcher over River Malbaie Bridge |
Yesterday was probably one of the most efficient day working on the layout since a very long time. It's been 2 years - at least - since we last worked on scenery at a large scale. I think results talk by themselves.
 |
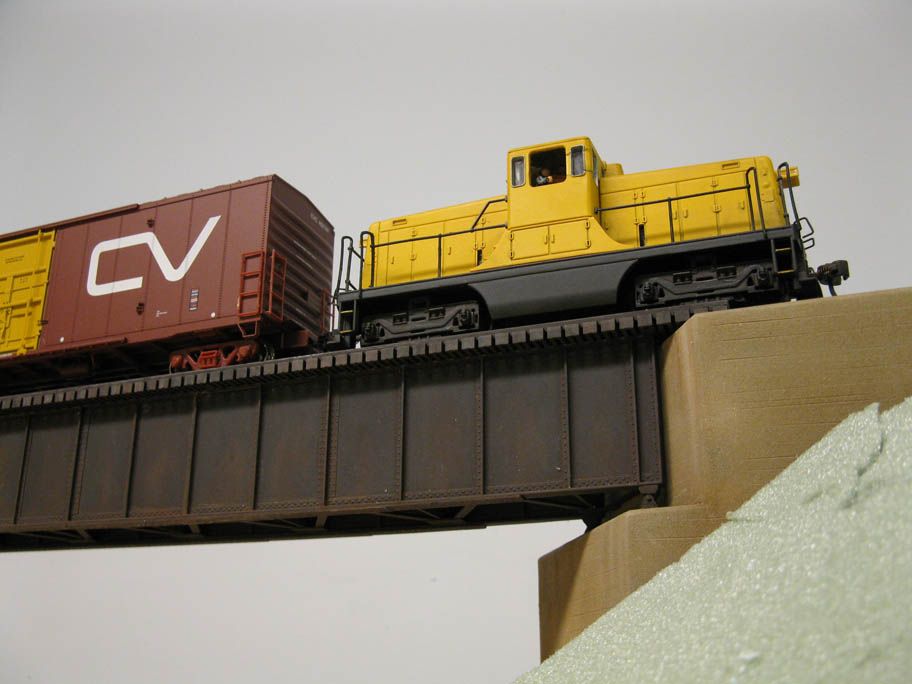
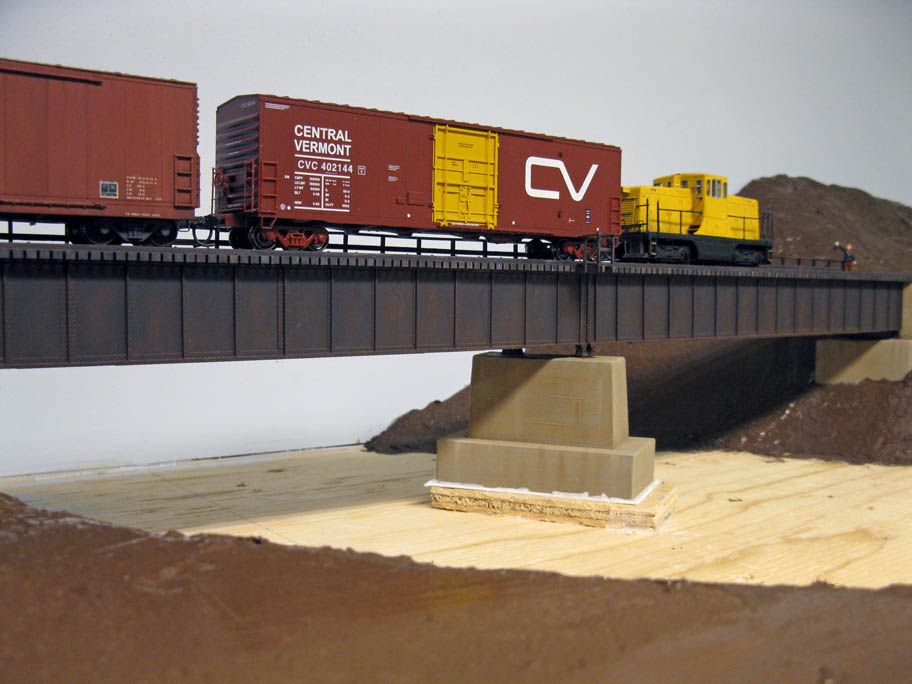
| The switcher pulling a string of newsprint boxcars |
First of all, the new GE 44-tonner made sensation among club members. Definitely agreat looking engine fitting perfectly its industrial environment.
 |
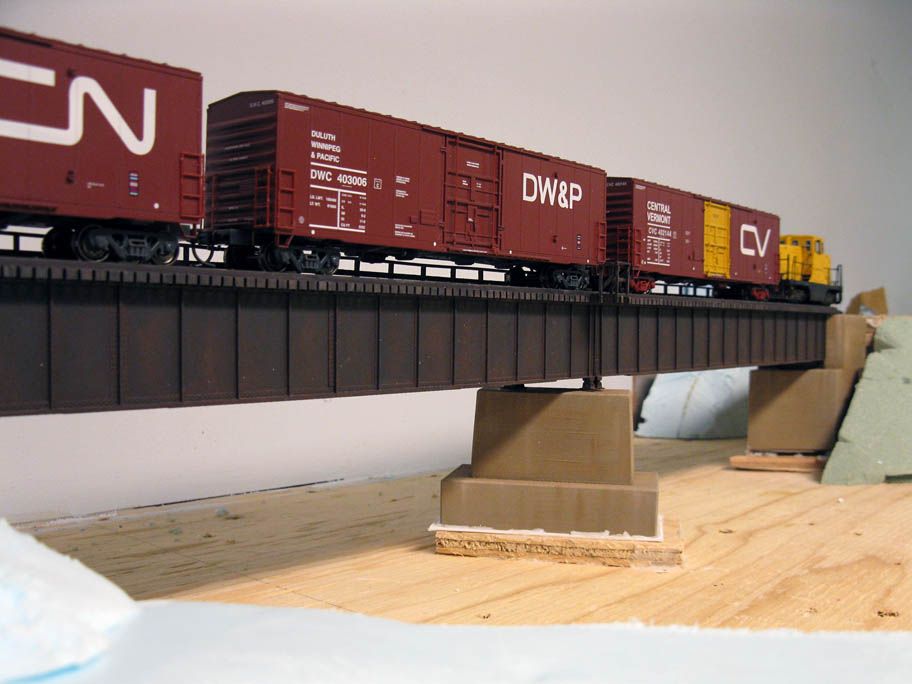
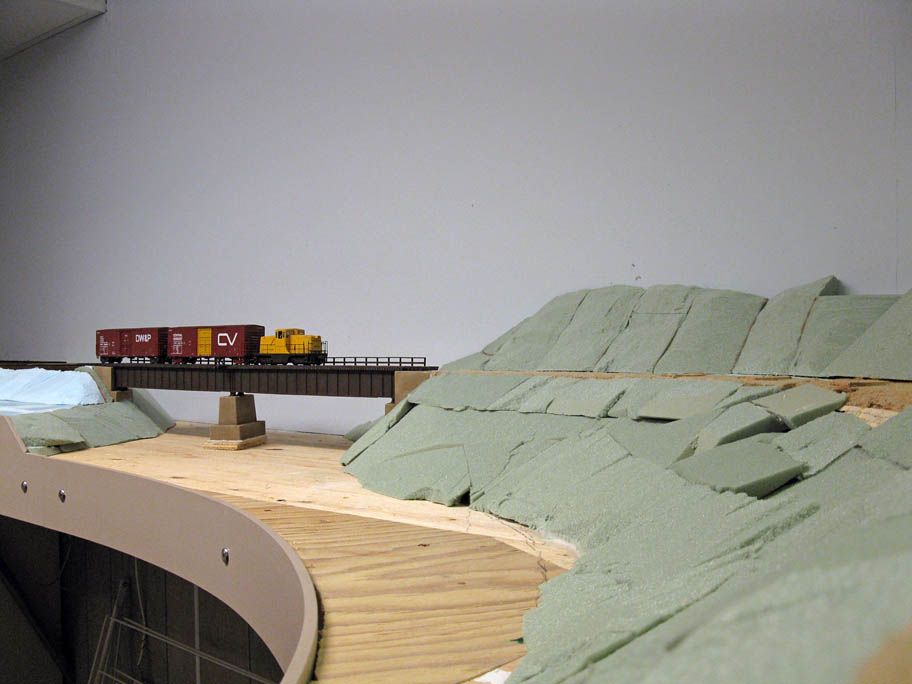
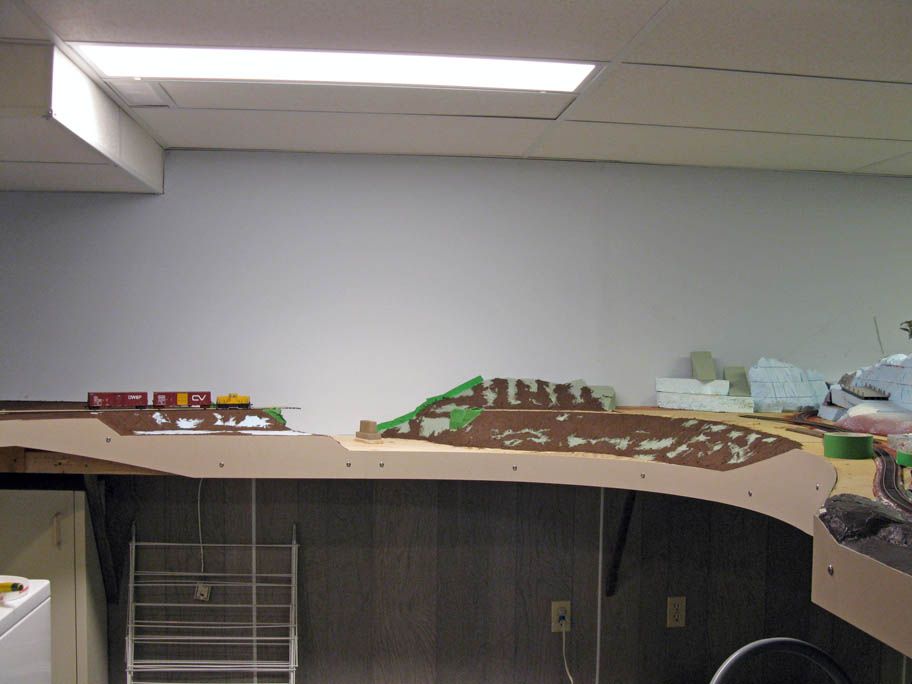
| An overview of landscaping before mudding process |
Secondly, we completed the terraforming behind the track at River Malbaie bridge. Base layers are invisible and made of polyisocyanurate foam scraps. These are covered with more expensive florist foam where trees and others scenic elements will be planted.
 |
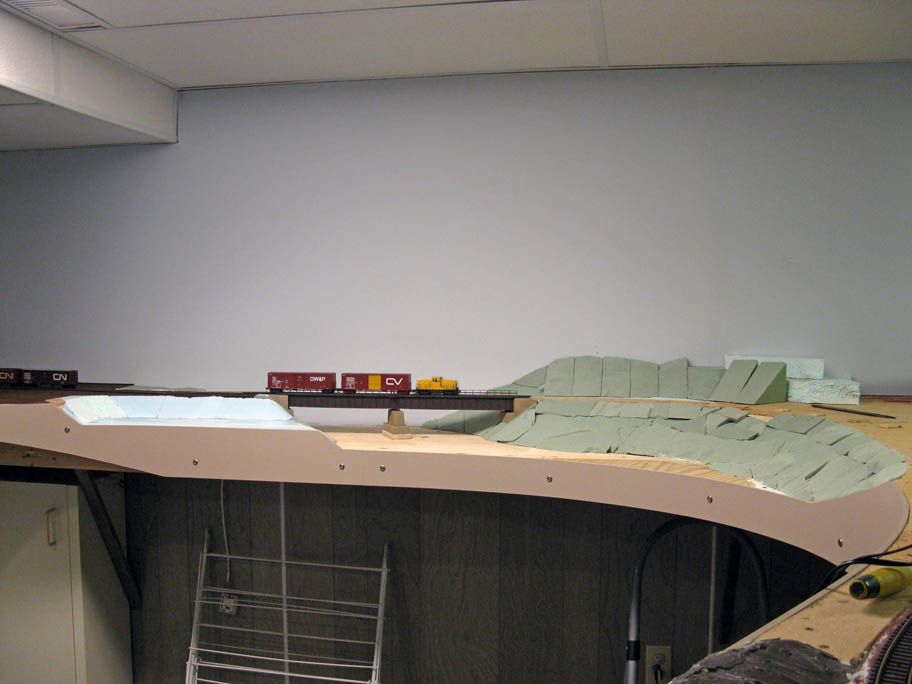
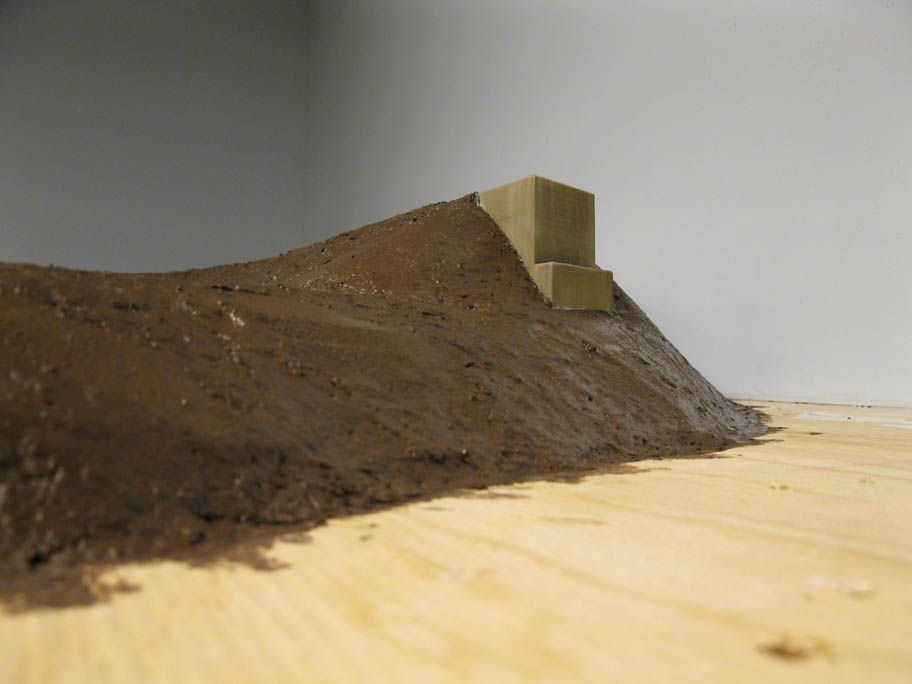
| The bridge is dwarfed by the scenery |
I gave a particular attention to land surrounding the abutments to be the more prototypical as I could be. The real bridge's abutments are heavily embedded into the embankment.
 |
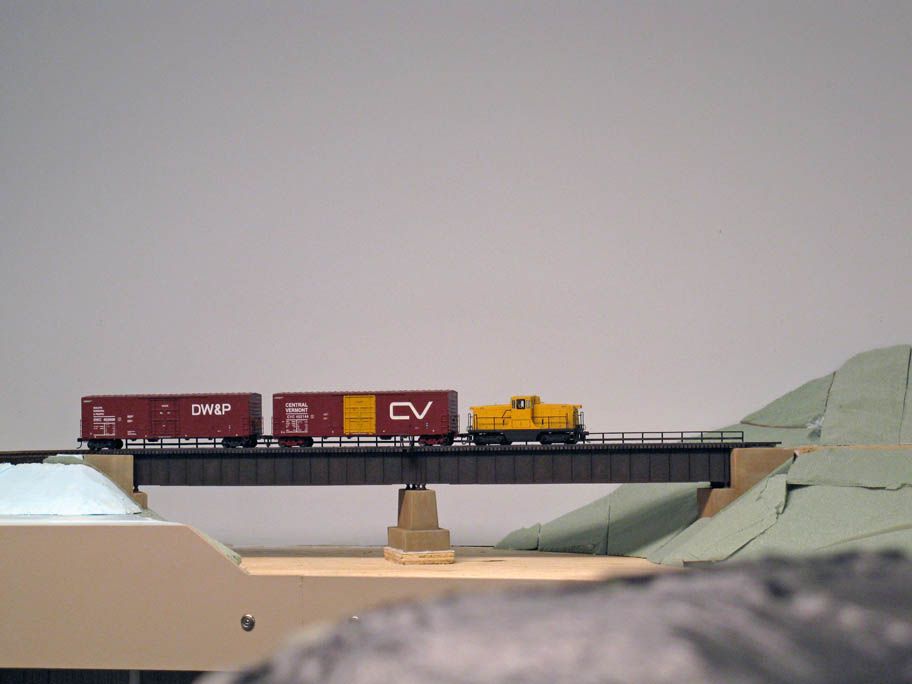
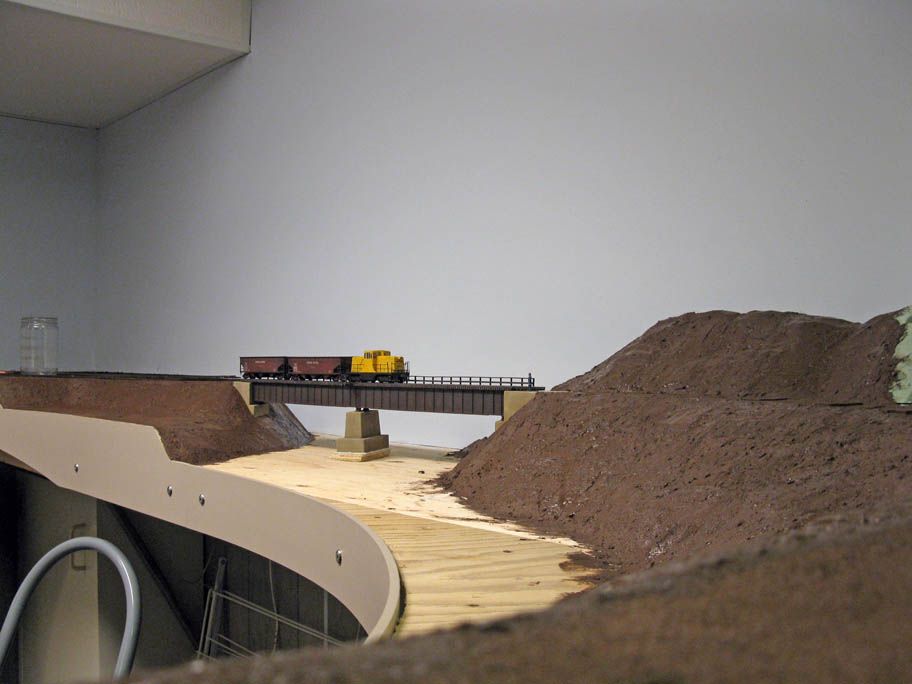
| A dramatic shot from the riverbed |
Land beyond the track left to the bridge is relatively flat and will be planted with younger trees.
 |
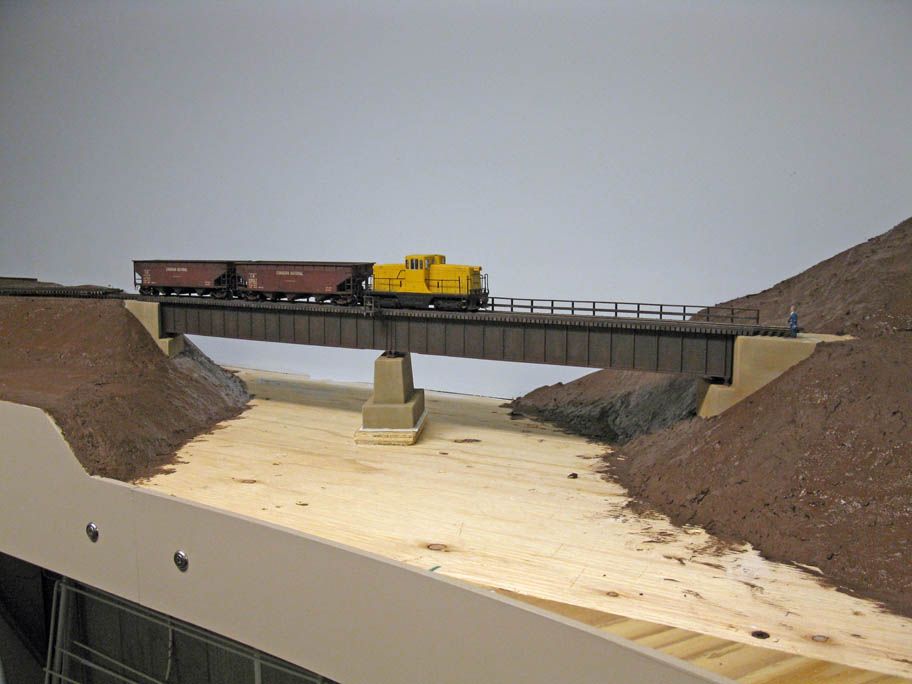
| Left bank: Abutments and the employes' parking lot |
The hill behind the rigth part is low rising. I didn't venture farther left because, at this point, I have no idea how the scenery will blend itself with the rest of the layout. Anyway, I ran out of florist foam at this point.
 |
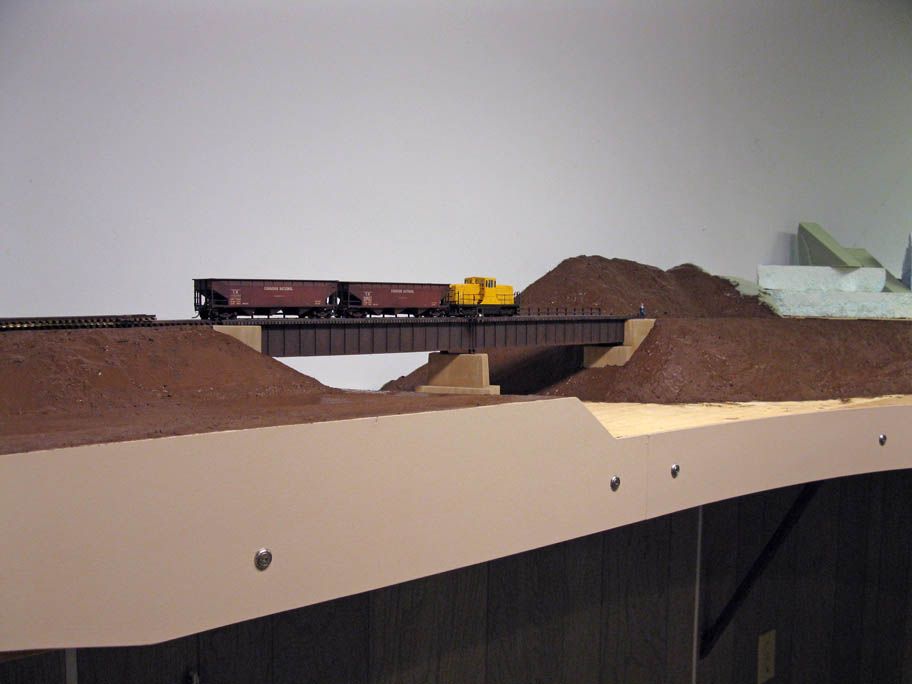
| Right bank: Abutment and rising grounds |
To speed up gluing process, I abandoned No More Nail glue for hot glue. It really made a difference and assemblies were stronger. It's been years since I used a hot glue. I had bad memories of it from my architecture school days! Too many nasty burns during mindless all nighters. I'm quite happy I didn't had to put to many of them to complete my projects!
 |
| General view of River Malbaie from unmodelled Clermont road bridge |
When the scenery base was completed, Louis-Marie prepared a few batches of Universal Mud - a custom mix of flat latex paint and papier-mâché - following Mike Confalone's recipe. The mix is really easy to use and to prepare. A real pleasure to work with this material because it is forgiving and can build up places where you messed us. It is a more sculptural approach to land forming than hardshell or cardboard strips. I'm not a fan of these methods personally.
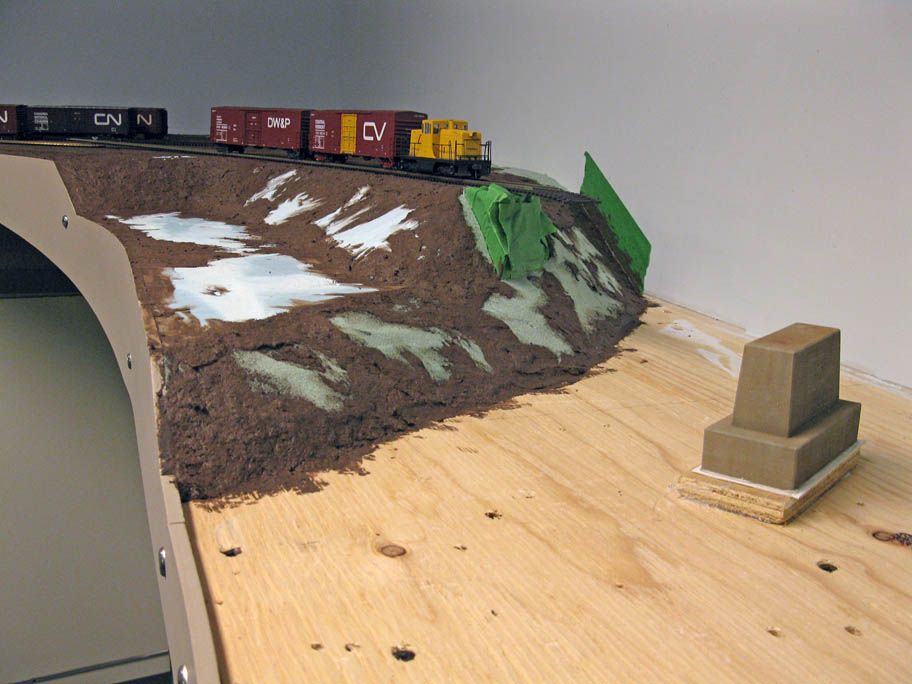 |
| Right bank after mudding process |
The right bank needed a lot of mud to repair the numerous mistakes we did while building the with foam. The background hill and the left bank were done with more care and thus required less material to get a good-looking and realistic shape. Netherless, the final rugged aspect of the right embankment makes a particularly convincing landfill.
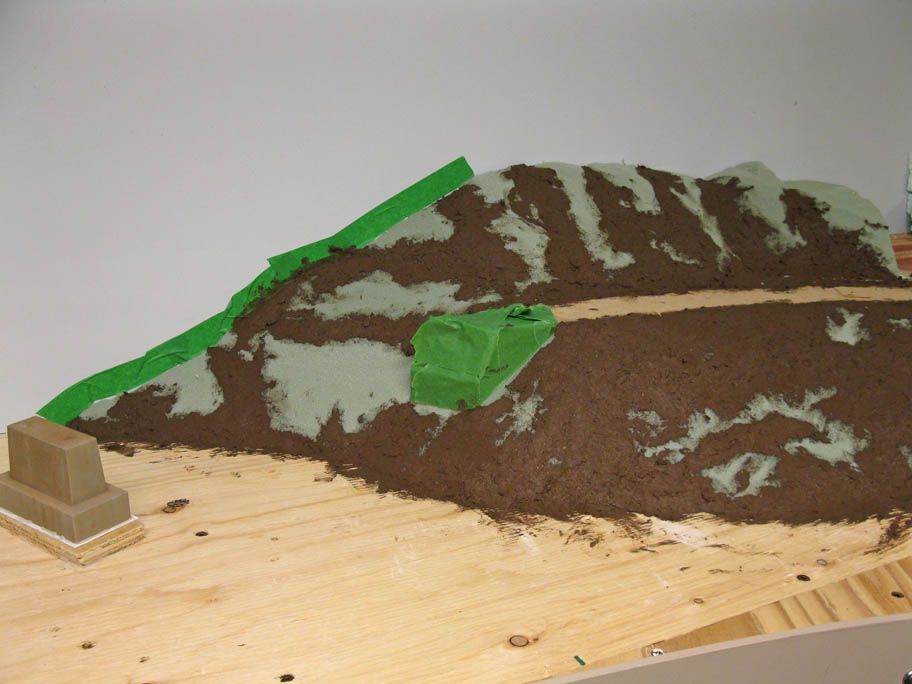 |
| Left bank after mudding process. |
I had quite a laugh while reading "Ideal for sidings" on the can of paint! Who thought latex paint for home improvement was "officially" suited for model railroading purpose!
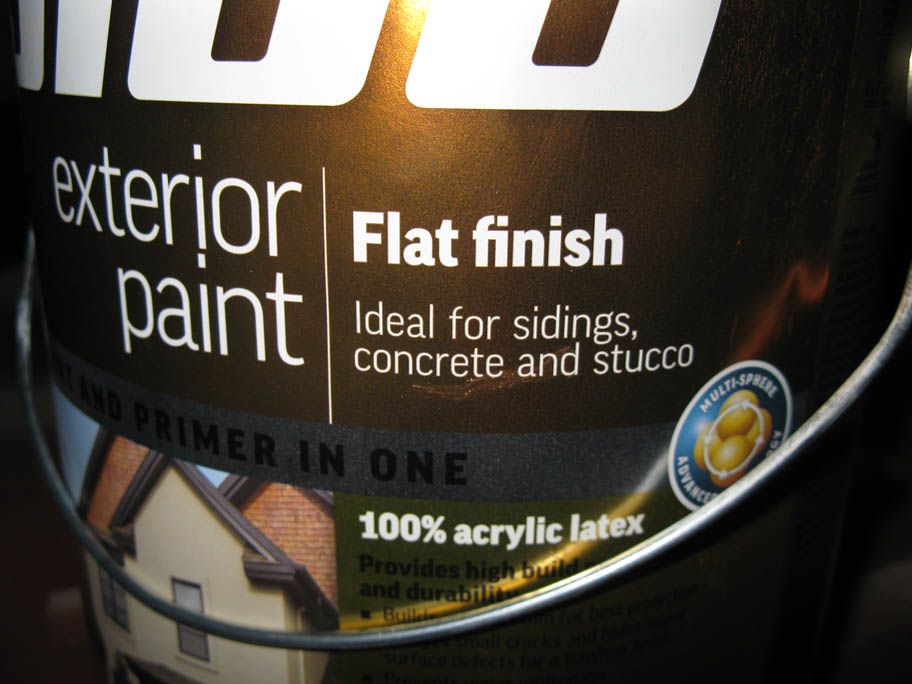 |
| "Ideal for sidings" |
The mudding process was quite straightforward and it took about 1 hour to complete the scene. Concrete abutments and backdrop where protected with masking tape and fascia was cleaned as I messed it up a few times while working on the layout edge.
 |
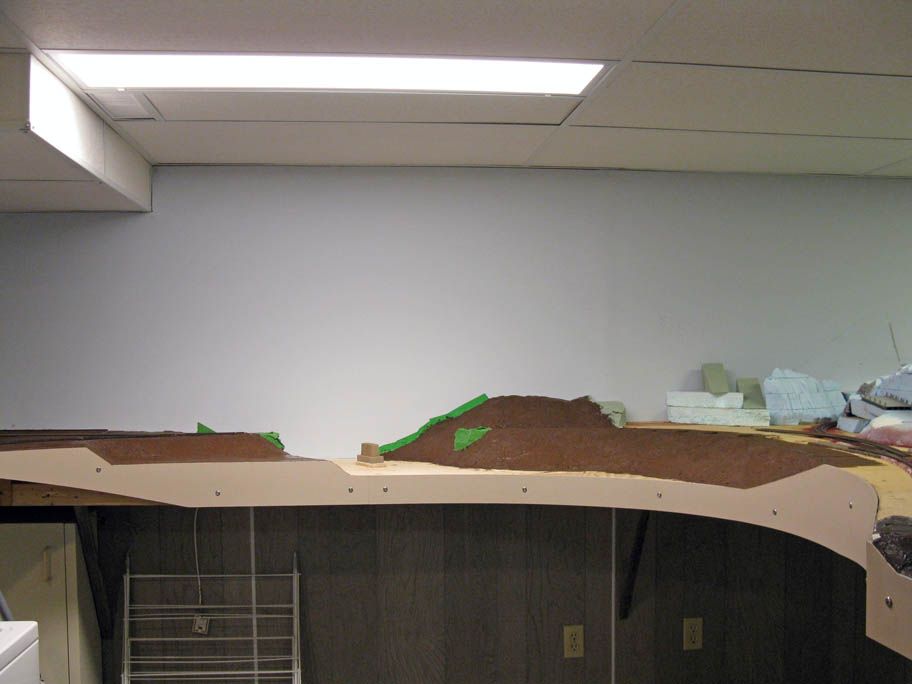
| A general view after mudding process was completed |
So far, so good. Universal mud is excellent to give a realistic generic ground. Nothing looks more similar that a layer of dark soil or humus.
Good friend Mathieu Gosselin - a real life railroader from a dynasty of railroaders - visited us during the evening and kindly prepared an excellent supper. The season's berries shortcake was particularly tasty! I should have taken a picture of it!
After eating and chatting for a while, I came back to the layout and painted all the visible foam areas to blend everything together before the next work session.
 |
| The scene completely painted |
I'm particularly impressed how the abutments really sinked into the scnery just like the real ones.
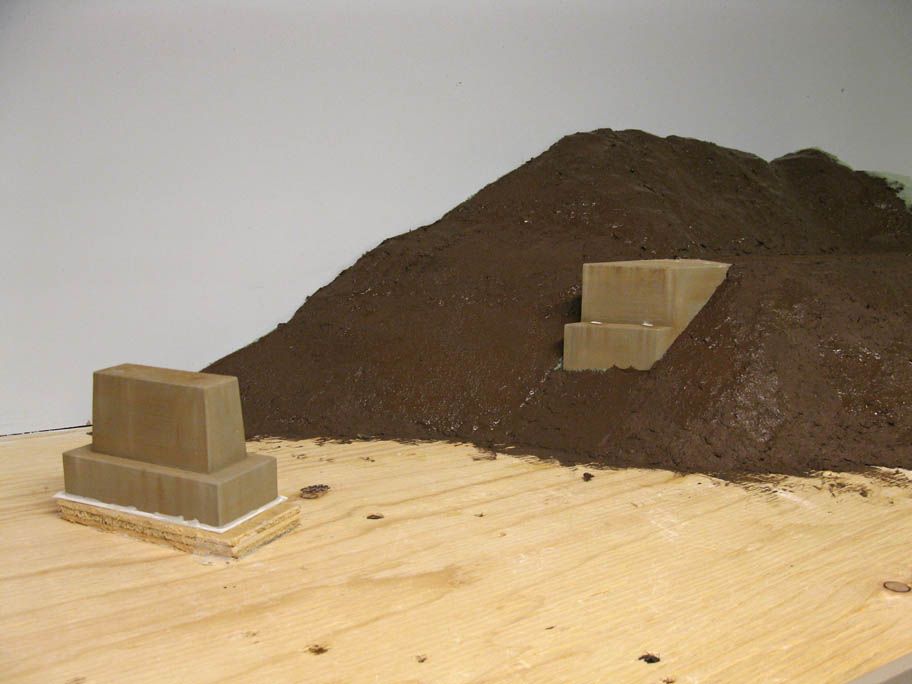 |
| Right abument embedded for good in scenery |
 |
| Right abutment almost buried, just like the prototype. |
It was also the occasion to remove the masking tape and reinstall the bridge in place, running a short train over the bridge. No need to tell this part of the layout is probably the most picturesque of all.
 |
| Masking tape removed and bridge installed |
Even Donald Thompson - founder of Orford Express and an avid model railroad collector - was present for the inauguration! This little figure was modified and painted years ago to represent Donald, his long gray hair and conductor attire.
 |
| Donald Thompson approving the new bridge |
Next step is to start modelling the riverbed. It will be a first for us and I hope it will turn at least OK. I think I'm gonna take a look again at Mike Cawdrey excellent modelling efforts.
 |
| The bridge seen from afar |
 |
| The bridge from seen from the right |
 |
| The bridge seen from the left |
 |
| A close up shot with Donald waiting on the left side |
It was also an excellent occasion to retake the 1978 shot.
 |
| Time to model the river |
The big problem now is that we didn't set the season. Spring, Early Summer and late Autumn are possibilities.
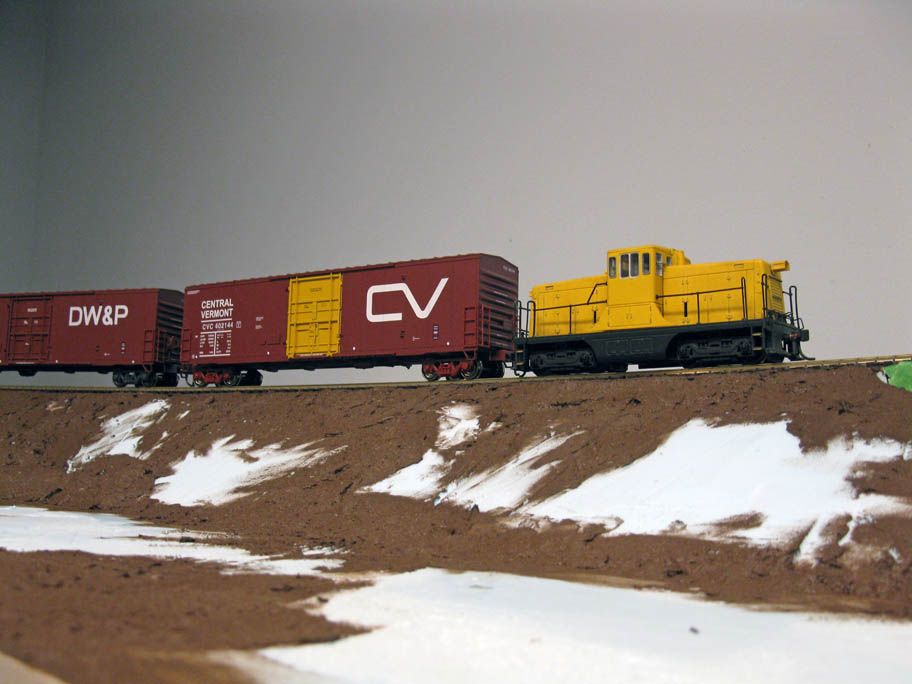 |
| Doesn't it look good with melting snow? |
It's hard to tell, but this picture shows us an Early Spring setup with patches of melting snow would look great! This season is also coherent with Massey F. Jones' pictures from the late 70s. Stay tuned!
No comments:
Post a Comment