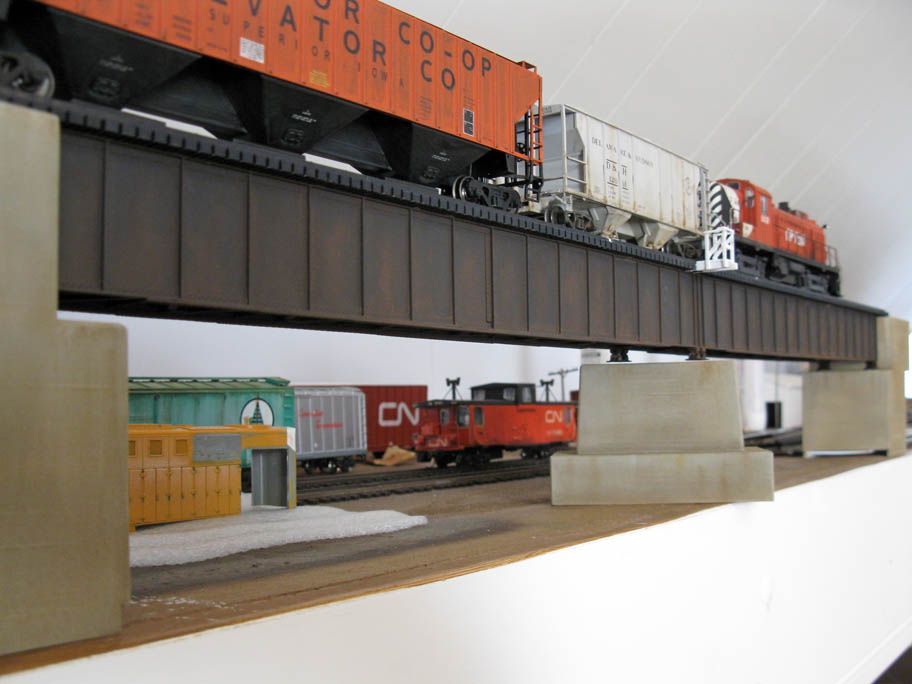
Abutments were sprayed with a custom mix of Tamiya (white + black + red + yellow) then weathered. I'm particularly satisfied with Gordon Gravett's technic of talcum over gloss paint .It really gave a realistic concrete texture that had enough tooth to receive weathering.
The bridge itself was painted using cosmestic sponge and artistic acrylic paint. Black, brown and rust colors were used and applied in several coat to mimick a rusted steel girder and its peeling paint.
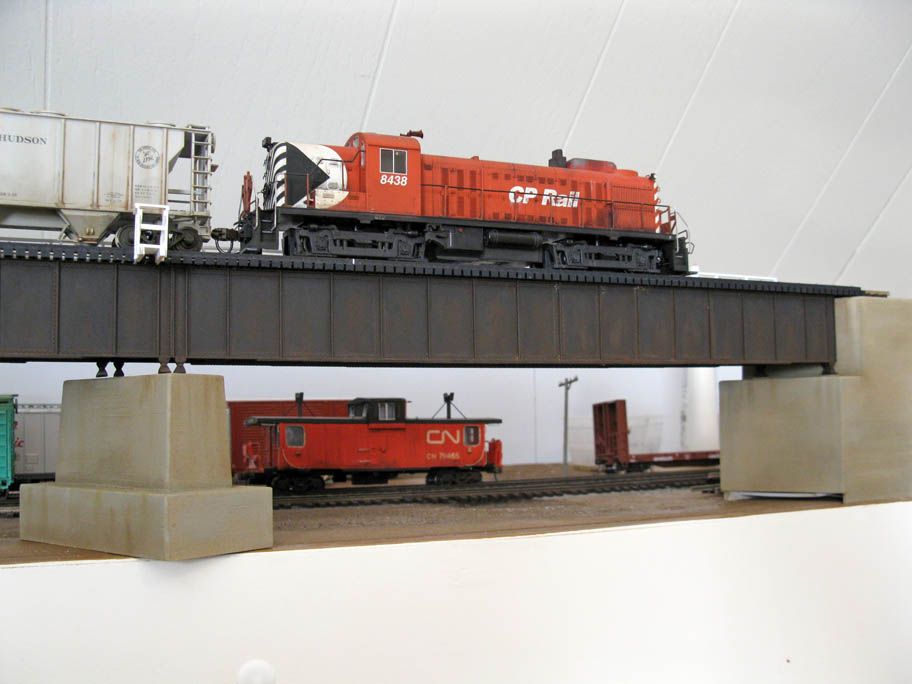
When everything was dry, I generously weathered part with several washes of oil paint. So far, so good. The next step will be to use pastel chalk and complete the work. However, that will be done when the bridge will be permanently installed on the layout to make sure everything is blending together.
Next step? Glue the guardrails, paint the deck and weather the remaining parts.
That's looking great, Matthieu - and your mention of Gordon Gravett reminded me of this technique, which is exactly what I need for a future bridge project of my own.
ReplyDeleteI look forward to following your progress with this scene.
Cheers!
- Trevor (Port Rowan in 1:64)
Thanks Trevor, Gordon's technique is extremely versatile. It would probably make neat concrete foundations on various buildings and station piers.
ReplyDeleteThe result is almost as good as if abutments were cast in plaster or hydrocal, without the mess. I also used a ruler to "scrib" lines on the fresh paint to represent wood plank texture.
I hope to install the bridge on the layout this afternoon and start making the riverbed and landforming over next week (yeah, I'm optimistic). Time to model my first ever river.