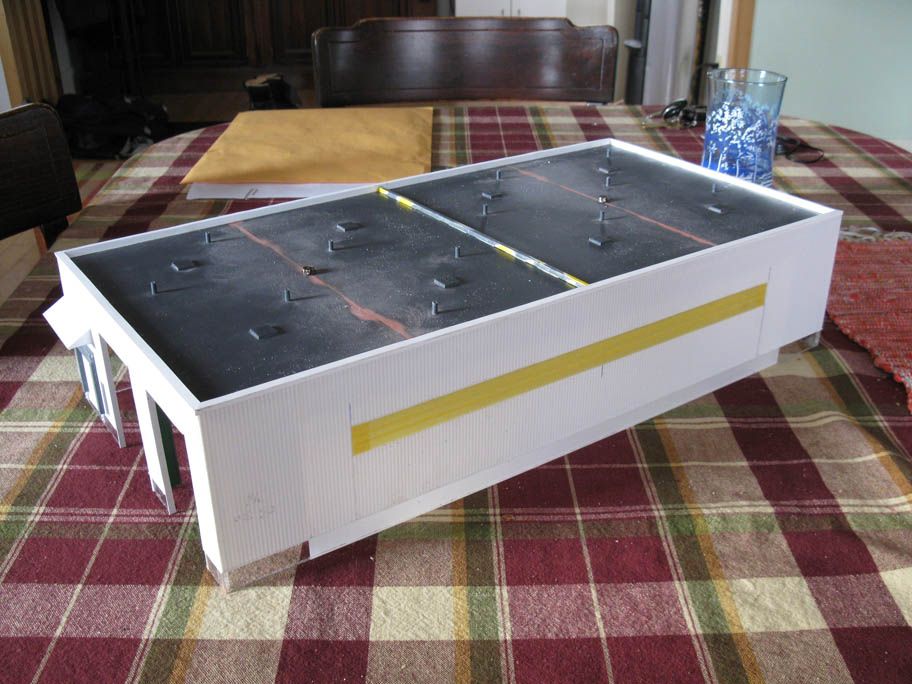
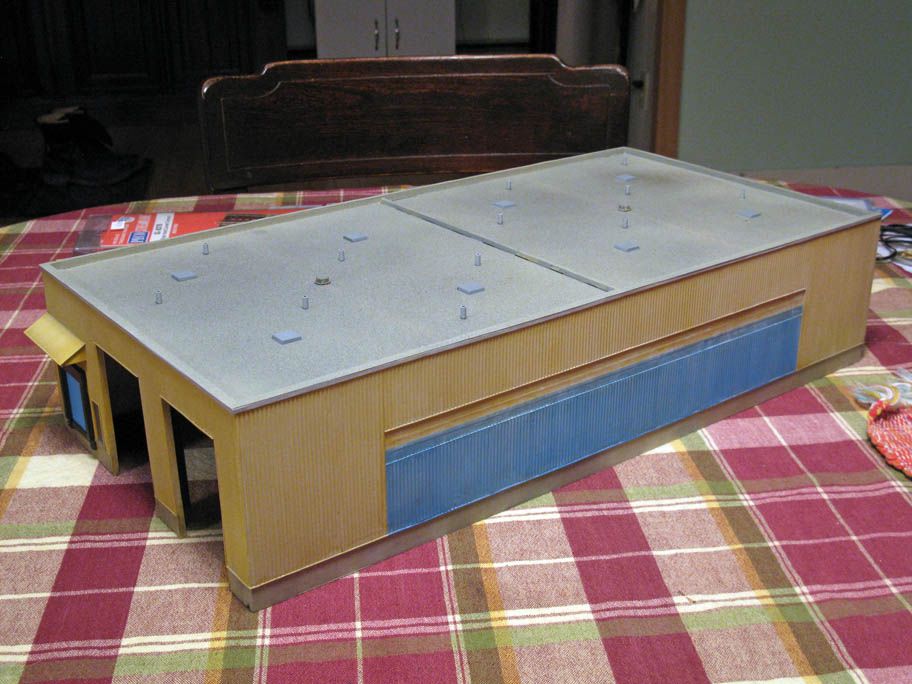
Little putty was needed to fill the roof joints. The separator between both roof basins was done with a Warhammer 40 000 sprue taken from a friend's bin.
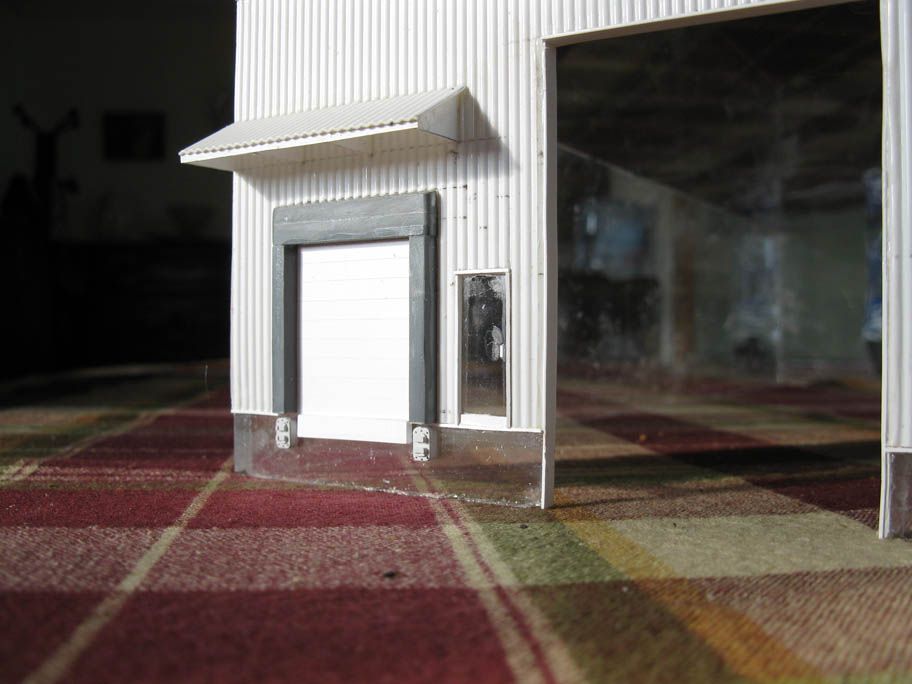
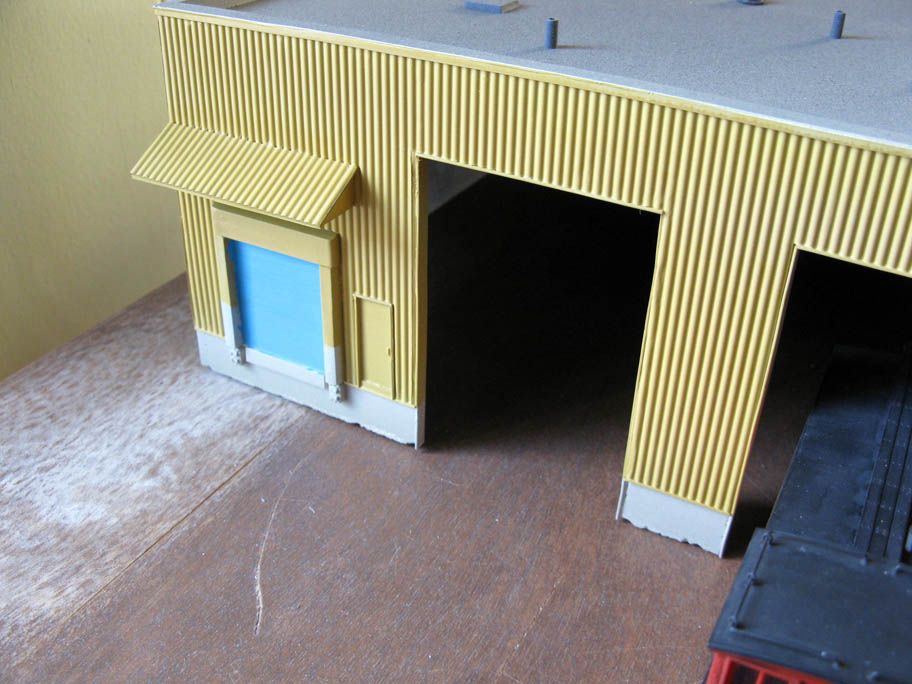
I also tried to stay true to prototype on small details like the canopy over the truck's door. An movable loading dock was suggested using a strip of styrene. Two Intermountain's detail parts from an old hopper project were used to suggest bumpers. The door "diaphragm" was also made using the Warhamme sprues spliced together and glued on the building. I also took extra care to add fascia and other flashings over doors, at the bottom of the walls and anywhere they could be found on the prototype. Being an architect, I can't omit these because I'll see it like the nose inthe middle of the face. Call it professional deformation, but I try to be coherent with structural details when kitbashing and scratchbuilding.
I started by painting the roof. I used 3 different spray paint colors including grey primer, camouflage brown and camouflage beige. Recently, I found out you could get a realistic gravel look by spraying different colors from afar. This way, the paint start to dry mid-air and makes a grainy finish. Under normal circumstances, you don't want it. But for a roof, that's an easy way to get a realistic textured and weathered look without effort. You must remembers that inverted multi-plies roofs were popular in the 70s and 80s. It means you only saw exposed crushed stones from the top. This gravel was used as ballast to keep things in place and protect bituminous products from UV. I could have used small ballast for this purpose, but didn't had any on hands. Also, painting the roof was less messy and took less than 5 minutes.

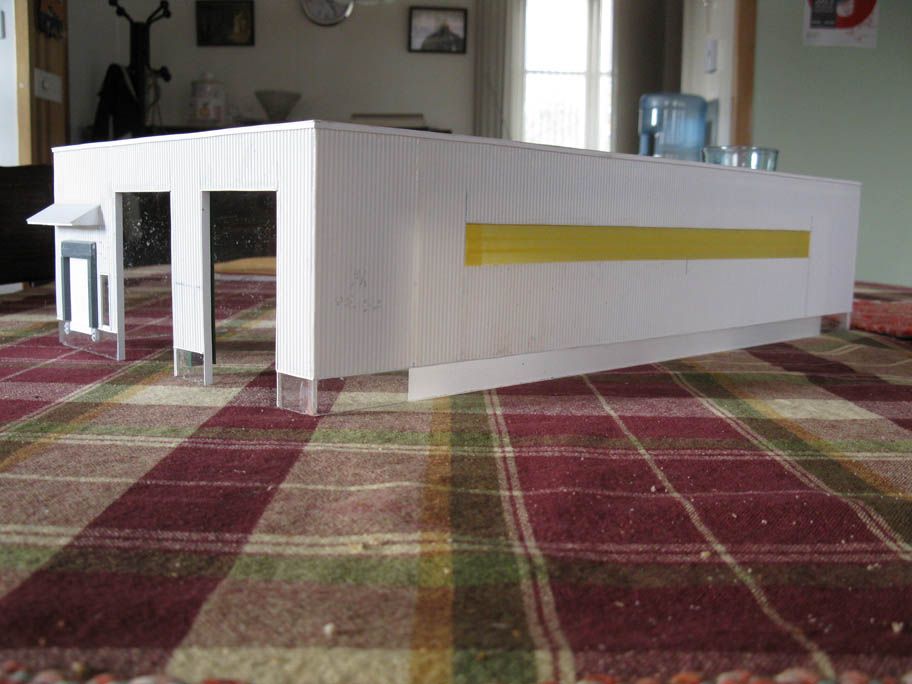
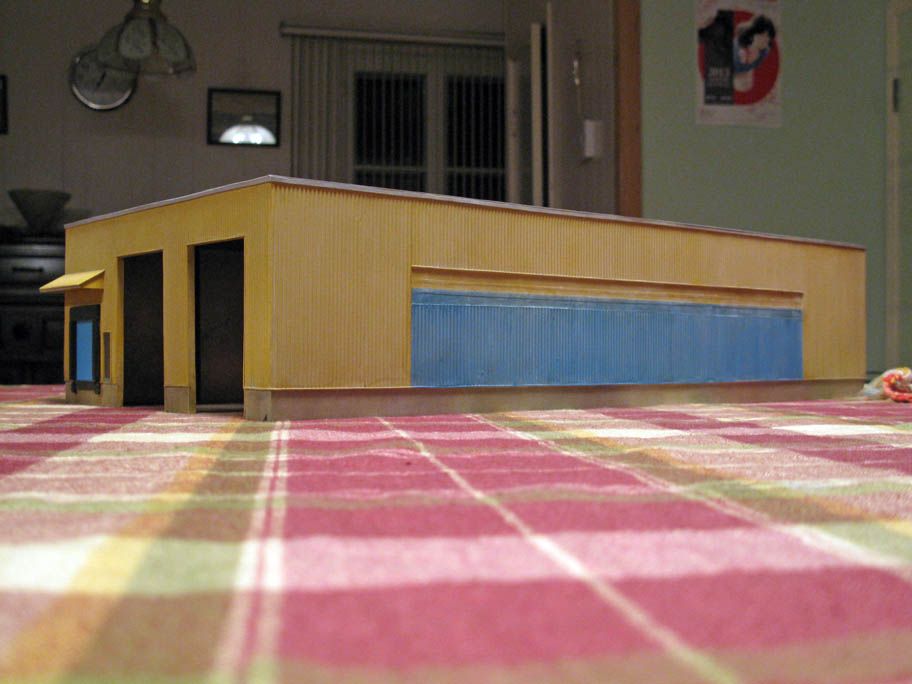
Building was painted with custom acrylic colors from Citadel. I tried to match colors on picture by fading them with white and beige. However, I didn't go as far as my 2014 pictures because back in the early 1980s, the warehouse was relatively brand new and wasn't completely faded.
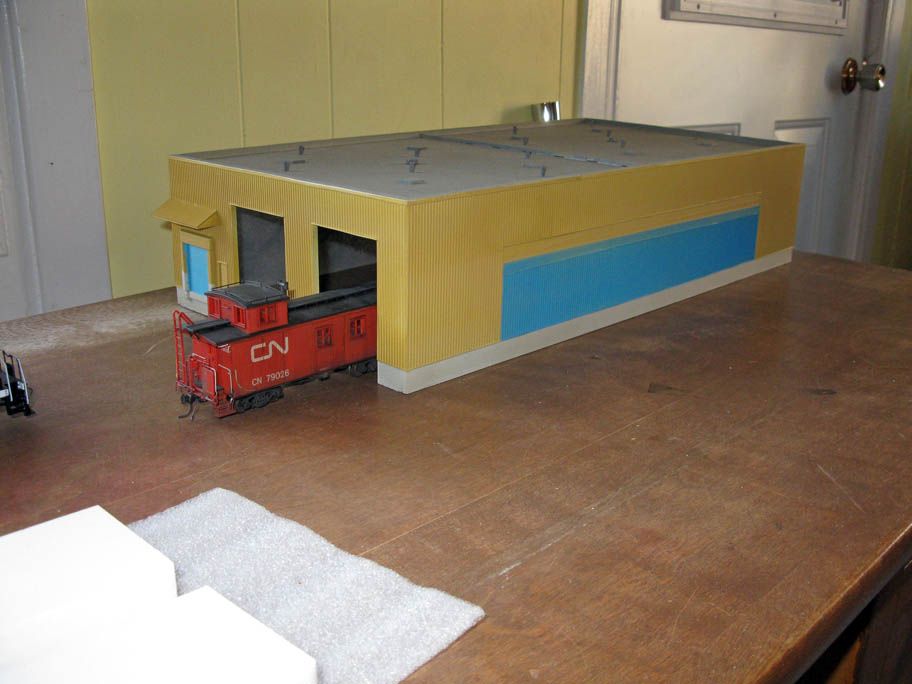
With this weathered True Line caboose, the warehouse looks like an engine house!

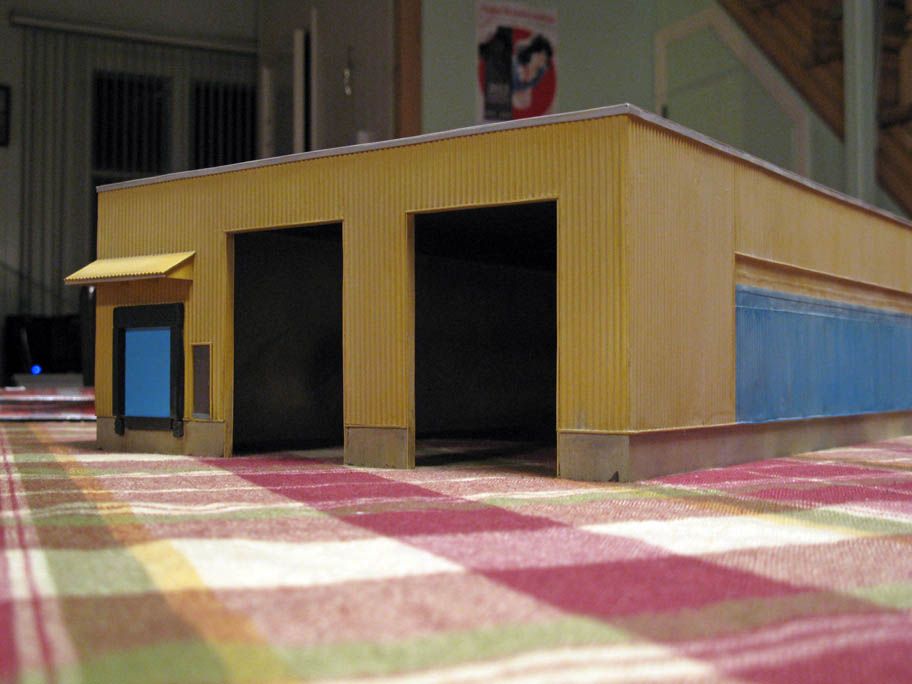
Finally, it was time to weather the building. I used oil washes. Unfortunately, they dried leaving unwanted streaking effects. I was a little bit annoyed by it as it made the building looks rundown instead of faded.
The first wash was pure white, followed later by a dark brown wash. Concrete footings were generously coated with a dirty brown wash.
Finally, I used plain mineral spirit to "erase" the streaking and unsightly pooling effects. Using a hairdrier, I made sure drying would be even all over the building and I got rid of the problem. When dry, I lightly brushed pastel chalks over the concrete footings to imitate dirt. Building was then coated again with Dullcote to seal everything.
I only need to add the weathered transluscent corrugated material over the window and add small details like a photo-etched roof ladder and light fixtures over door. I'll also model partially the warehouse railcar's door just like the prototype.
It's funny how building those mundane structures is fun and rewarding. But you really feel bad when you have to build them in real life! That's the nice thing with model railroading: the more it is nasty, ugly, rusty, noisy, dusty, the better!
No comments:
Post a Comment