Tuesday, June 24, 2014

Painting and weathering track


I’ve been experimenting with track painting a few times over the past years since I started using code 83 track. In the early 2000s, I would handpaint the rails with floquil roof brown… it was tiring. I even tried doing this using Floquil Rust on Atlas Code 100 (the old one with blobs instead of spikes)… no comment!

A few years ago, I decided to spray paint the track with Krylon Brown Primer then individually paint each ties with craft acrylic paint, varying the colors of the ties. It was also mandatory to apply a coat of dark brown on the rail to tone down the reddish primer. The result wasn’t half bad, but something was lacking.
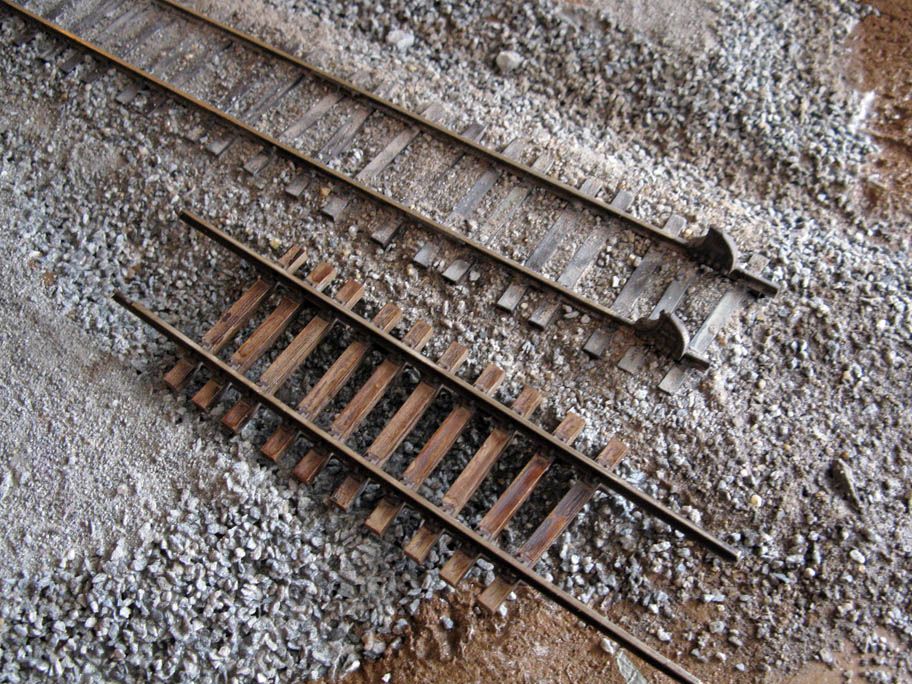
Down: the test track; Up: QSSR module layout.


Recently, on my Quebec South Shore Railway module layout, I tried something similar to Mike Confalone’s technic. In fact, Mike’s technic is almost the same as mine, but instead, he use a more realistic dark brown paint. Thus, I painted the track using Krylon Camouflage Brown as a basecoat then applied light washes of acrylics over each ties. The result was good, but not that great. Color variation looked overdone to me. Also, the ties looked greyish, not brownish, like the real thing.

Last weekend, I decided to try another well-known method to mimick old wood: a light color basecoat followed by a dark wash. Most people using this technic are using Micro Engineering track. Supposedly, the detail is superior. But I’m using Peco 83, which isn’t bad at all, and was curious to see if things would be looking good.

First, I sprayed a basecoat of Krylon Camouflage Beige. This is a nice flat and neutral color that may represent a lot of material. It also handle well washes and can be spray without hiding details if not oversprayed.
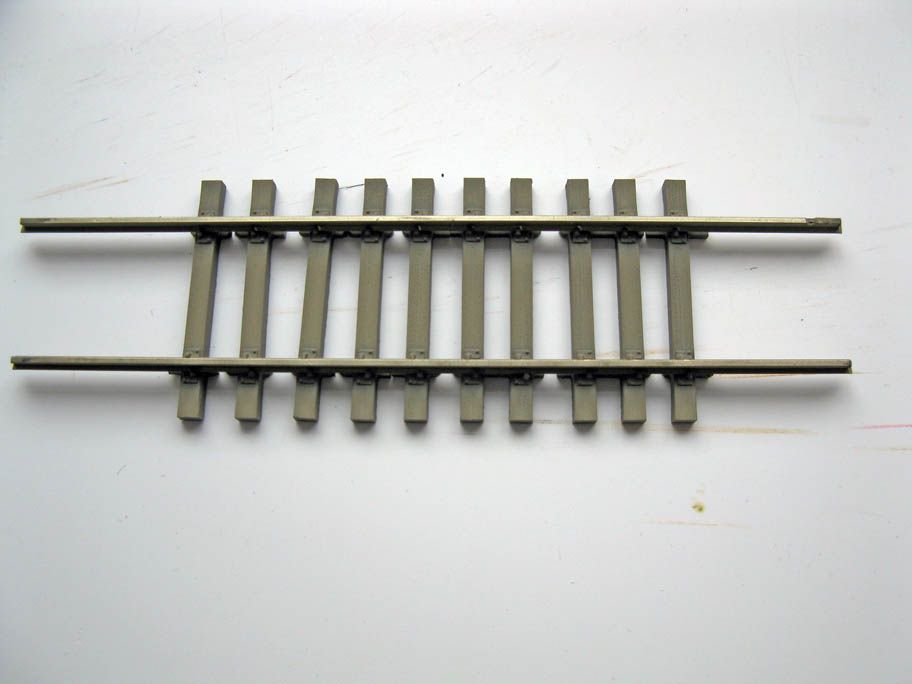

I let it dry for about 24 hours and then covered everything with a wash of burnt amber oil paint and mineral spirit. I started with a wash with the consistency of a weak tea and quickly found out it wasn’t strong enough. My wash was almost opaque and at some point, I added small blobs of paint directly on the ties then washed them away with the thinned down mix. In retrospect, looking at my prototype picture, I must admit the ties are particularly bleached and a weak tea wash consistency would yield better results. The current experiment is better suited for turnout ties, which are always greasy.
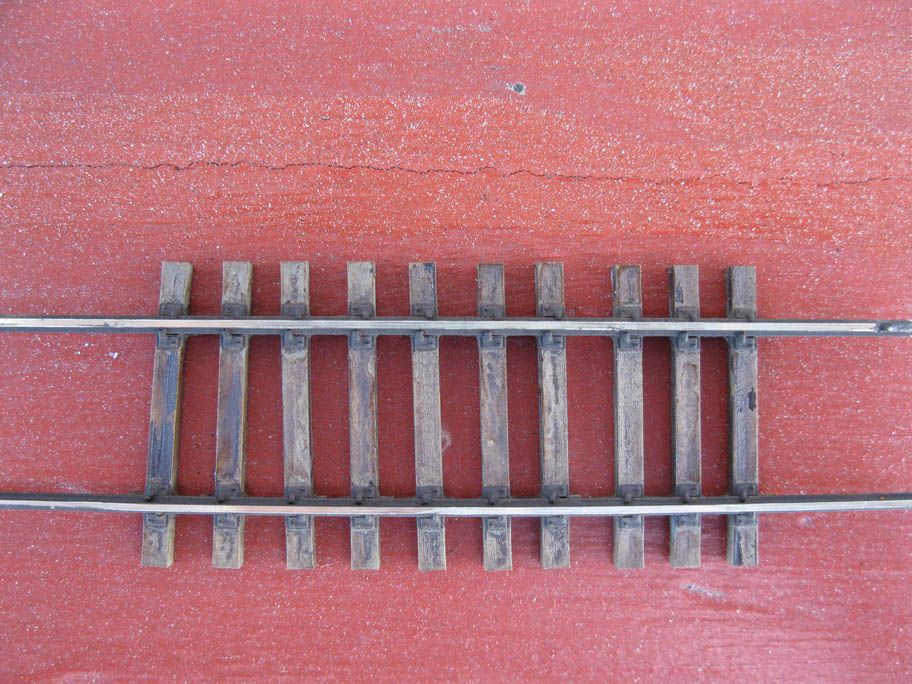

I let it dry for a few hours then masked the ties and sprayed a coat of Krylon Camouflage brown over the plates and rails.

When dry, I ballasted it with natural rock from an abandoned quarry nearby.
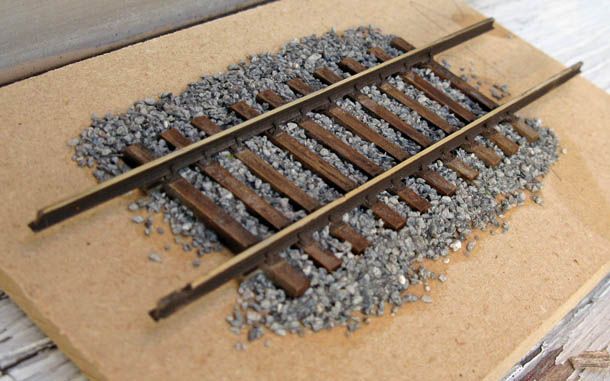

Finally, I lightly weathered the rails using rust-colored chalk powder.
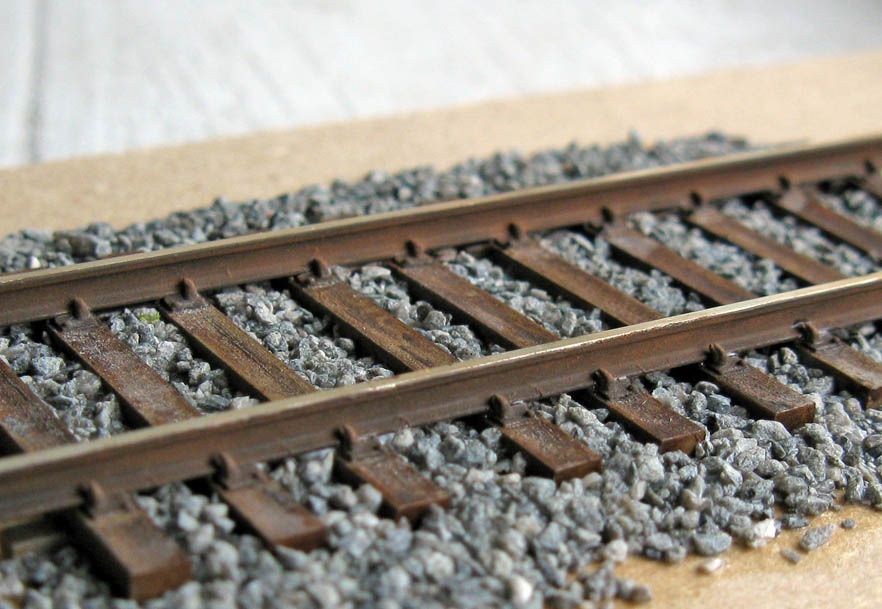

First, I remember Lance Mindheim recommended waiting about 4 days before using the oil paint washes and also waiting to let it dry again before applying masking tape for the last painting step. He was definitely right. At some place, paint peeled off. Also, when I applied the washes, the basecoat started to dissolve and exposed the shiny bare plastic. It also happened when I removed the masking tape. On some places, it was minimal and gave a realistic look, but on worst case scenario, nothing was left. I don’t know if ME track hold paint better than Peco 83, but it definitely a case of nothing stick to Delrin. I remember Atlas Code 83 was standard brittle plastic and handled paint better.


 Anyway, am I interested to go this way on the layout. Seriously, the former technic is easier to do and give great results. I’m not sure about coloration, but it’s just a matter of using the right color oil washes. Unfortunately, this technic would need three  work session to be done, including drying time. Other technics are faster, but also more tiring. They may even look artificial at some point if wrongly done. Anyway, there’s no easy way out. I think, I can do the oil washes technic without problems. Working sessions on the layout are short and once per week. Also, turnouts could be “pre-weathered” prior to installation. That would ensure a better application of paint and possibility to troubleshoot any electrical issues on the desk.
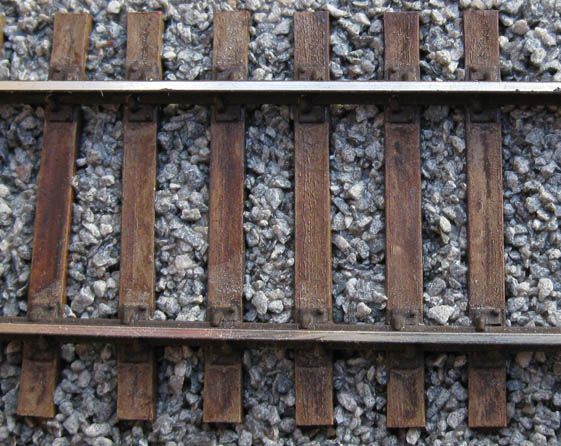
The new layout is devoid of any complex trackage, only a single main line, its industrial sidings and neutral surroundings. Thus, I feel track must be done with extreme care in this particular case because each little piece of track will be under scrutiny.
And now, I have to find ballast matching better the prototype. The one I used is too bluish to look good.

Feel free to comment!
Sunday, June 22, 2014

The Bridge on the River Malbaie - Part 6

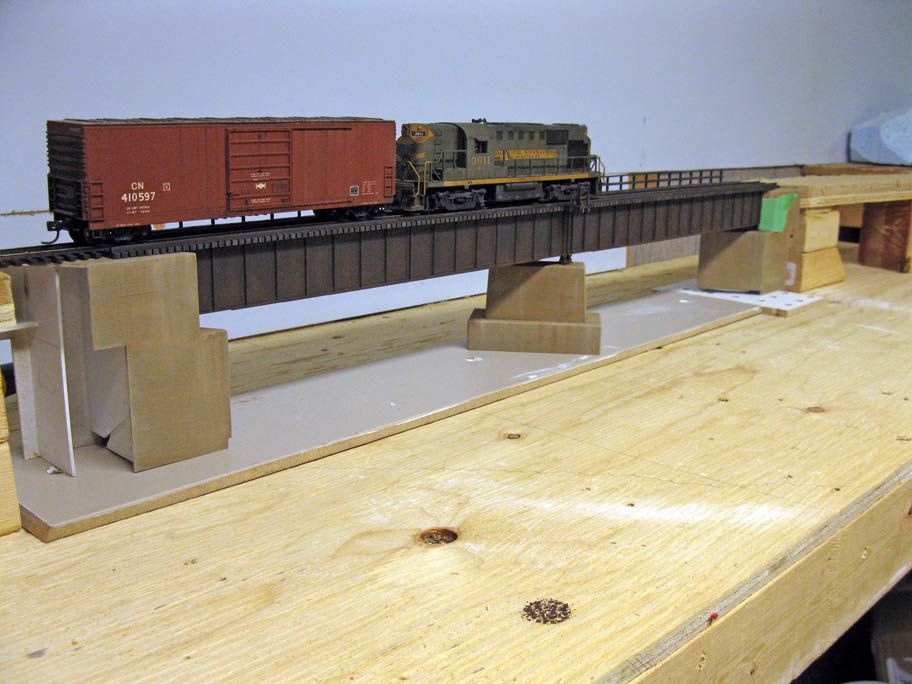
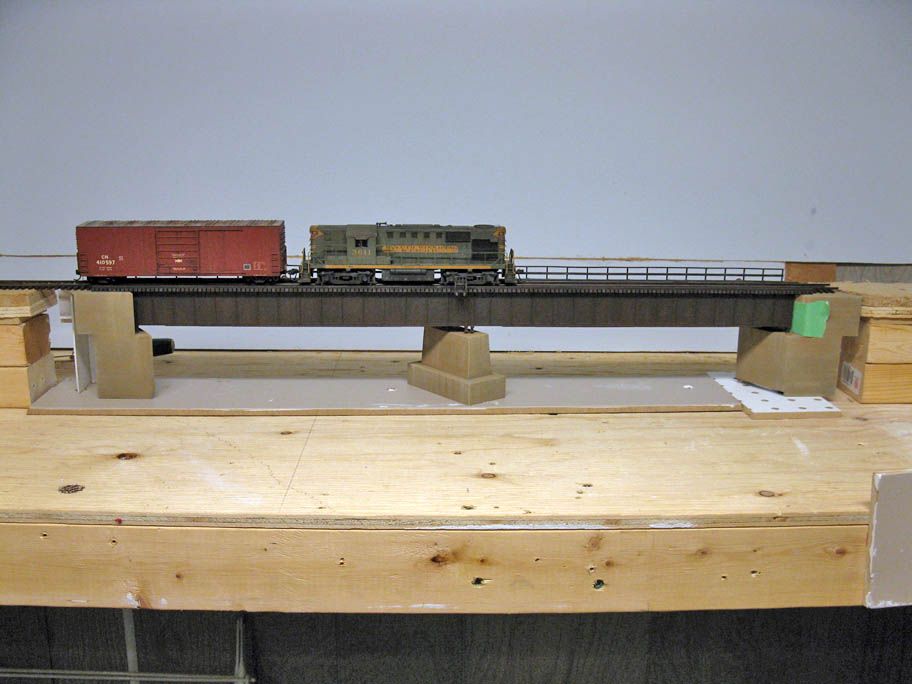
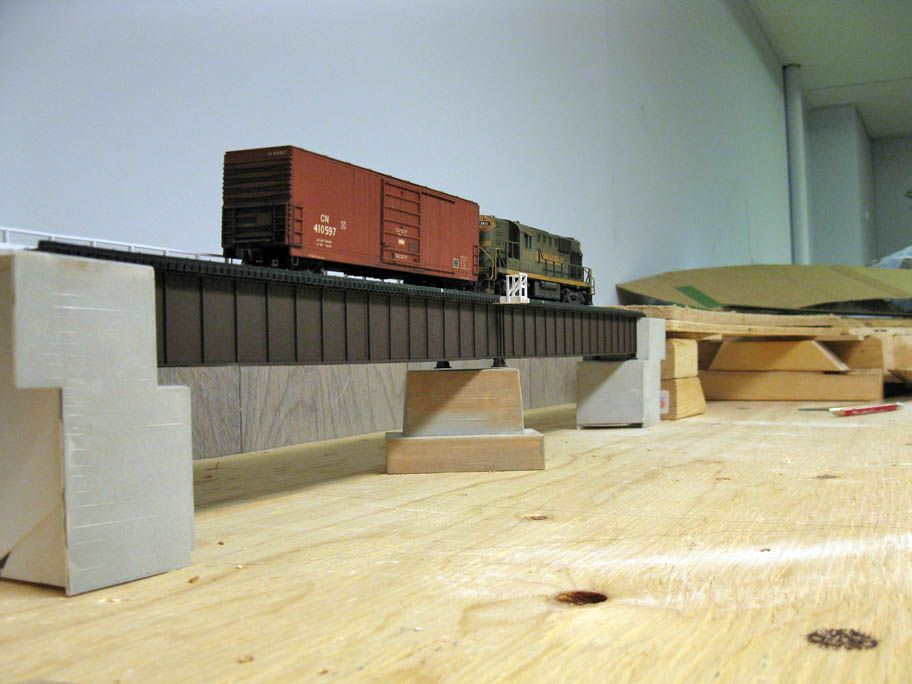
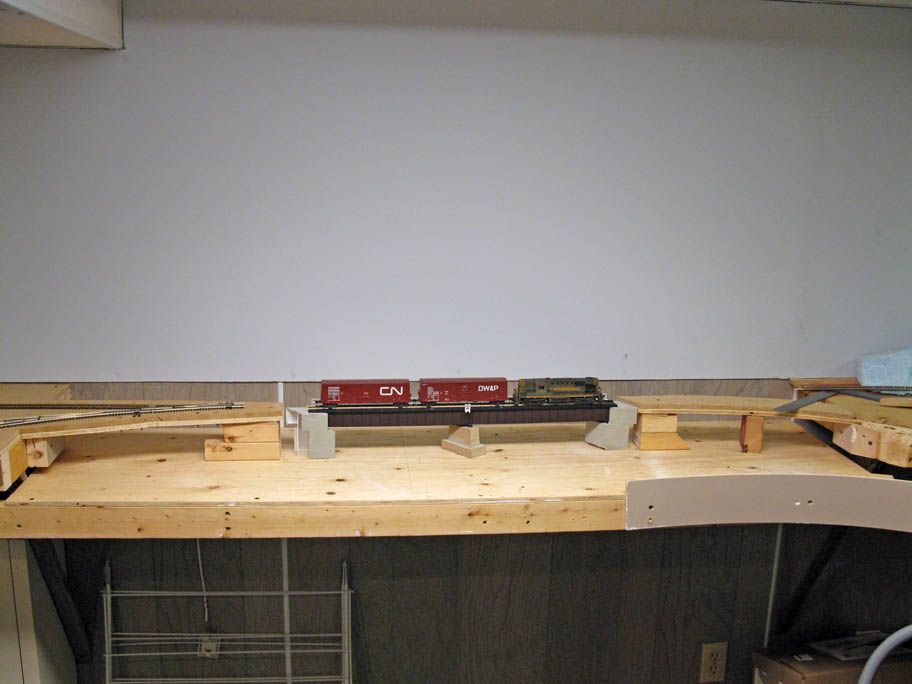
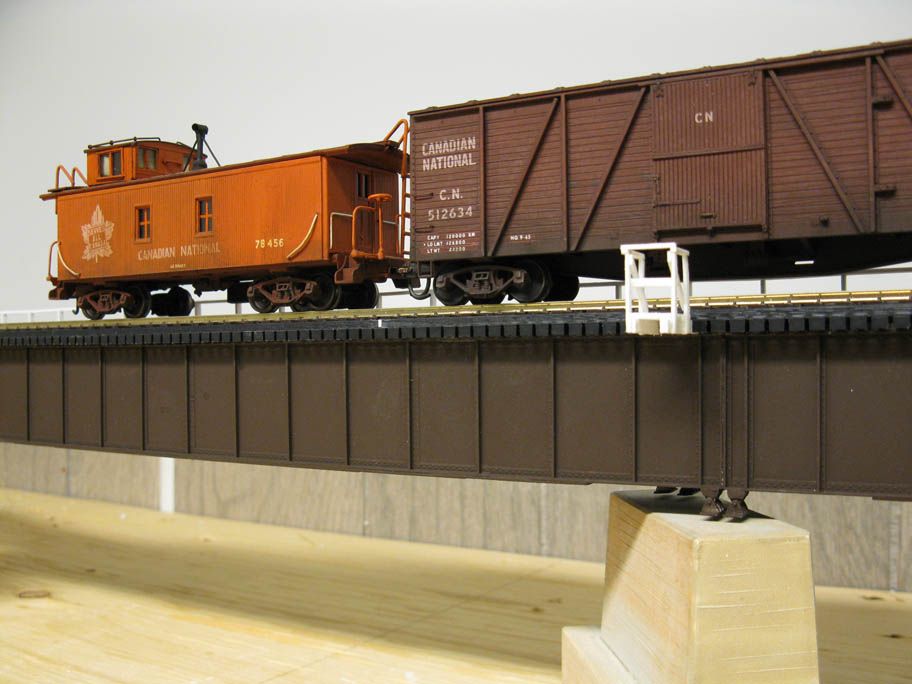
The bridge temporary installed on it final location.

I was recently reading on a blog - unfortunately, I can't recall if it was Lance Mindheim or Trevor Marshall or another one - about the importance to model a layout from a believable vantage point to ensure it would looks real like the prototype. It may seems an insignificant detail, but in fact, it's important. Personally, I never was able to see a train on a bridge from a river. Most of the time, I see it from an angle on the embankment. That kind of view is also interesting because it gives you the feeling the train is effectively travelling a lot of distance, going through the landscape. I would call it "free miles of track" since, all this is illusion created by following a more realistic relation between track location and landscape. Thus, I kept that in mind will trying to locate River Malbaie.

This shot clearly shows the layout width should be about 3 to 4 inches larger there.

With that in mind, we decided to set once for all River Malbaie riverbed last Friday. It was decided to make the river follow closely the track on the right side to reproduce the prototype embankment. Not only it is more realistic, but it will also make possible to shot picture from afar with a lot of river on the foreground.

The electric tool used to cut the fascia made too much vibration.
 

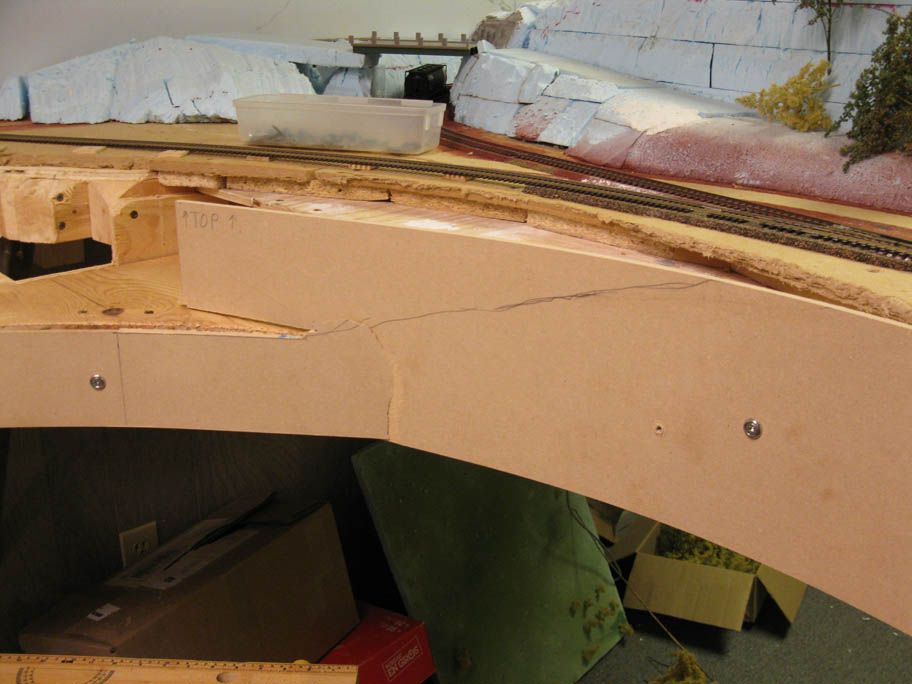
We also tried to complete the fascia. The right part went quite well, but the left part snapped. when we tried to recut the edge to follow the landscape. The 1/4" MDF fascia was under a lot of stress there. Under normal circumstances, it wouldn't have snapped, but the fascia drastic irregular shape focussed the stress on a singular point. Anyway, shouldn't be too long to replace it and I'll seriously consider making the layout larger than planned there to get more river.


A general view of River Malbaie, you can see the embankment on the right.


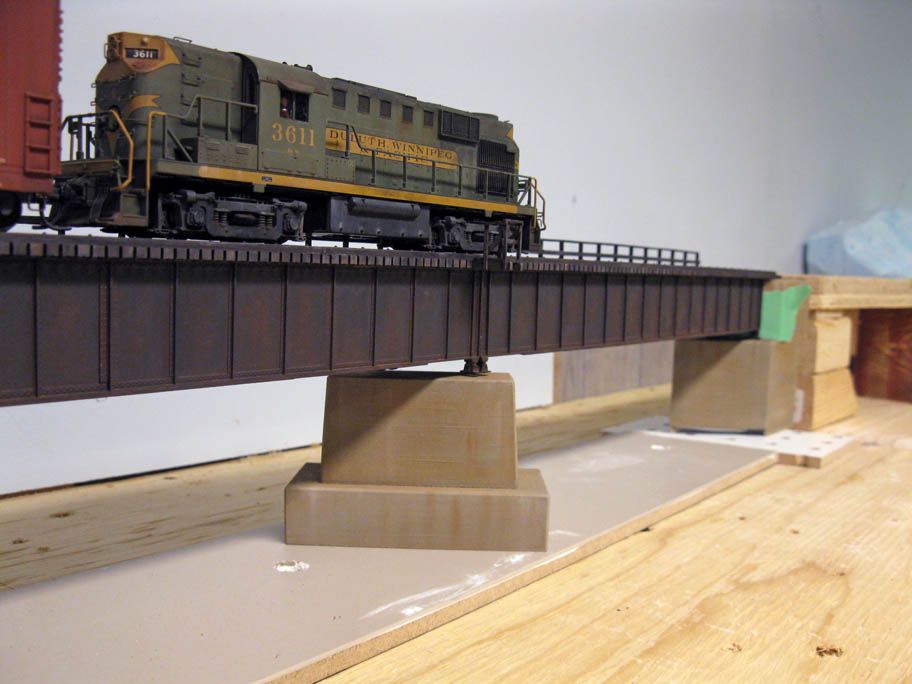
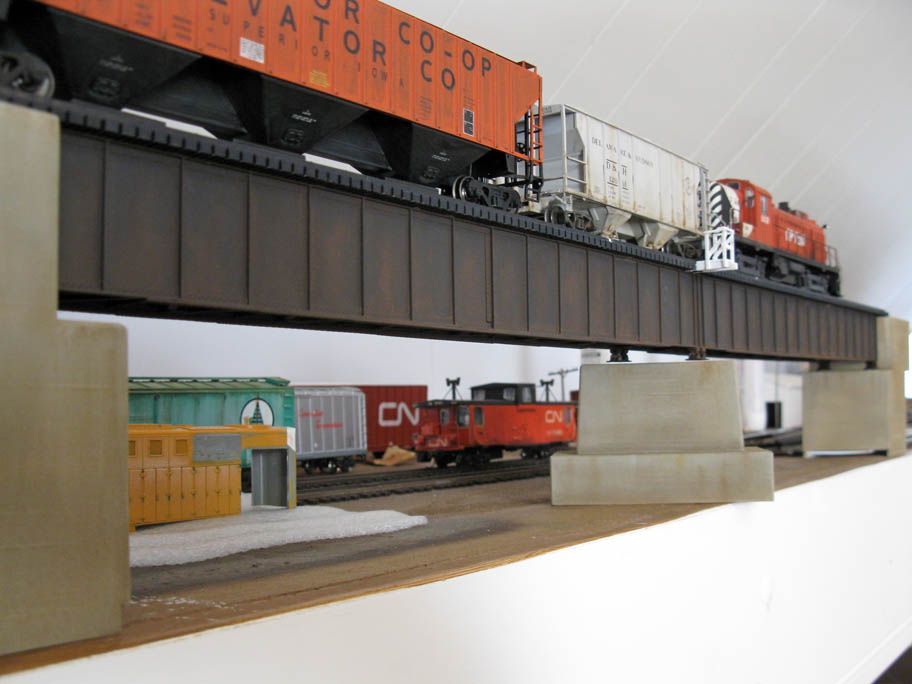
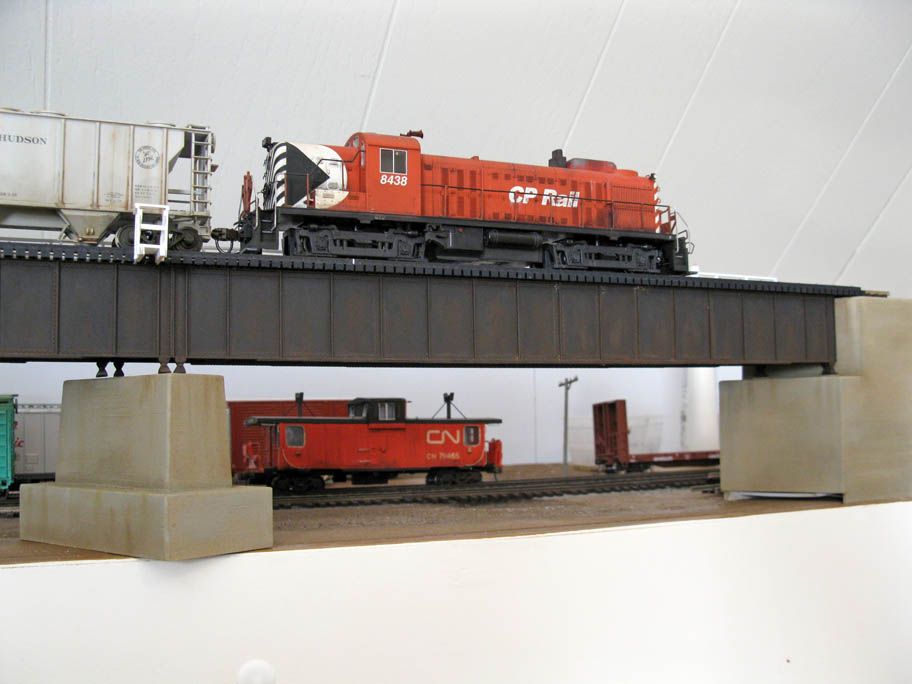
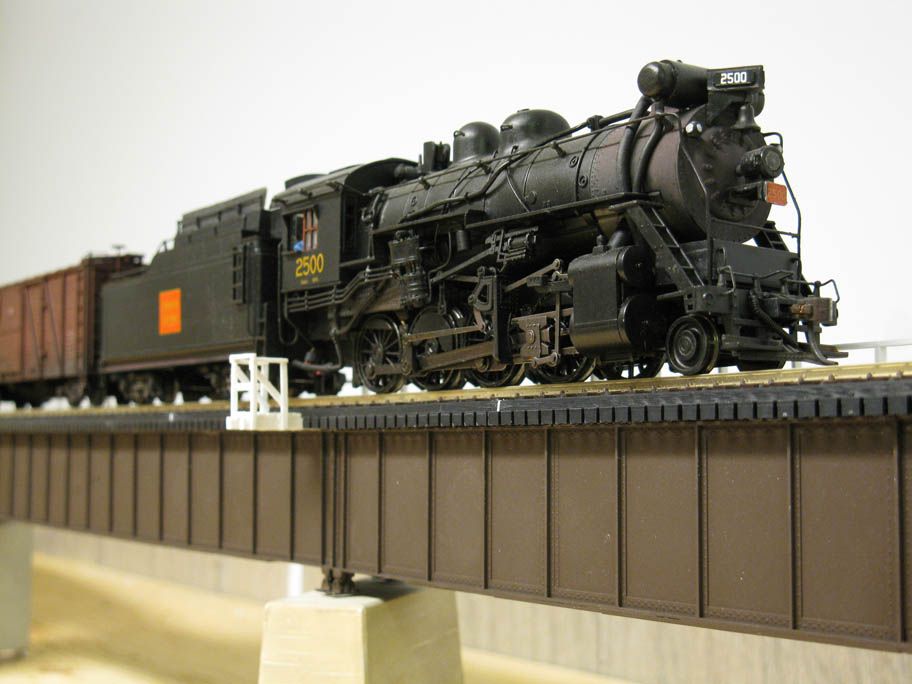
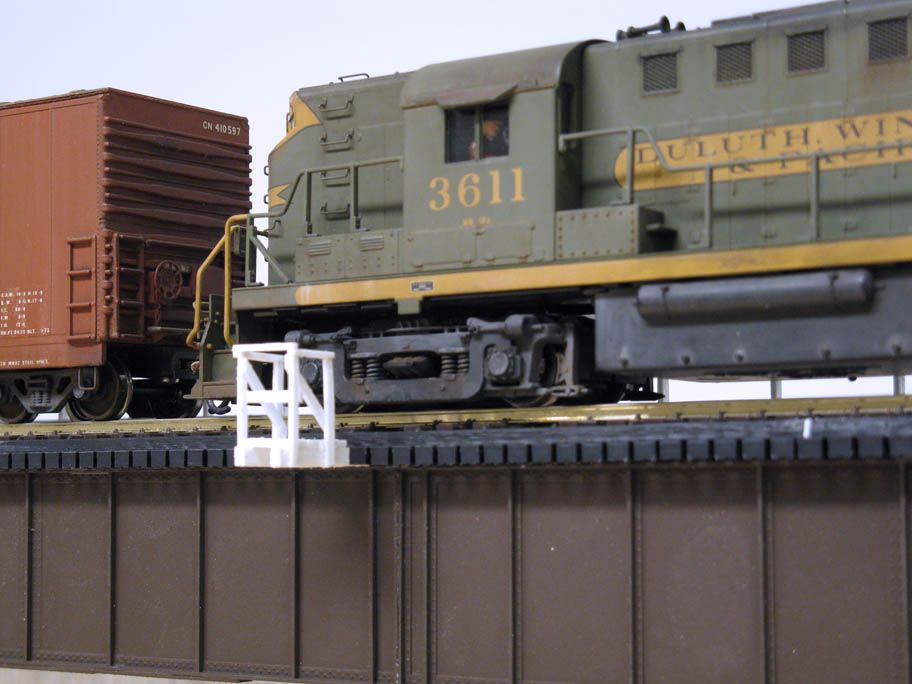
A few shot of a classic RS11 pulling a car over the complted bridge. I'm quite satisfied. Louis-Marie didn't saw the model until completion and was particularly impressed how it rendered well the prototype we visited a few weeks ago. Definitely, this scene is gonna be a postcard one!


The bridge weathering was done using cosmetic sponges from the drugstore. A light wash of artist oils was also applied here and there to blend everything together. Many washes were applied on the abutments. Very old concrete always looks yellowish, just like the sand aggregate used in the mix. Looks far more natural than pure grey.


The only question remaining is if the left embankment will be done with retaining walls as per prototype, of just rip rap. I feel rip rap would looks better for of era (mid-80s).


A few words about this blog...

Seriously, I'm totally surprised how the statistics of this blog exploded during the first half of 2014. I started this merely as a diary to follow the project. This way, every member of the club could access information about the layout from anywhere at anytime. I seriously doubt our mined path of trials and errors can add anything significant to what have already been said about model railroading, but good for you if it is a a sweet entertainment to browse through it just like I like to do with many talented modellers out there.

Since I got my first train set in 1987, a lot of things happened, a lot of experiments, many failures, many false starts, but still the same passion, intact and pristine just like the day a saw a pair of M420 stalled at Château-Richer's crossing back in 1986... I was 3 year-old. As life pass by in the blink of an eye, as many things get duller as we grow up, I must admit my fascination with rail transportation never died or aged. And  in time of hardship, that passion helped me to canalize my strengths on something significant, were my hands and mind could create an alternate world for a while. Many will look for "false paradises" when things start to go wrong, unable to grasp something that would be constructive. Thus, I always feel that someone with an everlasting passion is blessed in some way and I hope it's the same for all of you.

Saturday, June 7, 2014

The Bridge on the River Malbaie - Part 5

I painted the bridge and the concrete abutment this afternoon.


Abutments were sprayed with a custom mix of Tamiya (white + black + red + yellow) then weathered. I'm particularly satisfied with Gordon Gravett's technic of talcum over gloss paint .It really gave a realistic concrete texture that had enough tooth to receive weathering.

The bridge itself was painted using cosmestic sponge and artistic acrylic paint. Black, brown and rust colors were used and applied in several coat to mimick a rusted steel girder and its peeling paint.


When everything was dry, I generously weathered part with several washes of oil paint. So far, so good. The next step will be to use pastel chalk and complete the work. However, that will be done when the bridge will be permanently installed on the layout to make sure everything is blending together.

Next step? Glue the guardrails, paint the deck and weather the remaining parts.

The Bridge on the River Malbaie - Part 4

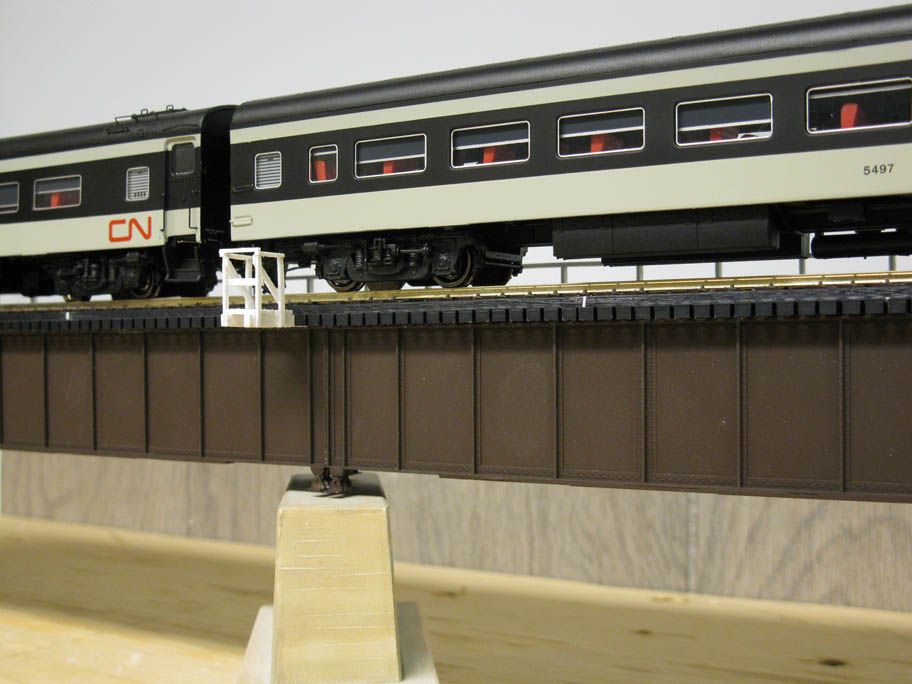
Good news! I just received my pair of Rapido CN coaches. They are simply gorgeous. Honestly, I do like the green and gold paint scheme, but I must admit passenger equipment in CN wet noodle is especially slick. Hard to believe I could have travelled on these cars everyday to go to work if I was born a few decade earlier. Now, I absolutely need to get a Rapido Steam Generator and to complete my RS18 as soon as possible.

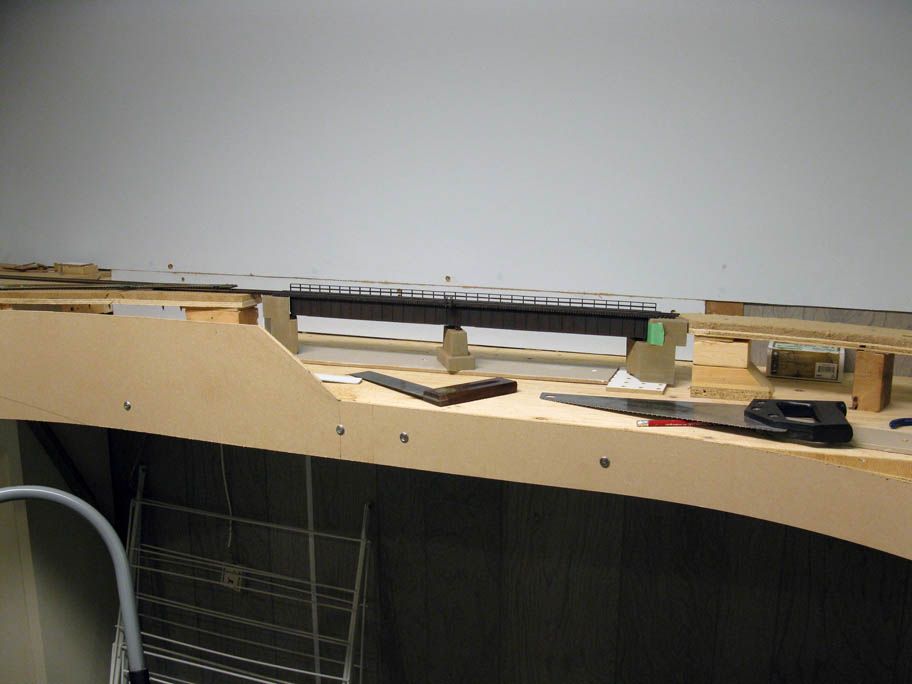
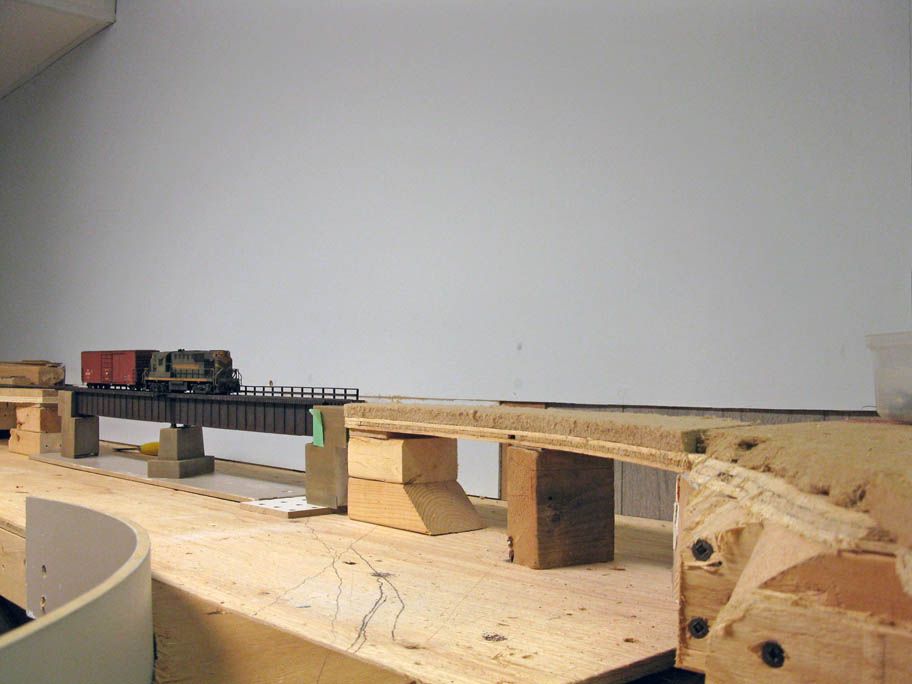
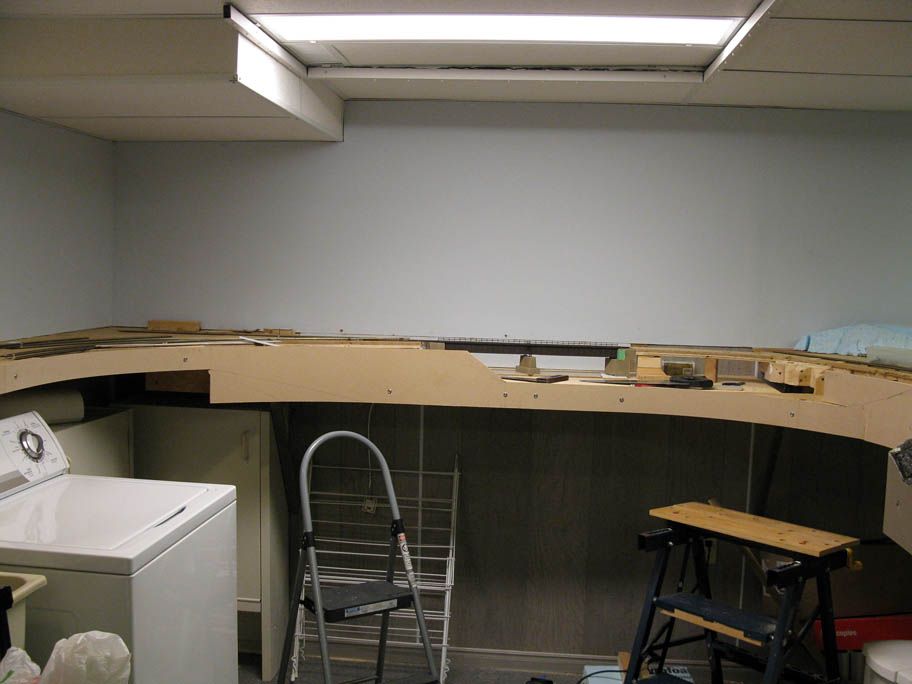
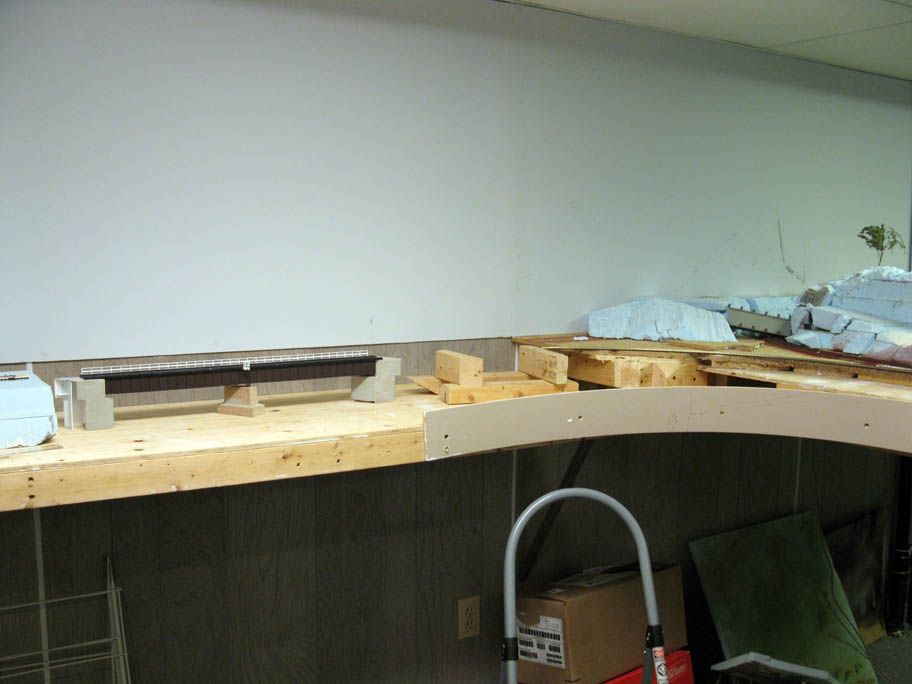
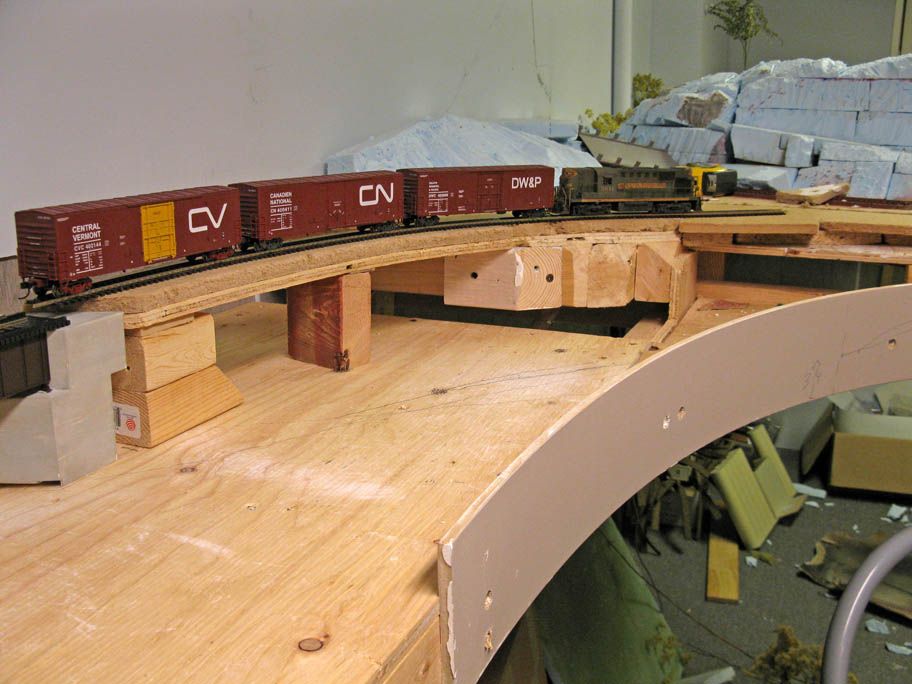
Yesterday evening with Louis-Marie, we test fitted the new bridge on the layout. It was also a good occasion to settle where River Malbaie riverbed would be located. The river will flow diagonaly from left to right. On the right side, the track will follow the river on an rip-rap embankment, just like the prototype.

We tried our best to make sure track radius was a little over 30 inches. That's a little bit sharp, but still manageable. If possible, I would have liked a 36-42 radius.

Bridge abutment are made of styrene and painted with Humbrol gloss enamel covered with talcum power (to give some texture to the styrene). They will be eventually painted and weathered according to prototype.


On this spot, one can easily imagine where the river will flow along the track. On the right is the junction with the mainly.

The benchwork was extended on eachy side of the bridge. Topographic features will be done using regular and florist foam blocks. Riverbed will be painted on a 1/4" thick MDF board and covered wil thick varnish and acrylic medium for ripples. According to my photographic sources, River Malbaie can be quite high in the spring and relatively low during summer months. I'll try to get something in between.

It was also an excellent occasion to take railfan pictures of the bridge. It will probably be a favorite spot of mine. Seriously, I'm particularly loving the way the new layout is developing. I feel many hard learned lessons are now better understood. There's a sense of space and destination on the new layout. I was surprised when we tested the bridge. The river scene looks much more larger than we first thought, which is a good thing. There's really this feeling of a small industrial spur branching off the mainline and going somewhere over that large river. The nice thing about it is it took not that much place. Only to select the correct structures, to not overcrowd the scene and use topography with a realistic, ordinary, casual, "just like the real thing" way.


Monday, June 2, 2014

The Bridge on the River Malbaie - Part 3

 
The bridge is coming along nicely. Using 1.5 mm sheet styrene, I built the concrete bridge abutments. I initially thought about using MDF, but the intricate wedge shape of the prototype would be tricky do to with precision.


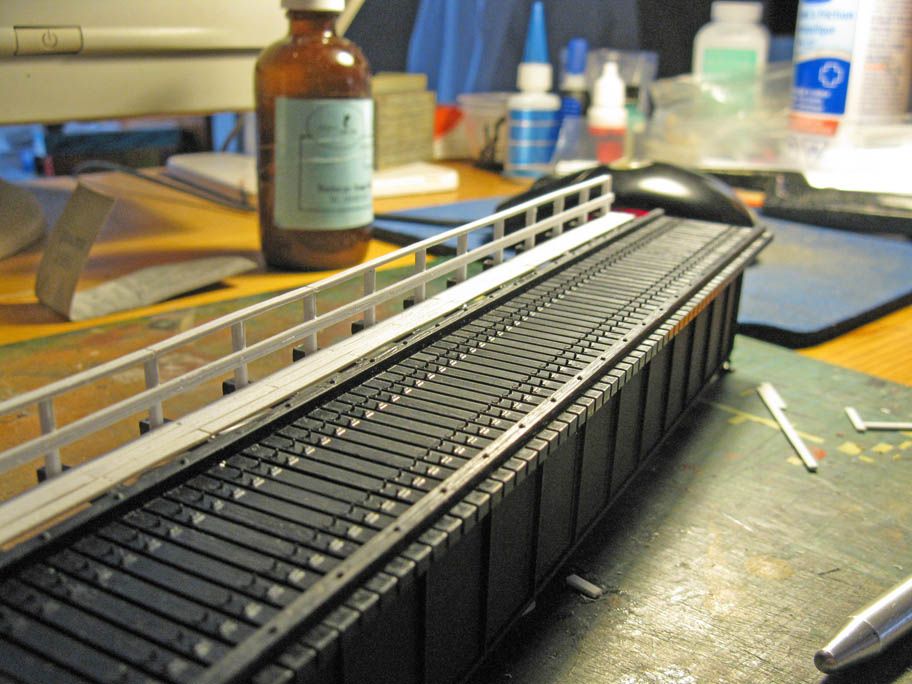
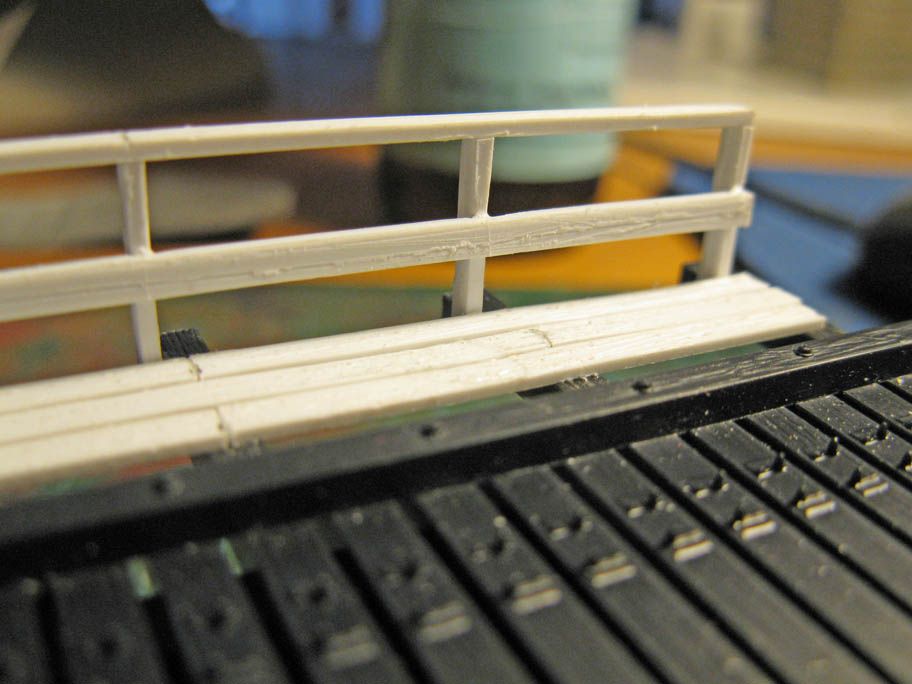
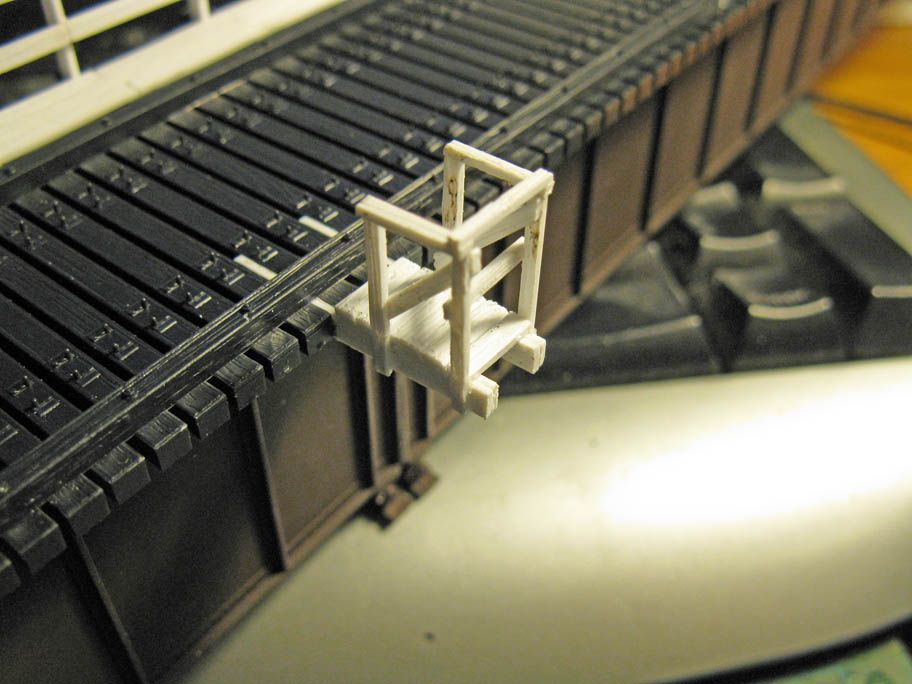
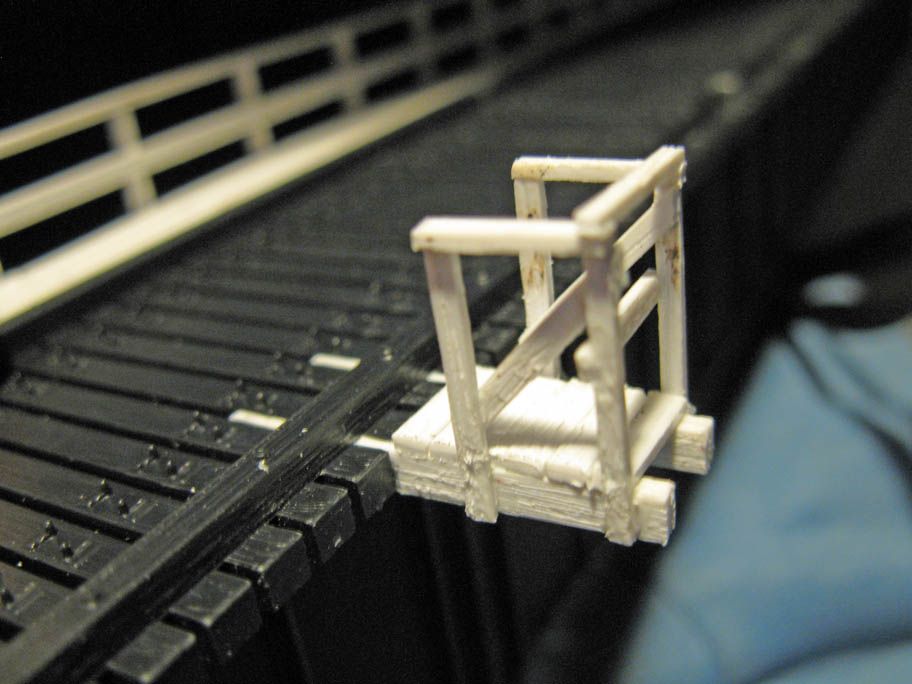
Walkway and railing were done with Evergreen styrene strips previously distressed using a metal-cutting saw blade. Extremely effective and quick to give some texture, just sand of the excess and you get a very convincing wood grain (better than ME bridge ties!!!). My only regret is to have used a little bit thick strips. Maybe I should have use thinner styrene, but I was concern about strenght. Anyway, everything will be almost black and dark brown once painted, so it shouldn't be a problem.


Next step is to glue rails and guard rails, then paint and weather everything. I want to use Gordon Gravett's talc on fresh gloss enamel paint trick to make the concrete abutments look like old weathered cement and aggregate. Hope it will turn out nicely.