Enthusiasts of CN Monk Subidivision will be happy to learn that Bill Linley and Richard Manicom's iconic railfanning trip in 1963 is now immortalized in a fascinating article published in CN Lines magazine, Volume 21, #1.
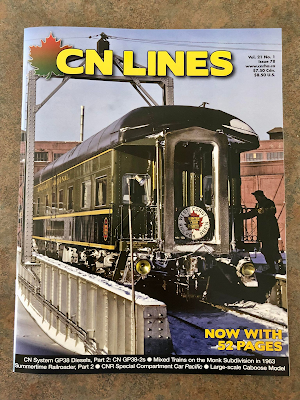 |
| CN Lines magazine, Volume 21, #1 |
At that time, Monk Subdivision still saw intense freight traffic thought passenger service was rapidly dwindling down. By 1963, service was often reduced to a mixed train to which a caboose and an old combine were coupled. This is the consist that Bill and Richard would ride and document without knowing they were probably the first and last people to ever railfan "seriously" this line.
Their travel, from Joffre Yard in Charny (yes, they embarked the train in the yard, in front of a conductor that was surprised to see rare passengers climbing the combine that day) to Monk provided plenty of photographic opportunities. Better, the trainmen interacted with them, which provided a rare insight of their mundane work on this ex-NTR subdivision.
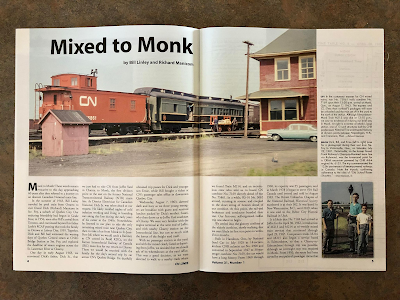 |
| "Mixed to Monk" by Bill Linley and Richard Manicom |
If it was not enough, a yound Richard brought a camera and also a roll of color films. Beautifully shot, these color pictures are a testament to classic CNR railroading in rural Quebec at that time. These pristine images make tangible a long lost reality as if we where travelling with them. You can expect pictures never published before!
Bill and Richard made sure to well research their subject and having read an early version of their article, I can say it does a great job at providing a good deal of informations that helps to counter many legends or factual errors often repeated about Monk Subdivision. It will, no doubt, become a reference when researching Monk.
That said, nothing better to get even more motivated to build a layout of this subdivision!