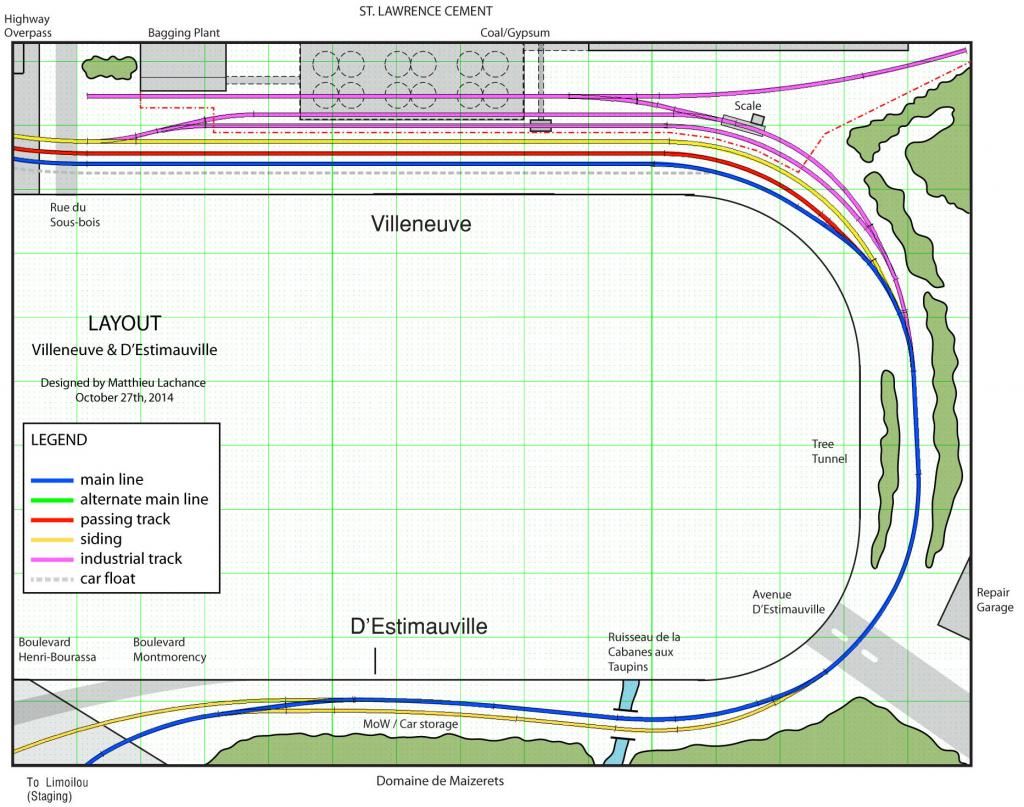
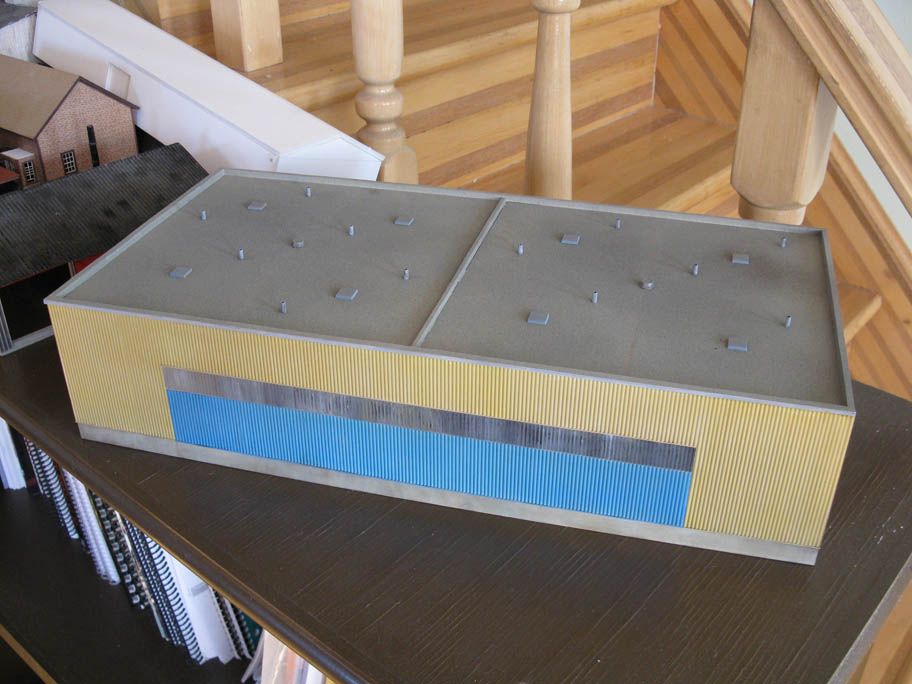
Planning
staging isn’t an easy task. Particularly when you find out your expected
10-cars train length ends up being 20 cars. That was totally unexpected, but
during the last week – after reading endlessly Mike Confalone’s Allagash Story
Volume 3 – it became clear to me I had to seriously commit myself to understand
rail traffic to improve the overall layout performance. I won’t go into
details, but I did my homework and it helped me to better understand Murray Bay
subdivision.
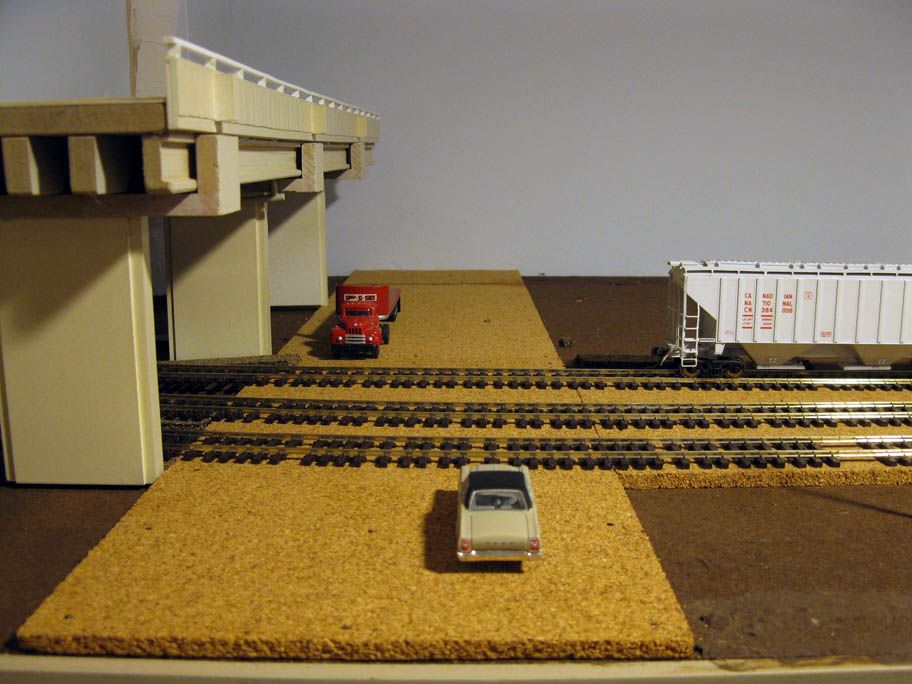
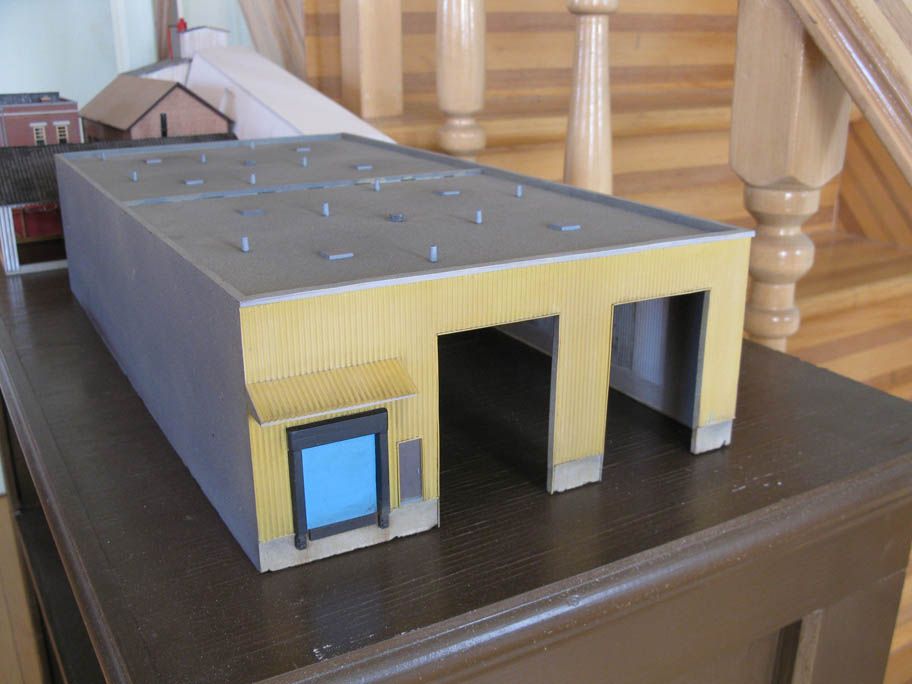
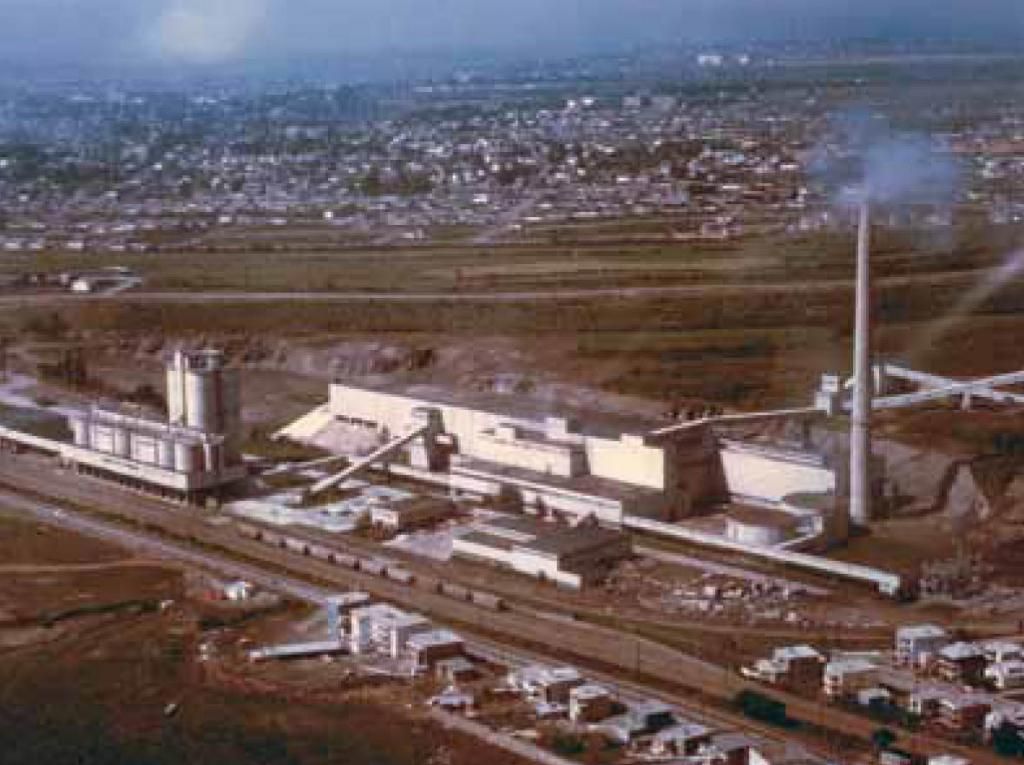
Since then,
I found out cement traffic from Villeneuve wasn’t going very far. In fact,
cement hoppers travelled only a mere 5 miles before reaching Quebec City Pier
53 where cement was transloaded on ships. Better, I finally understood the
small spur branching out at D’Estimauville was used to handle cement traffic
directly to Pier 53. In fact, this spur became redundant in the early 70s when
they built the highway and CN modify Beauport Flats yard. At that time, cement
traffic was reduced and 524/525 only operated as an extra. For our purpose,
I’ll keep it on the layout because it is an interesting feature to operate, but
also because it makes the track plan and staging easier to handle.
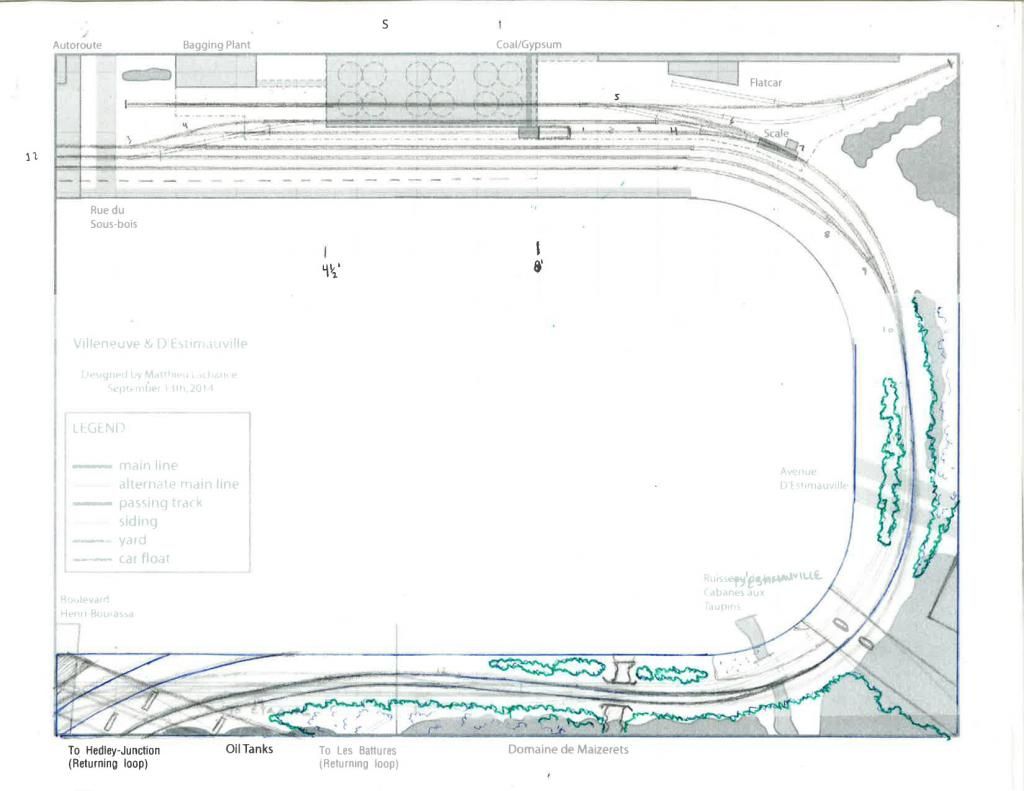 |
| An early sketch of D'Estimauville simplified trackage without Beauport Flats spur. |
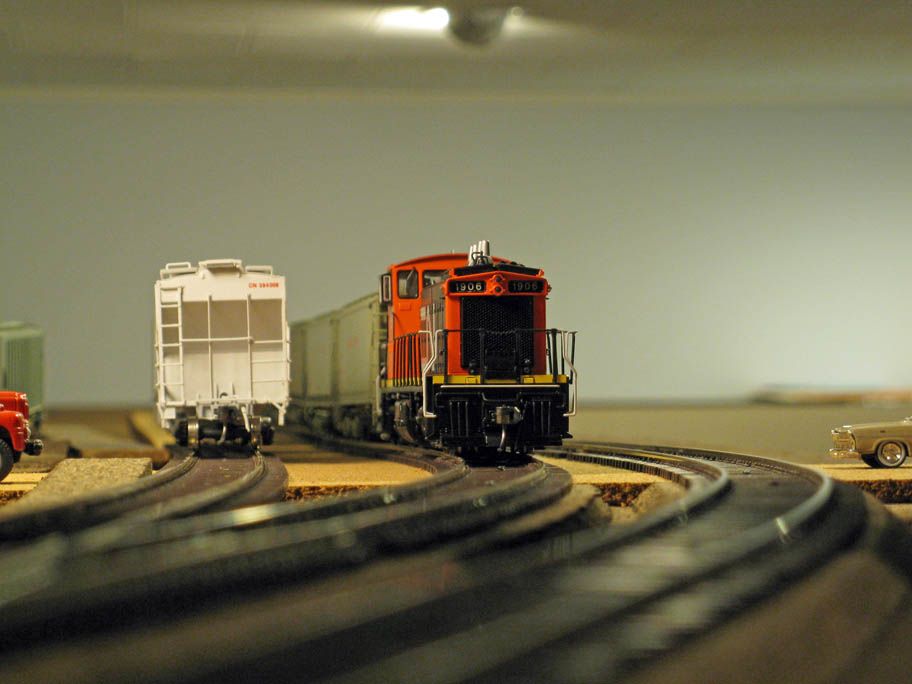
To plan the
required staging size, you need to know your largest train length. On Murray
Bay Sub, the largest train will be train 524/525 to Villeneuve. At most, it has
ten 50ft cars and ten 40ft hoppers, thus 135 inches. Add 2 locomotives (16
inches) and one caboose (6 inches) and you get a total of 157 inches. Round it
to 13 feet which is quite a very long consist. That’s the length I need to
completely hide the train in staging. Why? Because I find a train coming from
“outside” the layout really makes you believe it is linked to the outside
world. I used a few time “on layout” staging and wasn’t satisfied with that at
all…
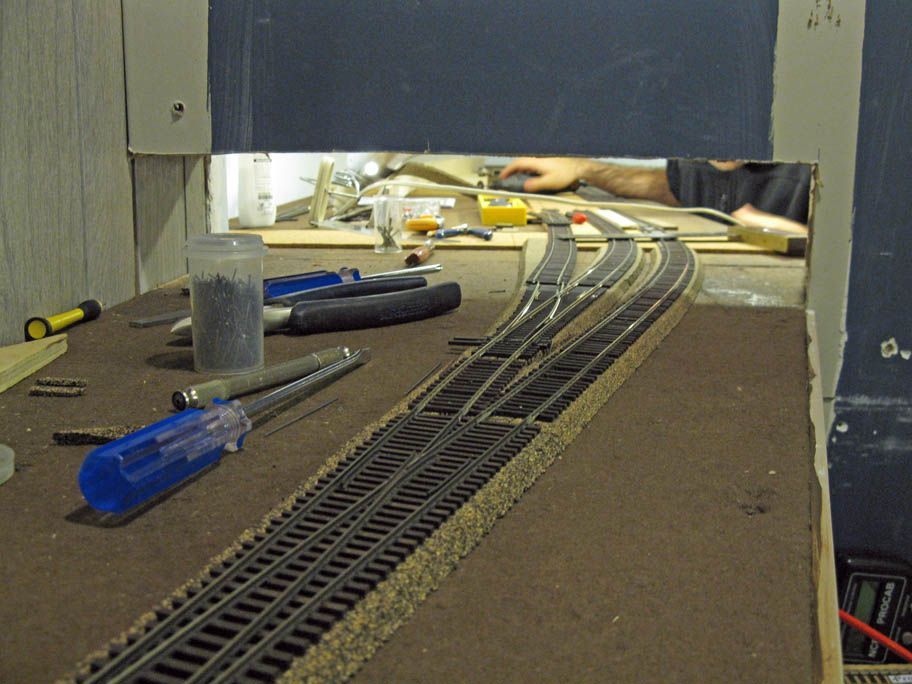
Having only
2 scheduled train to stage, two hidden tracks are needed. I recently explored
the idea to hide an helix into the closet and have a staging deck under
D’Estimauville. This is feasible, but requires a lot of job. Worst, it could
eat up a lot of storage space under the layout. I’m not against the idea, but
at this point, I feel going the KISS way is the best choice. Jérôme once
proposed to hide staging on curved track into the closet and I choose to develop
this idea.
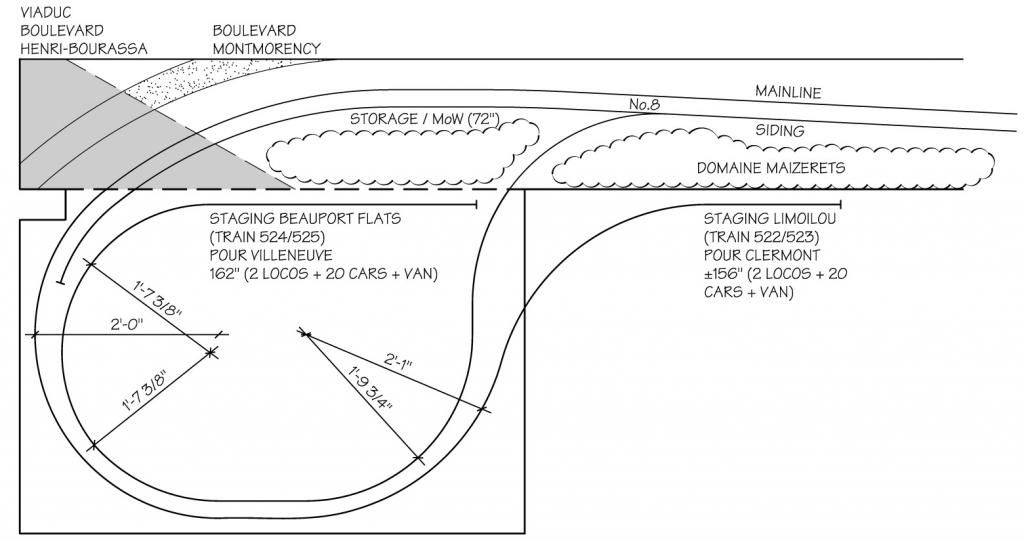 |
| Proposed staging developed from Jérôme's original idea. |
The nice
thing is that everything is on the same level and we don’t have to modify
greatly the closet. In fact, when we rebuild that part, we already installed a
shelf benchwork to support a future loop.
Since each
staging track branch of from Murray Bay at different spots, they will spiral
around each other. Rail cars drawers could also be installed into the closet,
making it a nice place to stage trains without interfering with the layout
itself.
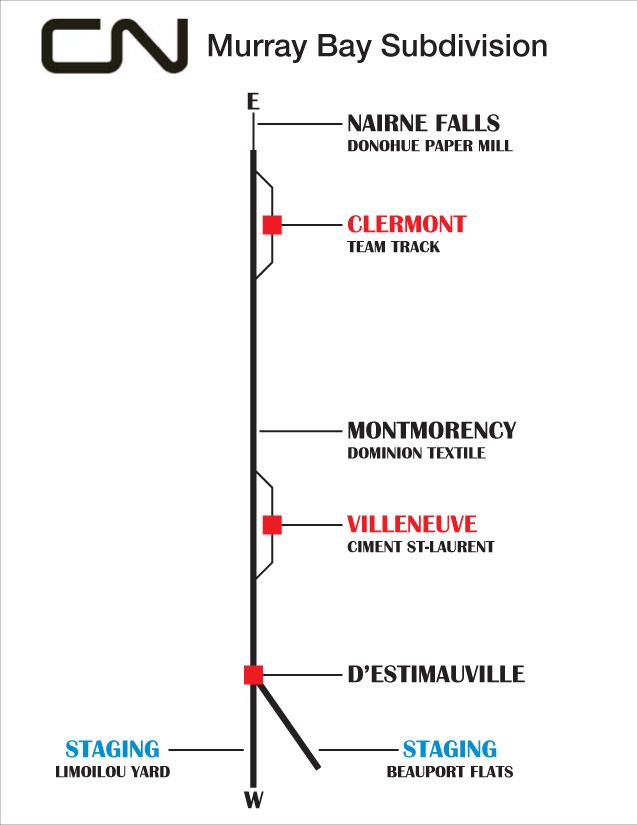 |
| Proposed network diagram with main locations. |
Also, this
track geometry helps us to hide nicely and realistically the tracks with
scenery. Beauport Flats spur curves and disappears between two row of trees
from Domaine Maizerets (a municipal park) just like the real thing. Murray Bay
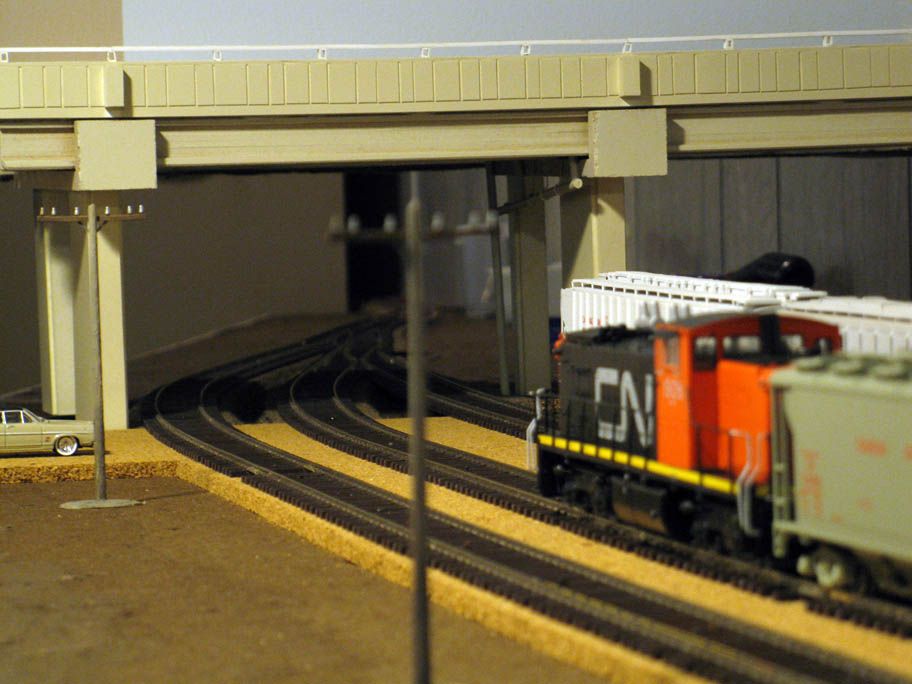
subdivision mainline and sidings disappear under Boulevard Henri-Bourassa
overpass as per prototype. Both locations have a different treatment, making it
easier to feel like trains are headed to two different places. Murray Bay
siding is only a storage track for cars, engine or MoW. They were often found
there on the prototype and I feel they help to create a second “scenic layer”
in from of the backdrop hidden effectively the point where the main line punch
through it.