When I was 15 years old, I went to visit my grandfather in Clermont with my parent. For some reason, I was eager to try my new photo camera and brought it with me. That was to be my second railfanning trip. People who knows me well know I rarely do railfanning trip. Most people are interested in racing like crazy on rural roads to catch a train crossing a bridge or a grade crossing. That seems extraordinary, but honestly, it have been done millions of time. And seriously, if I want the thrill to see a train on a grade crossing I prefer the real thing than a video. Anyway, I'm more interested in the locales the train cross. To learn how it was built, what industries it served, local railway architecture and to understand how it works and mesh in the area. Most people don't give a damn about that, they want noise, huge engine and tractive effort... just like car enthusiasts. Nothing wrong with that! I love to see a string of powerful engine under effort, much better than a ridiculous sport car! However, mix these two kind of people together and you understand why I rarely venture out in the wild with train folks.
Tha said, in 1998, the only train-related thing I knew was Murray Bay Subdivision. I hated the new CFQ black and yellow switchers and missed CN's M420 and cabooses. But, I was curious to see the destination of this neighboring track. It was Clermont. Quickly, this trip inspired me to get models I've seen there (a pair of Athearn SW7, few 50' CN boxcars, a Walthers Russell snow plow and a P2K mill gondola.
First of all, please excuse the pictures poor quality. I was an inexperimented photograph back (and still is), lighting conditions were deficient and worst - my scanner's driver isn't compatible anymore - I had to photograph the picture with my digital camera... But I think the quality is good enough. Also, some shots were acquired by adventuring in places I wouldn't nowadays. I was a teenager and didn't saw any harm in my actions: climbing car ladders, walking down a semi-abandonned yard. I don't think I would do this again, but back then, I though it was normal. What's done is done, but I can't recommend doing this to anybody nowadays.
 |
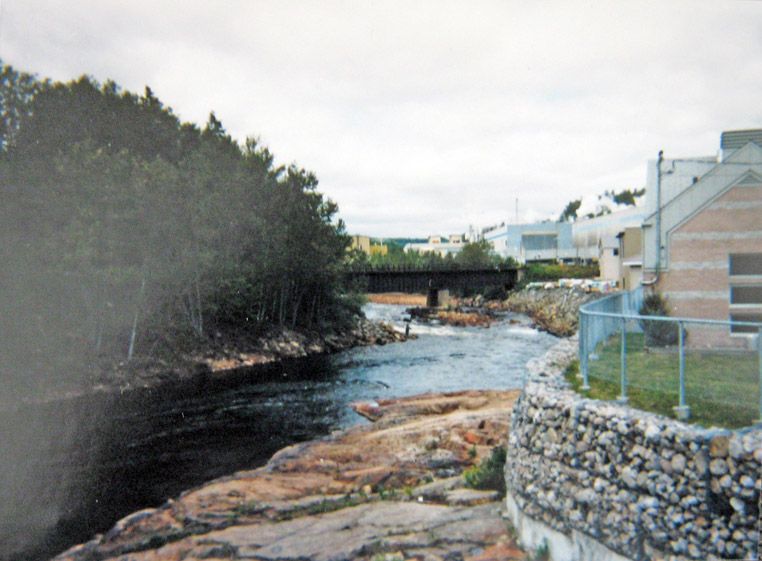
| Donohue Paper Mill and the railway bridge over River Malbaie |
My grandfather's friend was living next to the paper mill, on the Malbaie River shore. I was really impressed by the deck bridge over the river and the paper mill in the background. That scene really struck my imagination then. 16 years later, I'm actually modelling the scene and it's iconic bridge. If you've seen my previous posts, you'll see the area didn't change that much since then. However, the river water level is particularly low on this late summer shot. In spring, it is about 8 feet higher.
 |
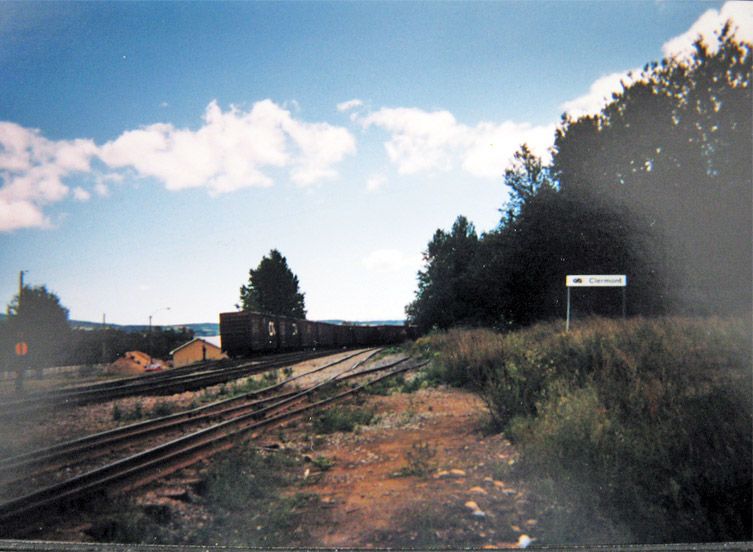
| North end of Clermont yard. Note the station sign. |
Clermont yard was a small railway terminal built to hold and store cars from the paper mill. Boxcars, woodchip cars and a few gondolas were the only car types seen there. There's a mainline, 3 sidings and an unused stub siding. No locomotives, no activities. It was evident most switching chores there were performed by the paper mill switcher. The yard geometry conforms to the landscape and is S-shaped. Maintenance was relatively good with minimal vegetation (except the stub ended siding which disappears in the wood on the right side).
 |
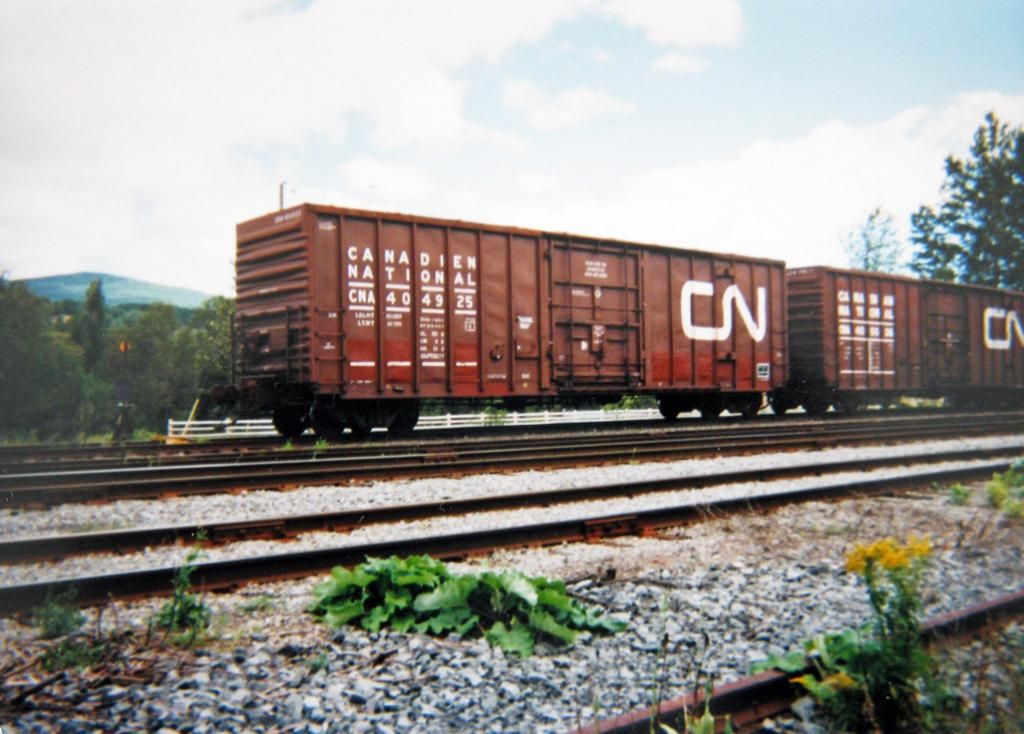
| Typical 50' boxcars |
Typical cars were these 50' boxcars with ribbed side. Strangely enough, I didn't spot any 50' NSC Newsprint boxcars, even if there were often spot on trains. I suspect most were routed to Beaupré's paper mill.
 |
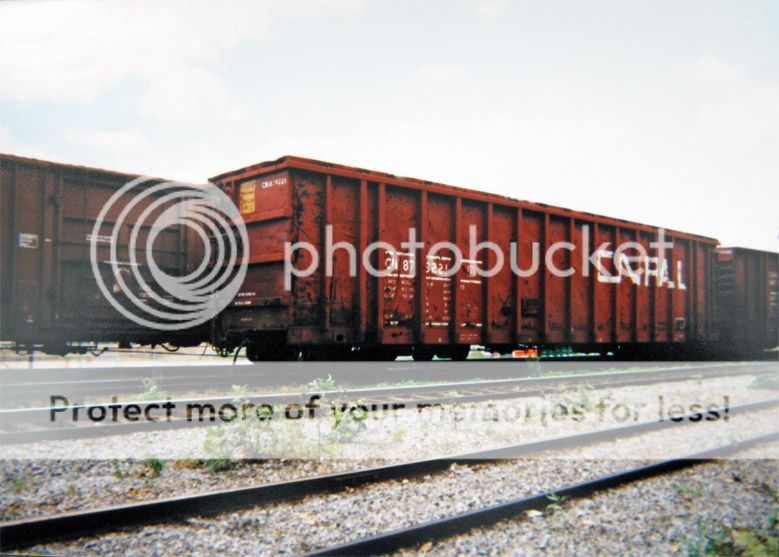
| Typical CN woodchip car |
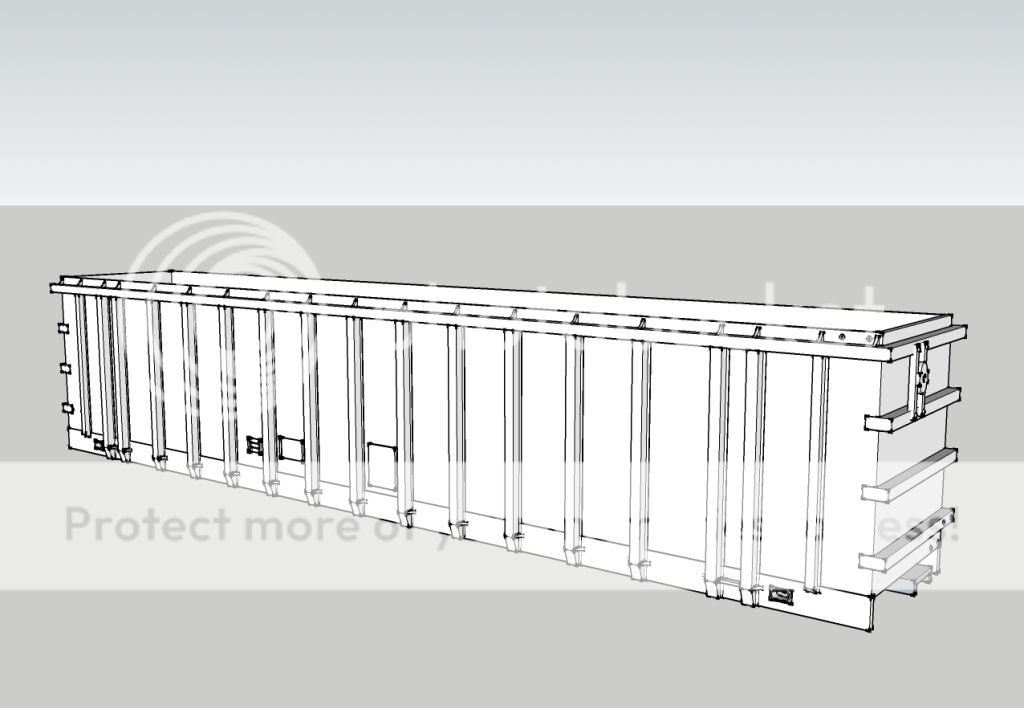
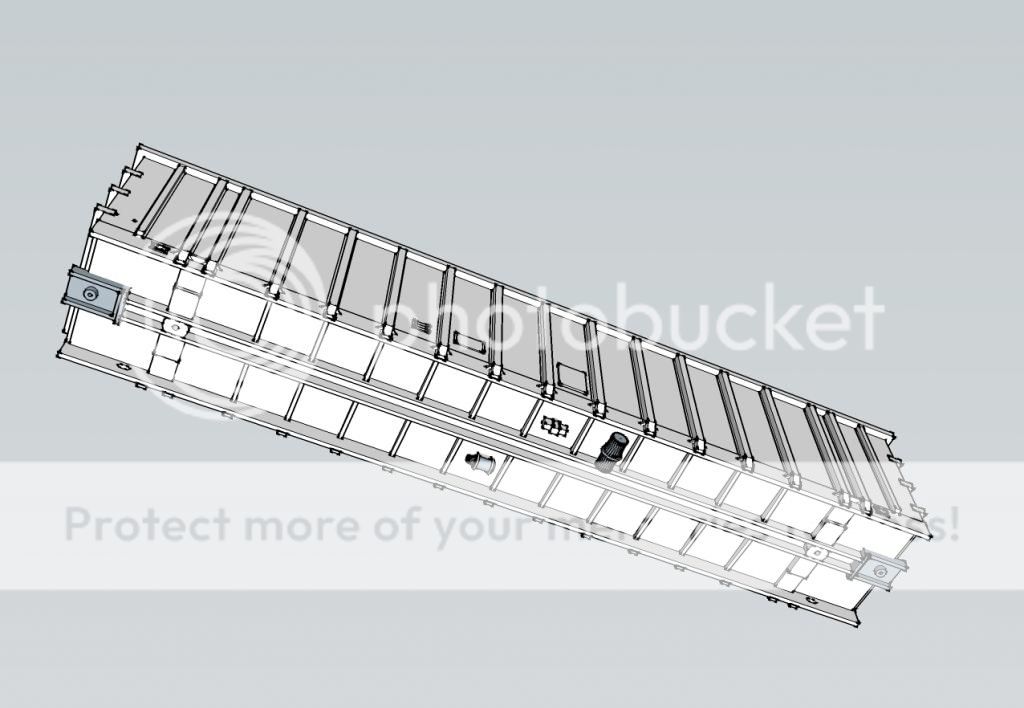
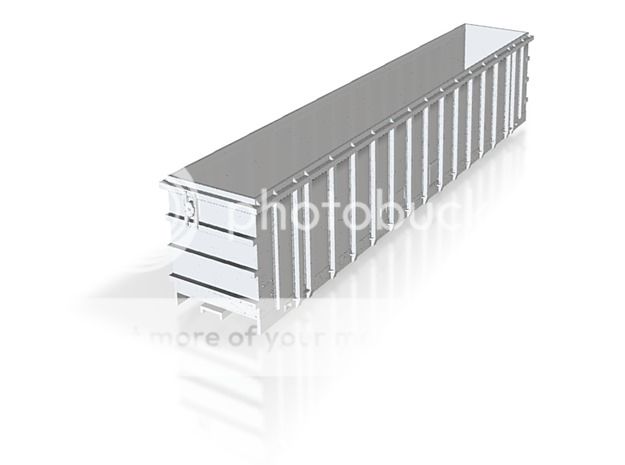
Another typical car was this iconic CN woodchip car. I'll probably need about 6 of them to have a believable fleet. Unfortunately, no commercial version exist of this particular model. I always liked the ridiculous "CN Rail" logo on them. Even back in 1998, I knew I would have to scratchbuilt them one day. And thus, I took an interior shot.
 |
| Interior of an empty CN woodchip car. |
This illegal interior shot give is a good idea how a woodchip car is emptied at Donohue Paper Mill. It seems the woodchips are vaccuum. Our observation of the plant last spring confirmed this. Weathering a car like this would make empty cars look visually interesting.
 |
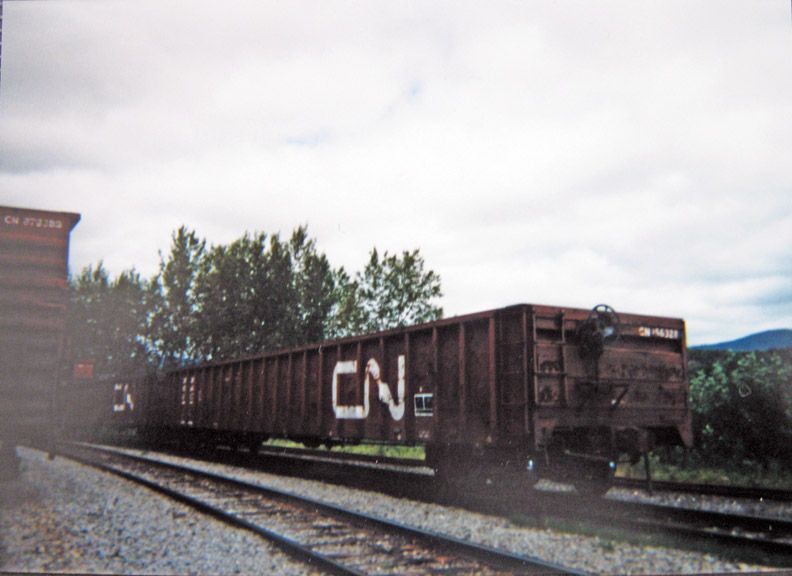
| A pair of rarely seen gondolas on Charlevoix Railway |
Among the many boxcars and woodchip cars, there was an interesting pair of 53' gondolas.
 |
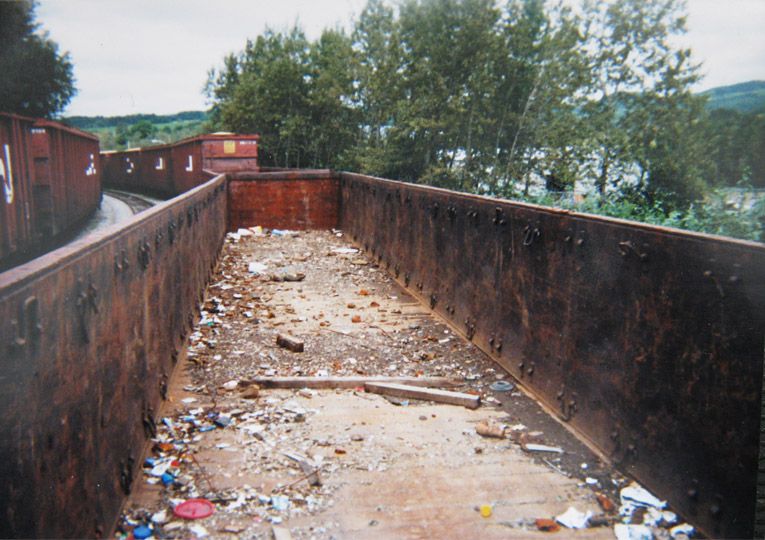
| Wonder how to weather your Rapido HO gondola? |
The gondola interior revealed a lot of debris, garbage and junk. I have now I idea about its purpose on the Charlevoix Railway, but it definitely wasn't in revenue service at the time of this picture.
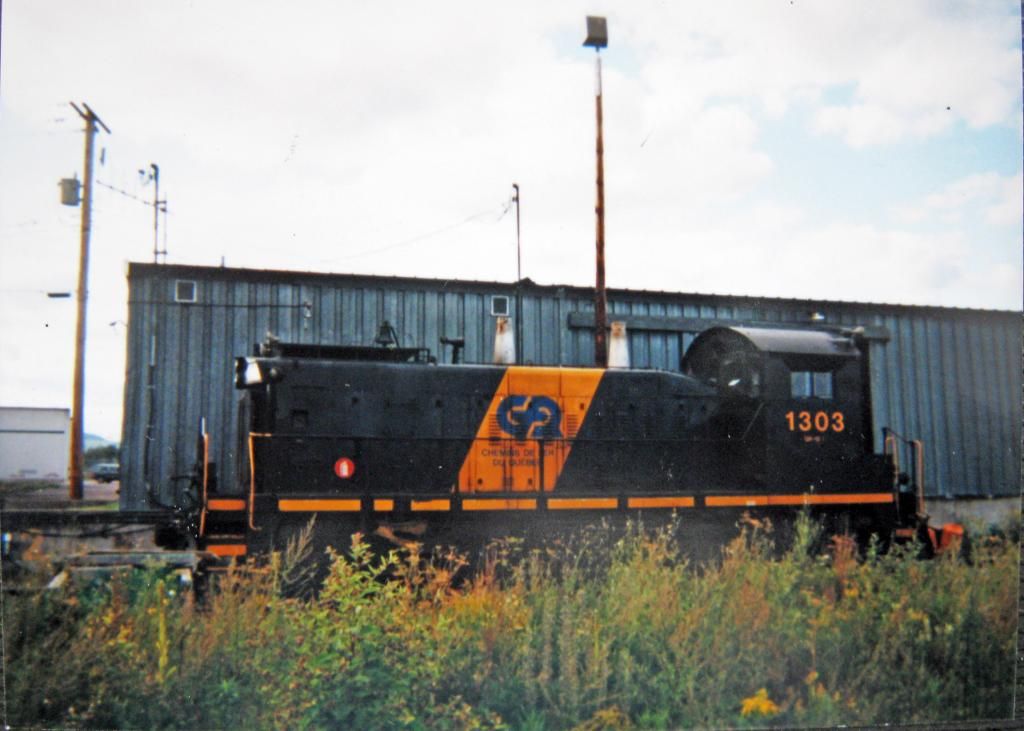
Later in the afternoon, a few miles south, my parents accepted to drive into Clermont industrial park. This railway transloading area is located on a wye which is called Wieland. There, a siding near a loco shop revealed two nice things. First, one of the switcher. CFQ had 3 switchers: 2 were pulling the regular freight train and one was kept at Clermont as a replacement.
 |
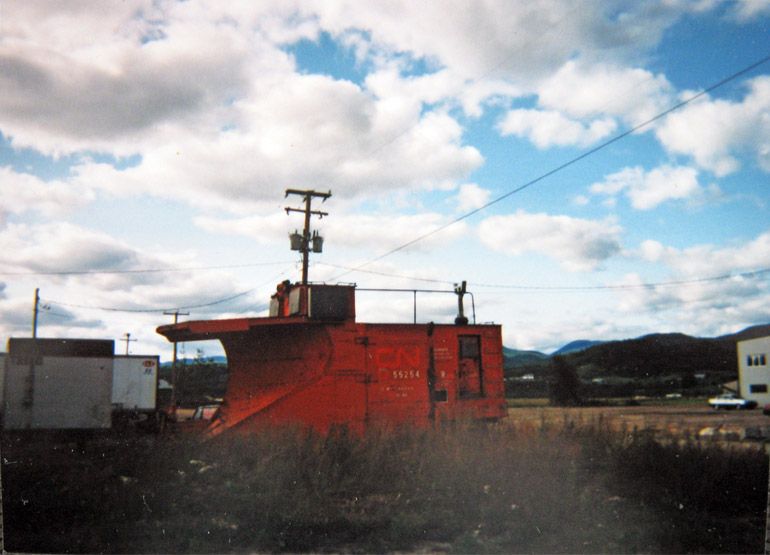
| Ex-CN 55254 snow plow stored at Wieland. |
Finally, behind the switcher, there was this nice snow plow. Not identical, but very similar to True Line's new project. The snow plow is still owned by Le Massif de Charlevoix, bu didn't saw action since a long time and is a rust bucket rotting on a forsaken siding a mile south from Wieland. Two years later, I bought a Walthers Russell snow plow to kitbash this one. I shorthened the body and painted it. Finally, I restored it to it's full length about 3 years ago and airbrushed it.
Then, we returned home and I only came back there this spring. Most thing didn't change... but the yard was empty, a large tree felt over the tracks and remaining cars near Wieland were rotting on spot. Donohue's switcher is still there, but no more CFQ locomotives.