At some point, it is a necessity to visit the place you want to model. Some of us have the eye to interpolate information from pictures, but there's a limit to that. Mike Cawley from Australia is one of them and I guess his experience of observing real-life subjects and painting them helped him to develop this particular skill. But most of us need to see things in 3D to really understand colors, relation between elements and have a sense of space.
Last week, before leaves and flowers blossomed, I went with Louis-Marie up to Clermont to watch the mill. Charlevoix area is probably among the most scenic areas in Eastern Canada, no wonder it was a resort of choice for wealthy Americans a century ago.
One must know there haven't been any freight movement on Murray Bay Sub since 2009, when Le Massif de Charlevoix (LMCX) bought the line. There was talks of an agreement between Le Massif and CN to handle freight but nothing materialized. Thus, the track from La Malbaie to Clermont - the "industrial" part of it - is almost abandoned.
That said, it was a good occasion to better understand the local topography, how track is built and get a general idea of vegetation and soils.
 |
| Clermont Paper Mill seen from the river. |
It was also a nice opportunity to understand the paper mill and railway operations. In fact, the line was built in 1909 to serve this particular mill which is located at the end of the steel. Google Earth aerial pictures weren't that precise about the place and it was hard to understand how they handled chemicals.
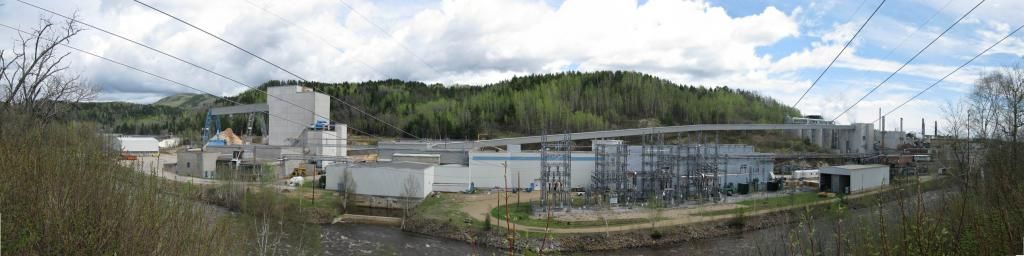 |
| The electric powerhouse and woodchip unloader. |
The mill received many commodities by rail, including chemicals, kaolin slurry, peroxyde, woodchips and sent boxcars full of paper products, often to New York City-based newspapers.
I took plenty of pictures from the other side of the river and photomerged them to make a backdrop. I don't know if I'll used it in the end, but it will definitely be useful to make different buildings à la Mindheim.
Going to Clermont was also a good occasion to see how roads and tracks interacted together there. An interesting set of slopes merge at a crossing near the mill. This scene will definitely find its way on the layout, including the nice stone wall and this will help to blend the scenic divider on the peninsula better with adjacent trackage.
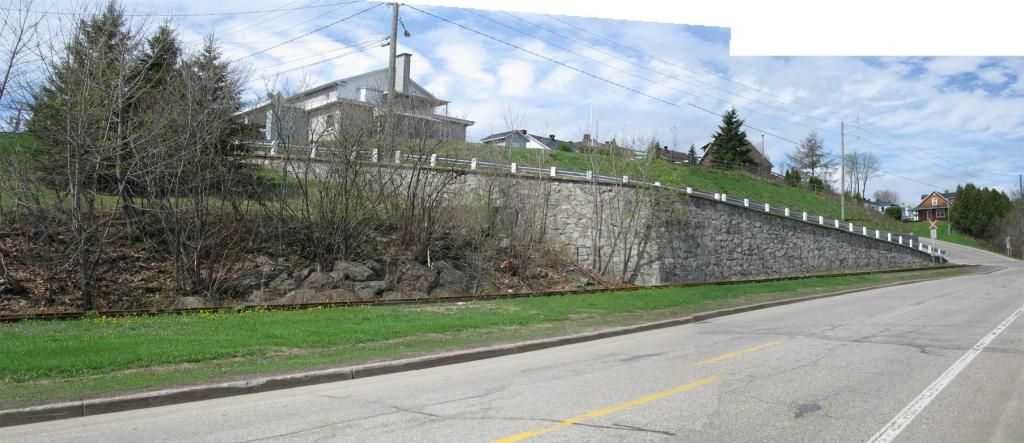 |
| This stone wall gives a lot of character to this typical scene. |
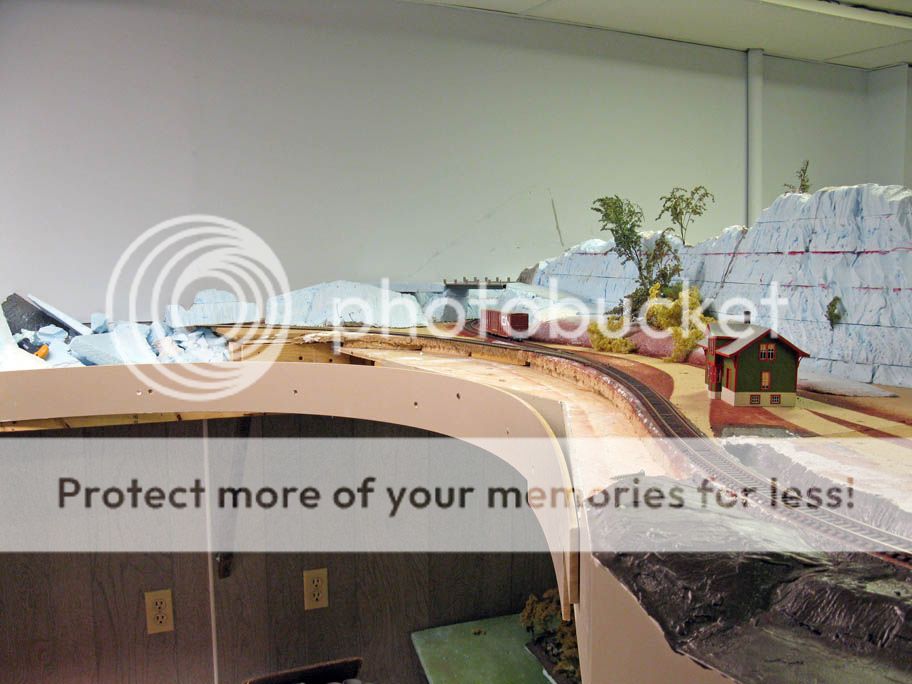
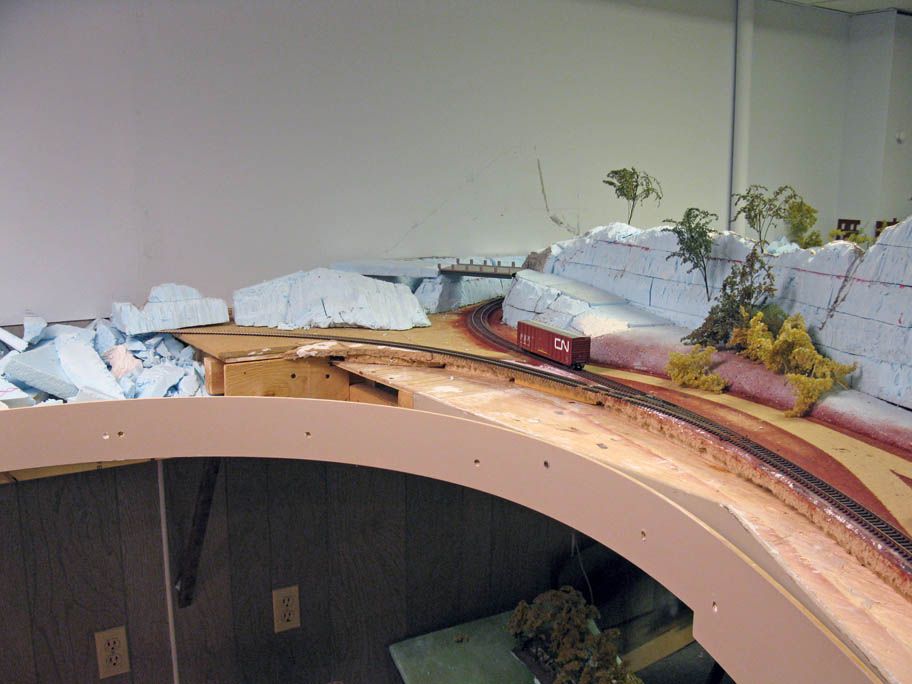
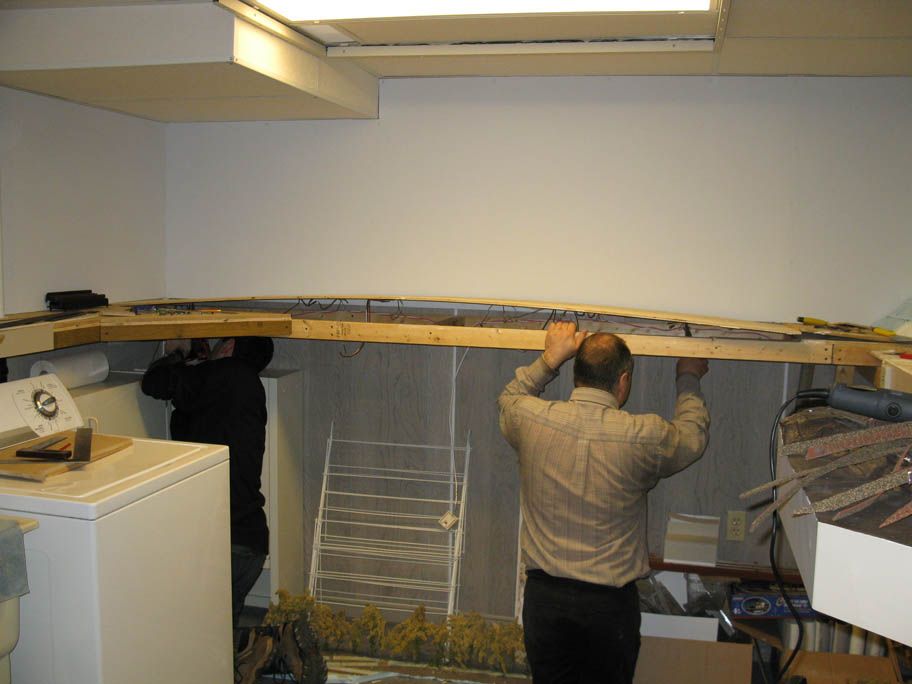
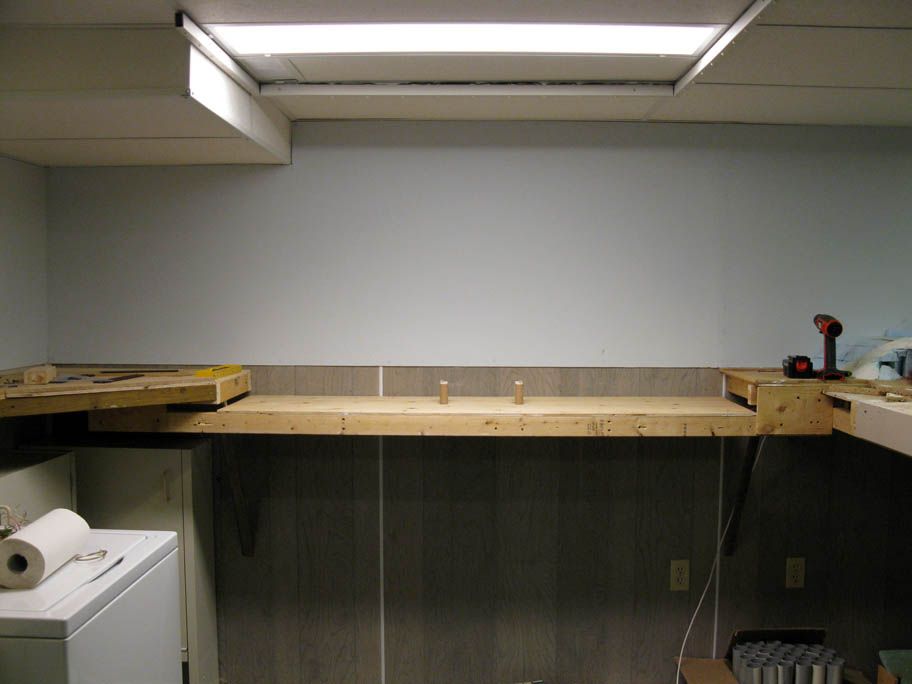
Back to Quebec City, we reworked the layout according to our new finds. The overpass in the background will close the scenery between Montmorency and Clermont. The stone wall will be located along the track between the station and the overpass. I'm not sure if the station will be kept.
The fascia will also be redone. The old one was straight, but this time, we will curve it to get more space between the track and... a better overall look. I'm actually wondering if I should paint the new fascia dark green or keep the sand tone. We will do some test.