As you can see, this diminutive bridge is quite interesting. They spanned the river using standard bridge girder cut in half. The missing upper member was made with various steel angles bolted on the girder. It was a little bit heart wrenching to cut Central Valley bridges in half, but worth the effort to get the "real" thing on the layout.
Up until the mid 20th century, most concrete form were made of wood plank. Naturally, planks give a easily recognizable texture to a concrete objet. I tried to reproduce this on styrene by scribing the surface but wasn't satisfied. It makes too much uniform grooves to be realistic (see my River Malbaie posts).
Thus, I decided to try the good old technic of casting bridge abutment with plaster of Paris (or Hydrocal or Durabond 90). The method I'm following was given by Doctorwayne - one of the most talented HO scale modeller in Canada. He makes molds from scribbed styrene sheets that can be used to cast abutment of different height. You can even change the top part depending if you want a notched or a flat top abutment.

Note how the mold is made out of parts that can be easily separeted during the releasing process.

Building the mold with 1.5mm thick styrene took me about an hour. Casting each abutment took about 5 minutes and 30 minutes of drying time before releasing them from the mold. No need for releasing agent, a slightly wet mold works just fine. Don't forget to knock the mold a little bit to make air bubbles trapped in the plaster to surface.

In an afternoon, I had 4 abutments, with crisp details and realistic texture. Should I saw making styrene abutment can be time consuming and the painting process is quite tiresome if you want something that looks like concrete.
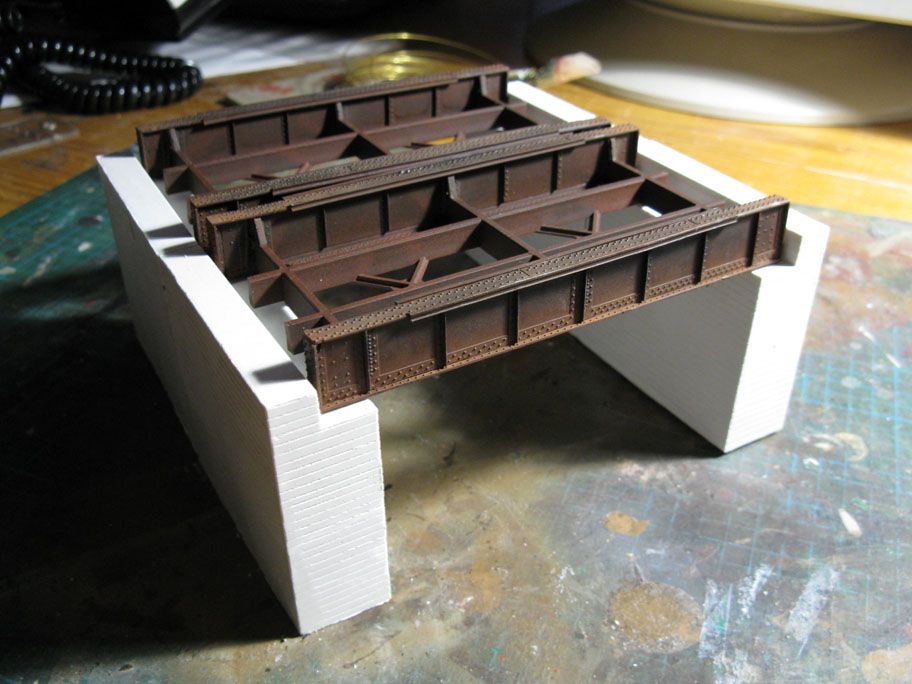
Here you can see the final result of this twin bridge. Abutments need to be stained with a weak wash and other weathering technics.
No comments:
Post a Comment