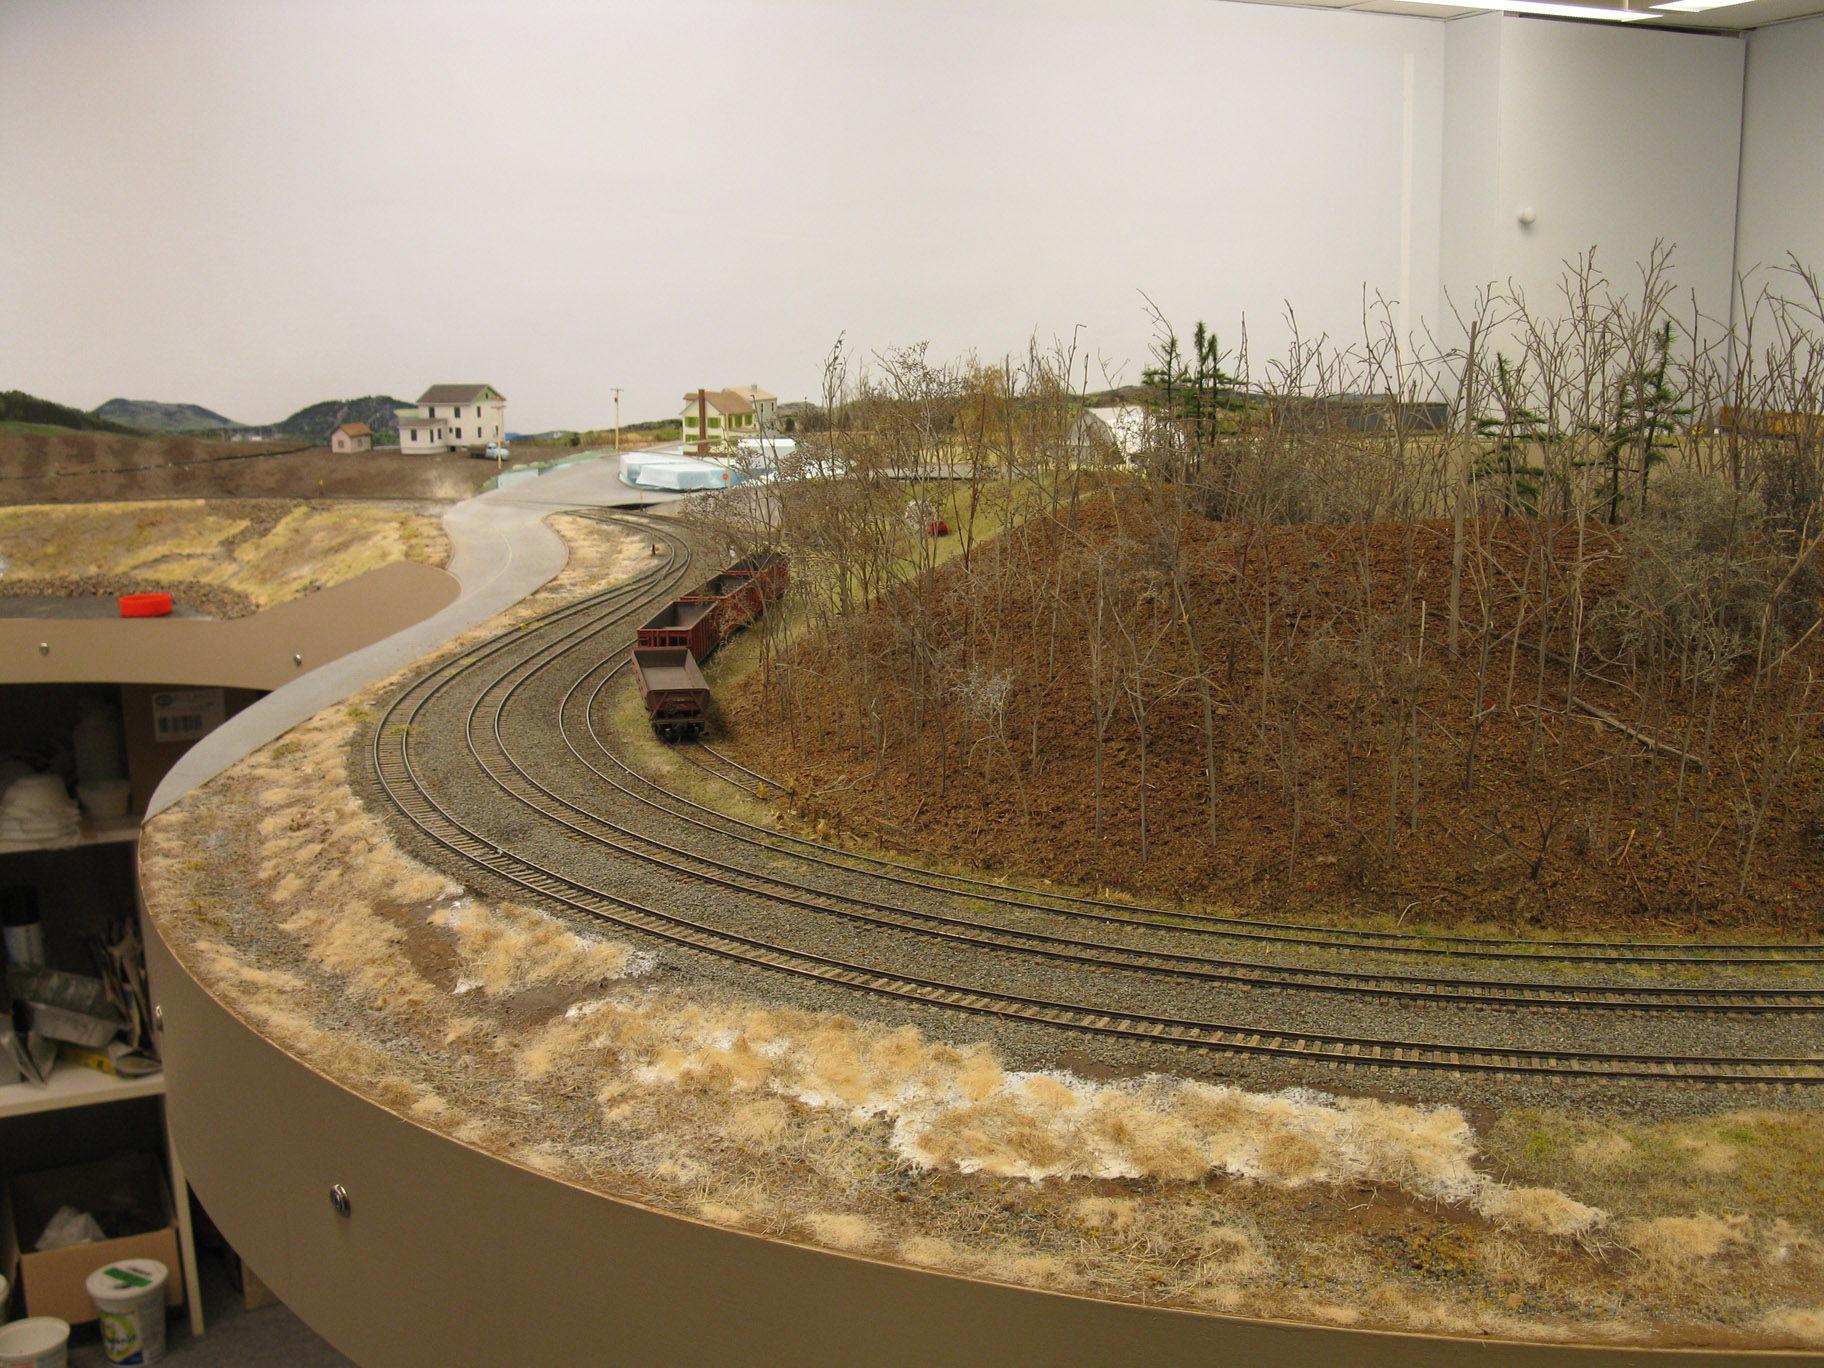
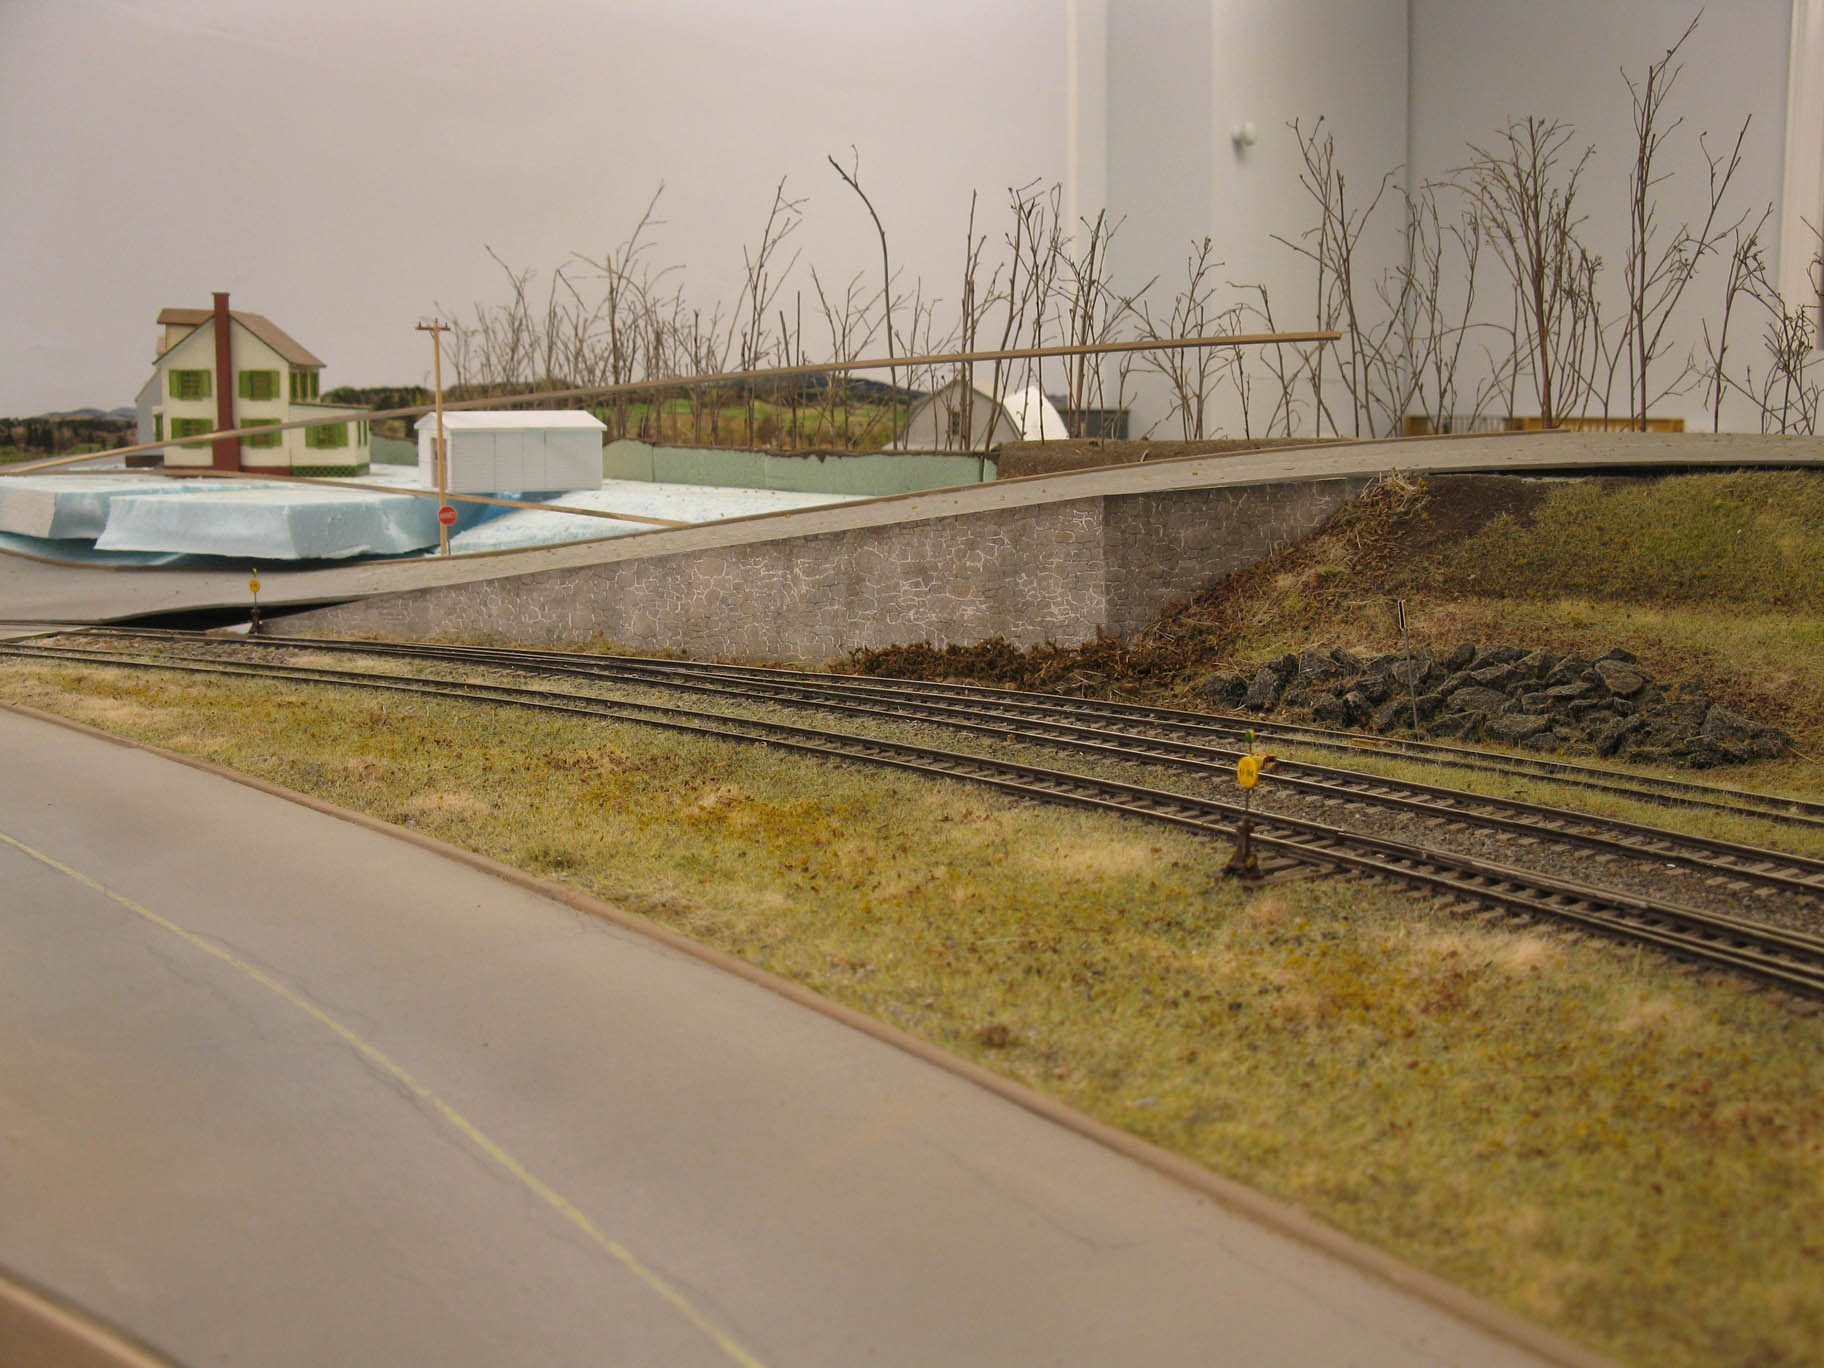
Last Wednesday, it was club layout time and with the road and retaining wall out of my way, it was time to apply some scenery magic to Clermont yard.


The next step was to ballast the rest of the yard, which was about 16 inches long. I used my usual custom mix of shifted local stones, sand and dirt. However, following several discussions with Chris Mears about ballast, I added some Woodland Scenics Light Gray light ballast? Why? Because we have discovered it was common to see very light stones inclusions in ballast. They are subtle, but hard to replicate with natural stones that are darkened by glue. No need to add much material, just a pinch and it makes a drastic difference, capturing that contaminated ballast look.
 |
| Ballast is a rich subject to model... |
Speaking of contaminated soil, I also applied some unsanded sand-colored (!) grout to model sand accumulated on the road shoulders. Contrary to real dirt and sand, this mix don't change color when glued, which give a little bit more control. Also, I sprinkle the surface with olive green ground foam. This add relief before applying static grass and replicate these tiny plants starting to grow under the dead grass in May.

The last use of stone was on the embankment and mainly the ditches were several layer of rocks, crushed limestone and Woodland Scenics ballast were glued do to create a drainage ditch. All this will be covered later in grass.

As per my usual recipe, I don't wait for Celluclay to dry, but start applying scenic material on a fresh layer. It acts as a glue and reduce the quantity of white glue to use. I take pinches of yellow static grass and daub it on the surface, leaving patches of dead vegetation. I generally do that near the roadbed were drainage reduce the amount of water in the ground. For the same reason, very little dead grass is found at the bottom of the ditch where water revive the vegetation faster in springtime.


For more color variation and realism, I also used weathered sisal and jute ropes gathered from my garden and cut between 2 and 4mm long. They have much more variation in color than commercial product and their greyish tones are perfect for dead plants.

The next step is the easiest one as I fired up the static grass applicator and cover large swat of land with a custom mix of various mint green, spring green, yellow and burnt grass fibers. I also make sure the mix isn't perfectly blended in the cup, which enhance the random application of colors. Also important, I don't try to cover everything in once pass and one blend. Instead, I covered maybe 1/3 to 1/2 of the surface with random patches of white glue. When the first pass is done, a second one complete the basic layer of grass.

After this first layer, I added greenish tuffs here and there to replicate early spring flowers. They are pressed into the mud and flooded with diluted white glue. Also, at that point, I sprinkle crushed dead leaves here and there... Mainly around the track and at the bottom of the ditch. More gravel is also added there and flooded with glue too.

From that point on, I use cheap hairspray to add adhesive in random places where I want more color variation or density. It's easy and it fixes everything. Don't refrain from building several layers, this is how you achieve realism: color + texture.

The final touch is something only people living in places that receive a lot of snow during winter with understand. To fight against ice and packed snow on roads, a lot of abrasives are used. While salt to lower the freezing temperature of water is well known, the main ingredient is generally sand and very fine crushed stone. As expected, snow plows constantly eject that dirty mix on the road shoulders where it can create a cover of powdery and greyish material over grass. I thought it would be cool to do the same. I sprinkled sifted brown dirt over the static grass on the road shoulder and blew away the excess. I also added some more on the asphalt road, by the curb. Using a large pencil, I brushed that powder to make it stick on the side where vehicle wheels don't run.

At the end of the day, the entire process took less than 3 hours, including cleanup. More than 8 feet of scenery have been done in one pass, at a leisure pace. Small bushes and trees will be added later, but it shows how fast doing mundane scenery is. No excuse to believe it's hard and time consuming. It is not. You probably wasted more time last month programming a decoder or chatting online about trains!
Stone dust for winter
Nice work
ReplyDeleteThat looks great!
ReplyDelete