Monday, January 27, 2014

Steady progress

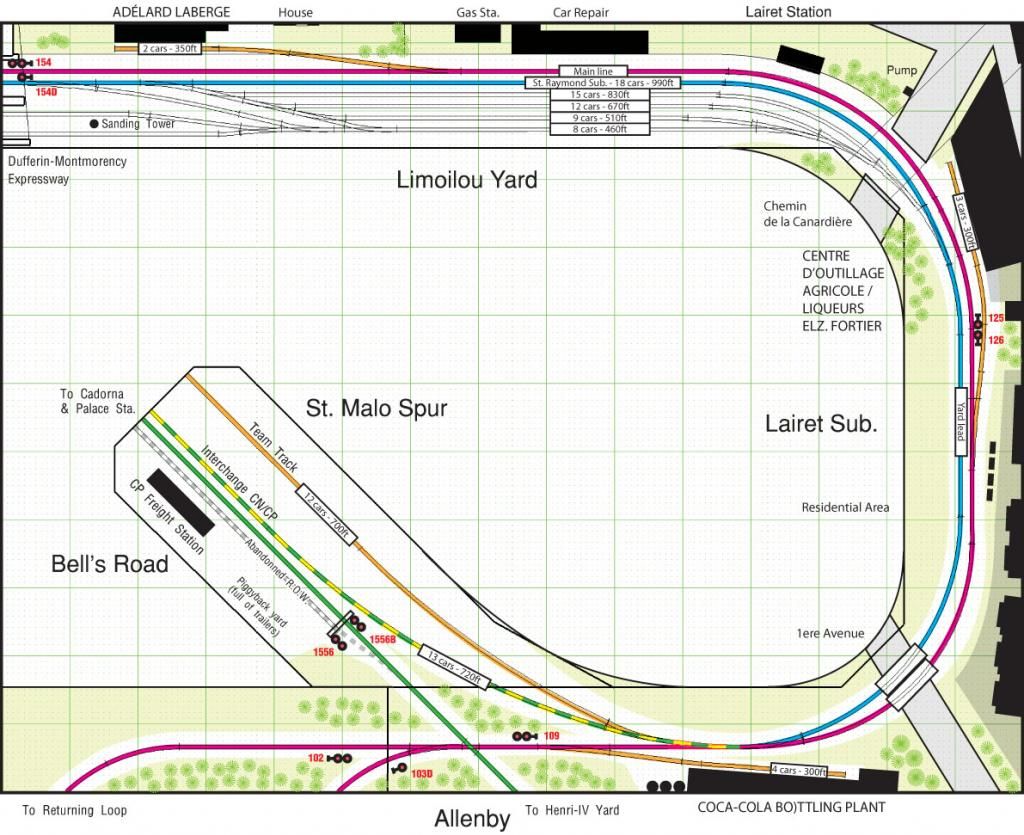
I'm quite satisfied with the layout rebuilding process. Tracks are in the mail with other goodies, peninsula benchwork is now in place and we only need to modify Canardière and 1st Avenue recessed benchwork. Also, we again streamlined the track plan. Simpler is better...


I recently stumbled upon a nice Facebook group (yeah, you know how I hate that LifeInvader thing) featuring vintage pictures of Limoilou. Wow! Many billboards from the 70s, most major roads and buildings depicted. Better, 3 views of Lairet Station in its glory! I already made a CAD plan of it and I'm ready to build it as soon as possible.

Louis-Marie tweaked FastTrack turnout controls to make them work in pair for crossover. That guy will always surprised me!

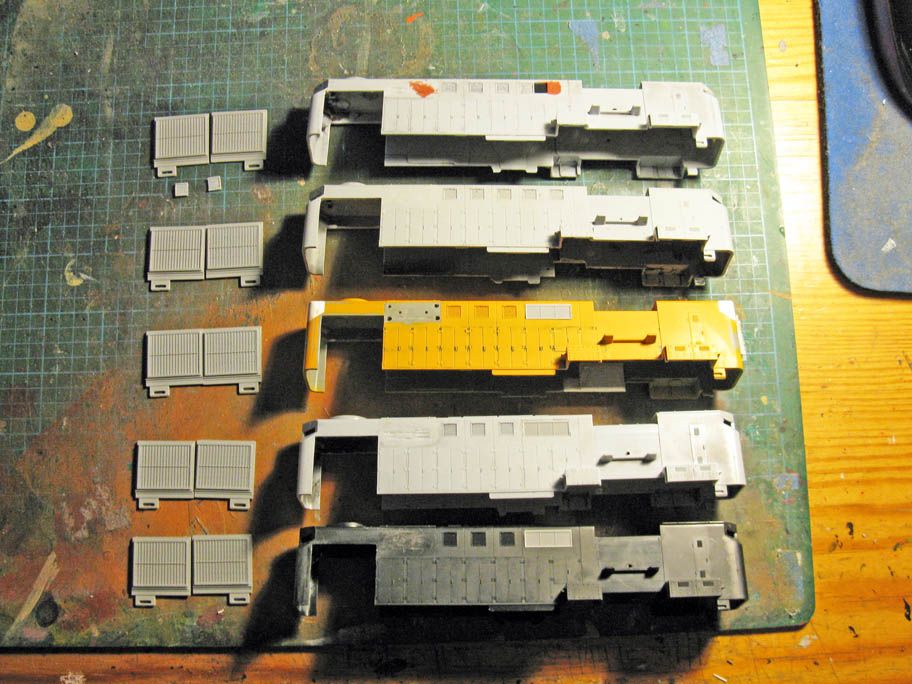
Also, the five RS18/10 project is going well. I try to work about 1 to 2 hours per day on it. It's tedious repetitive work. I don't think I'll complete them before spring. On the other end, the Bachmann GP9 have been fully CNRized. Only the cabs need some improvement. I'm confident they will be hitting the rail in March. Honestly, I really loved working with the Bachmann shell. Details are fairly decent and parts are easy to disassembled and modify. I really like what that company is doing with its entry-level models, great kitbashing stuff.


The next weekends are gonna be crazy with a lot of track work to do and roadbed modification. I'll have to quickly build Canardière and 1st avenue overpasses. They are crucial elements to be done before gluing down the track.

Our troups are motivated to build a "museum-quality" layout, that's a good thing! No more fiberboard land!!! Welcome scenery!

Matt

Tuesday, January 14, 2014

Simplified track plan - again!


A new and final version of the track plan was prepared last week after a lot of discussions between Jérôme and me. At his suggestion, we simplified the track arrangement at Bell’s Road and St. Malo to reflect better the prototype. This also means the signal bridge with be prototypically placed on CPR mainline and not CNR.

Also, we decided to remove most of the double track mainline. It was not only unprototypical, but also more or less useful to run the layout. In fact, it gives us more room for scenery and free us from a hard to reach turnout near the closet (behind Bell’s Road peninsula). The compromise was to connect the yard lead after 1st Avenue overpass to have enough room to switch without fouling the main (which happens on the prototype because it’s the end of the line and passenger trains have their own track). Working out the geometry of 1st Avenue’s twin girder bridges with their curved track isn’t easy but should work fine.


All in all, the layout has now only 20 turnouts, which is a good thing. I took a time to check up Joe Fugate’s formulas to evaluate a layout’s potential. It looks promising. However, these formulas seem to be mainly designed for large club layout with crazy working schedule and not for a typical shelf layout. These big layouts always seem fantastic, but at some point, they feel like playing a video game simulation instead of a modelling project. Definitely not for me! 

Jérôme also designed the new railway signals arrangement according to the prototype.

The scenery was also finalized with most buildings finding their location. It’s not cast in concrete, but at least gives us some ideas how things will work together. I made a mock up out of foam board to represent Natrel dairy plant (ex-Coca-Cola bottling works) on 1st Avenue. I’m quite satisfied with the result. Proportions are good and the scene seems to come together perfectly. I also made a printer paper model of a typical Shawinigan Power electric pylon. These are staples of old electric line found along railway tracks in Quebec City and Three Rivers areas. Next club session, I’ll mock up the Canardière’s Road scene. Both scenes will require slight benchwork modification. I honestly don’t expect to run trains in Hedley-Junction in the near future. Anyway, we still have to decide if we will use PECO or Atlas Code 83 flextracks. Atlas is much easier to use but not perfectly compatible with PECO. It’s a shame Code 83 isn’t as standardized as is the now obsolete Code 100.


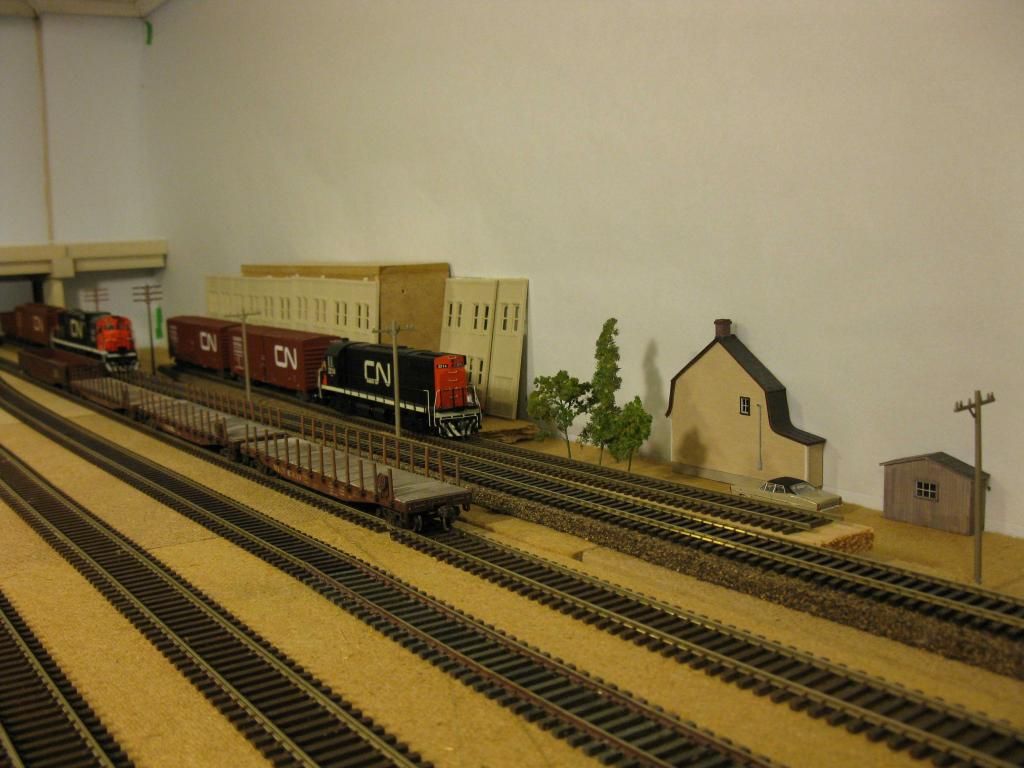
 The scene near Dufferin-Montmorency Expressway is also completed. The small town house is an exact replica of the sole surviving working class cottage of Hedleyville - a village destroyed to make room for Limoilou Yard circa 1905).


By the way, I received my four Atlas RS11 locomotives and stripped their paint yesterday. I’m now ready to bash them into RS10/RS18. I’m still wondering if I’ll use my fifth one (Atlas-Kato) to make another one… I’ll see.

The GP9 are also almost completed before painting. I only need to add small details like cab sunshade, Sinclair antenna, new brake wheel housings and lift rings. Hope my order will come soon.
Saturday, December 28, 2013

Gordon Gravett's books

Gordon Gravett's name as been talked about a lot recently and I was curious to check out his technics after seeing his wonderful layout pictures.

I just received those books this morning and was quite impressed. Quite pricey, they are totally worth their price. Pertinent information and great looking technics. What I like is the fact most process are quite easy to understand, it's up to the modeller's skill to push them as far as he wants.

Highly recommanded and inspirational, Mr. Gravett's books gave the hobby a fine tool to reach another level. What may looks like skilled masterpieces are in fact built upon a simple thing all model railroader can attain easily: observing real things.

Books are available Wild Swan Publications Ltd. in UK and available at many respectable UK online bookstores:

  • Modelling Trees Part One - Broadleaf Trees
  • Modelling Trees Part Two - Conifers
  • Modelling Grassland and Landscape Detailing

Saturday, December 21, 2013

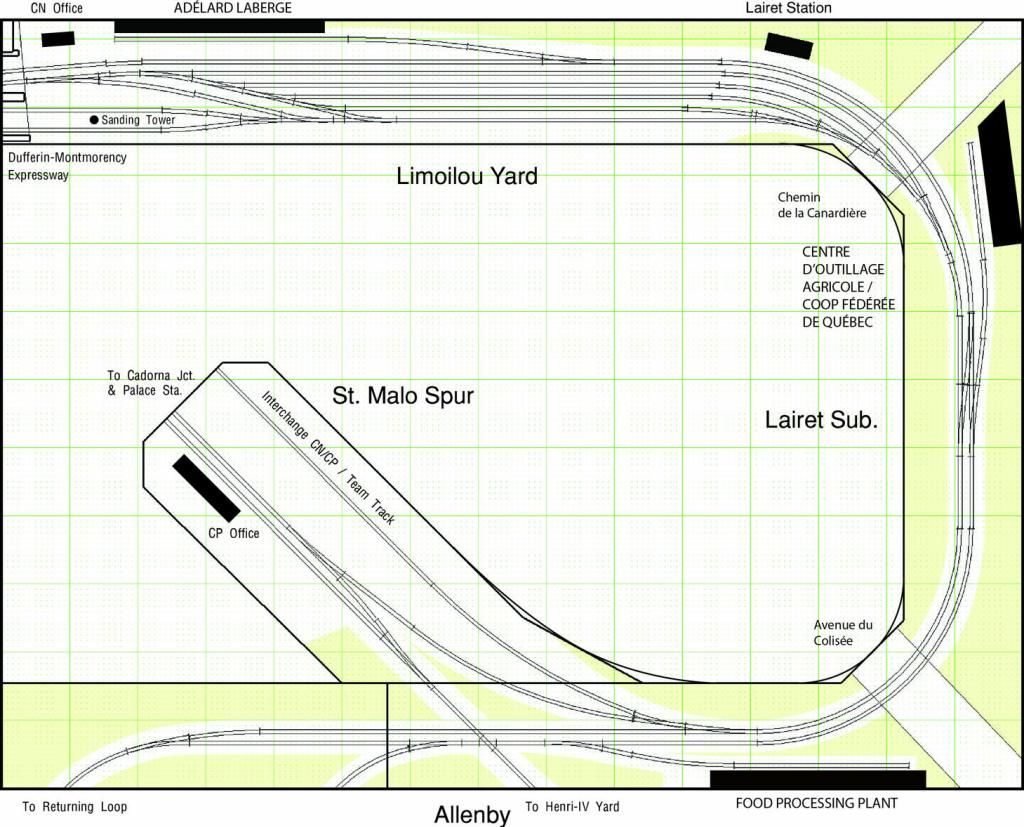
Tweaking "again" the track layout

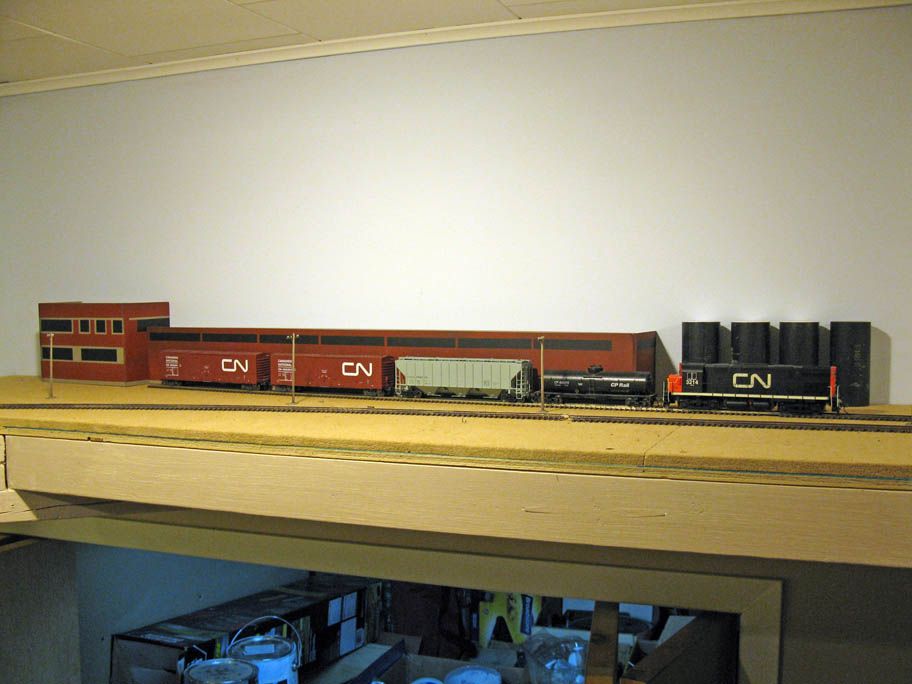
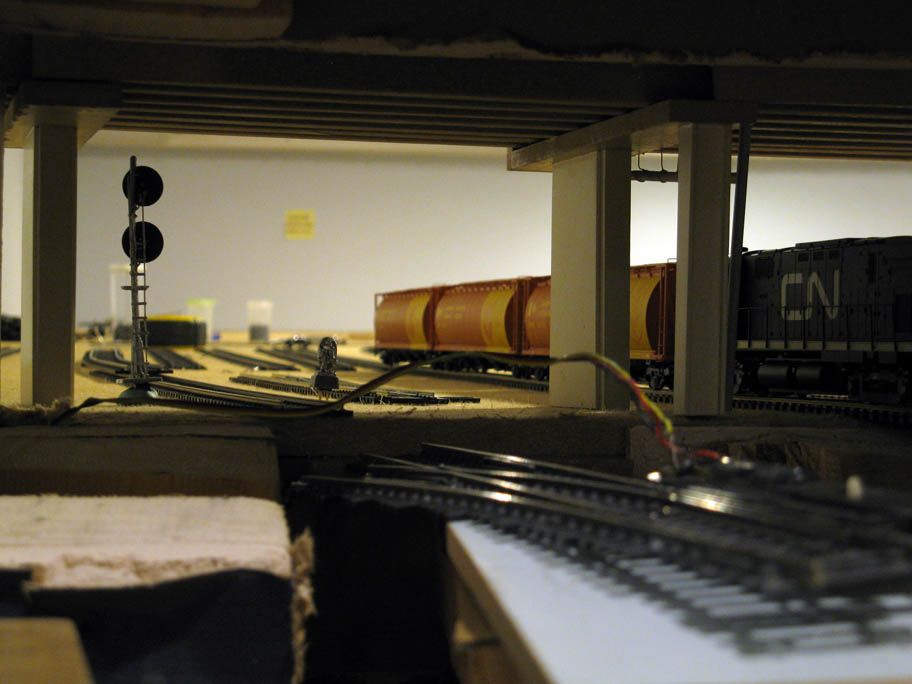
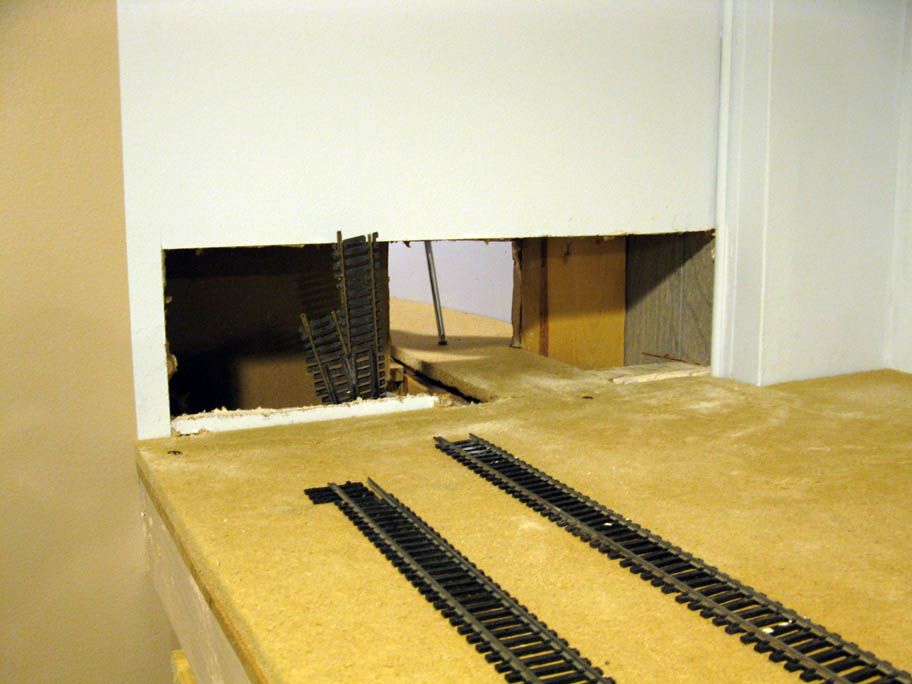
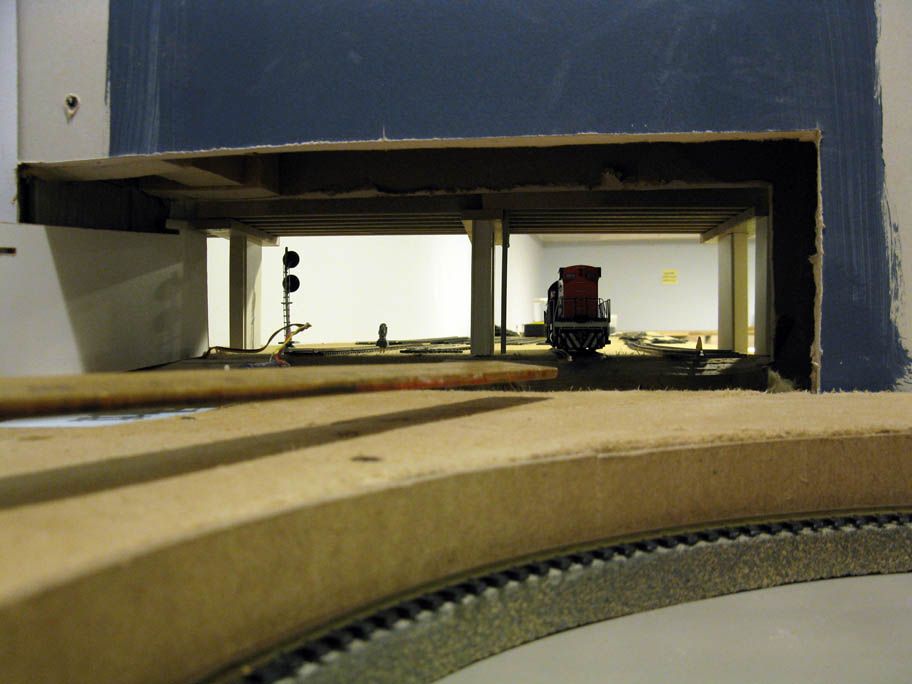
Last Thursday, we decided to start rebuilding Lairet Subdivision. All tracks, el cheapo Atlas and Life-Life Code 100, were removed. We also enlarged the hole in the wall to get more place for locomotive storage.

We mocked up the new peninsula and tracks. Thus, I had to modify the track plan accordingly. Following Jerôme's suggestion, I decided to remove the bypass track in the yard. Not only is it useless for operation, but it takes up to 18 inches of length in the yard. It means the capacity storage went up by 8 x 50ft cars! And we also saved a few costly PECO turnouts.


It also makes the yard more simpler, thus more realistic since it is so small. Less is more again and again. And that makes me happy that way. I was fortunate to be able to modify the turnouts order. Dave Cool at Canadian Express Line is always a nice fellow toward his customers. Not the biggest inventory online, but definitely good service, good prices and faster than light shipping. I wish the LHS was half that good!

I took some picture of the new tunnel. Great photographic angles were discovered. I tell you, that knew layout's gonna be a great one!


I also continued working on St-Sacrement freight station. The building is now 80% painted and need some weathering and glazing. By the way, I've been told by Jean-Pierre Veilleux that CPR piggyback loading at St-Sacrement was called Bell's Road. Since the layout only depict CPR trackage near Allenby, I consider I should name the CPR building: Bell's Road... I'll see.

Friday, December 20, 2013

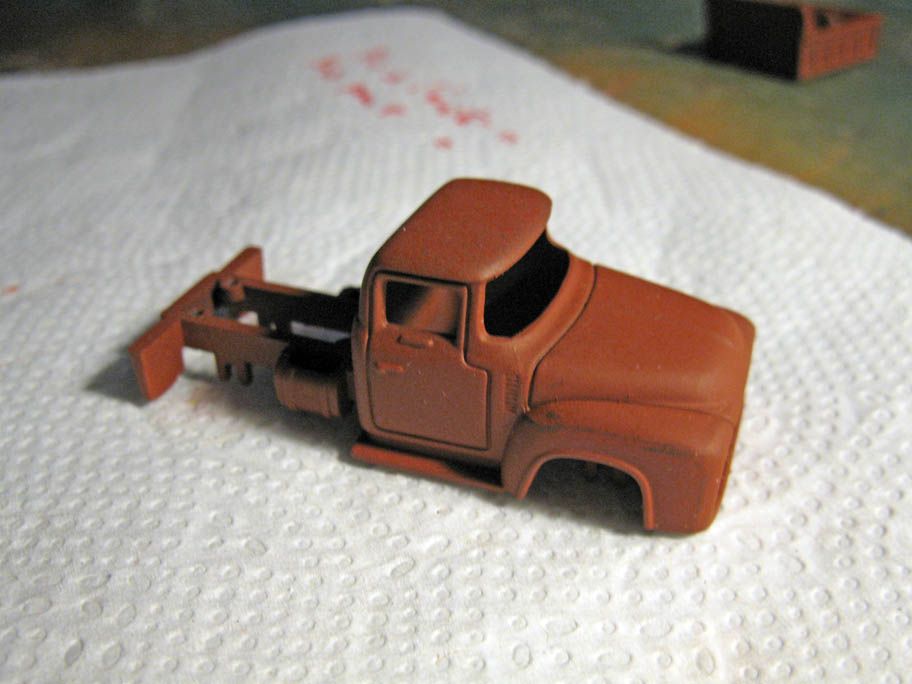
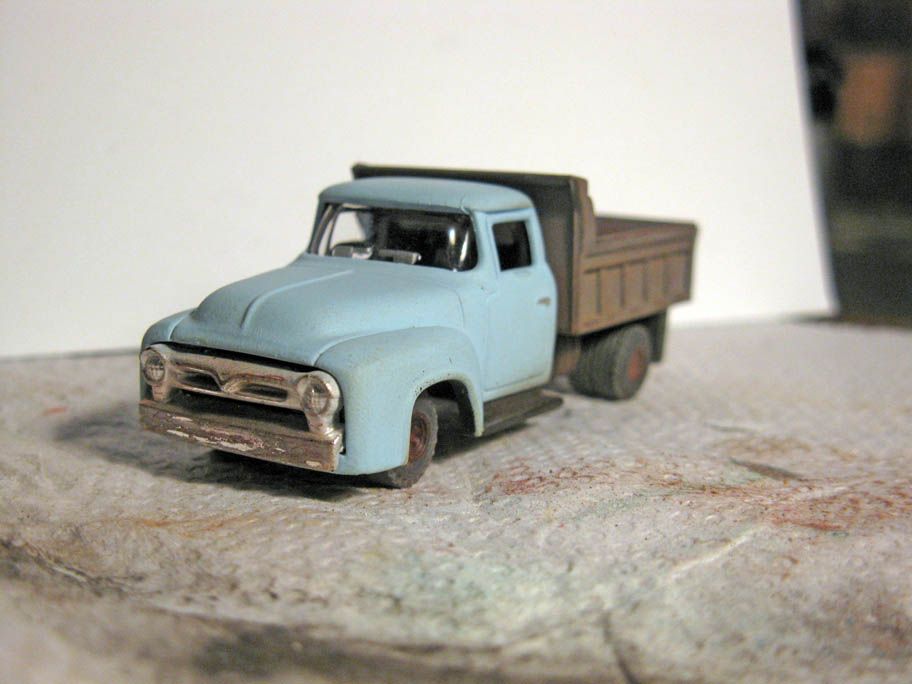
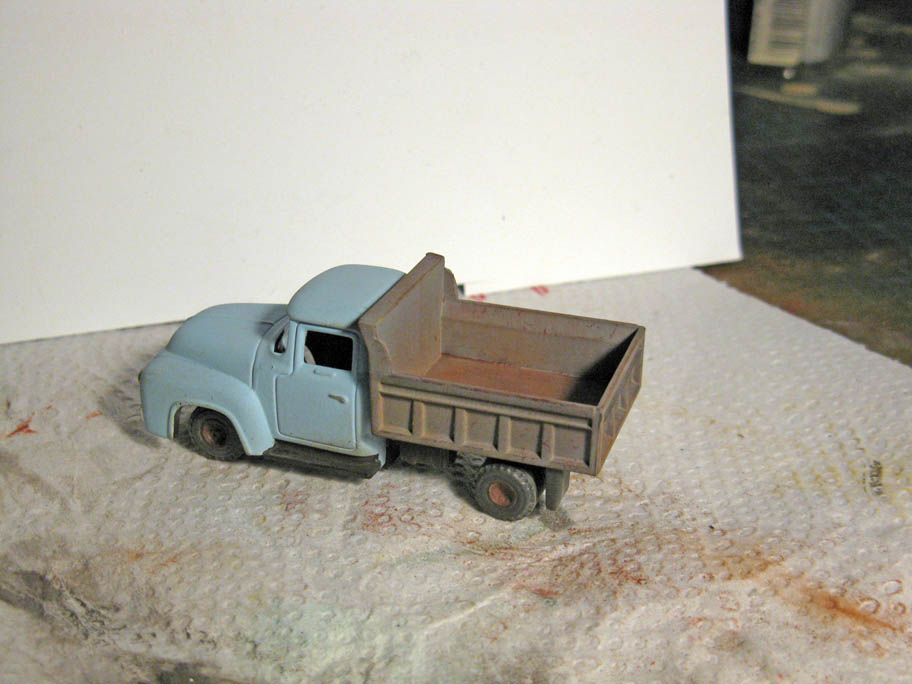
Improving a Life-Life Pick Up Dump Truck

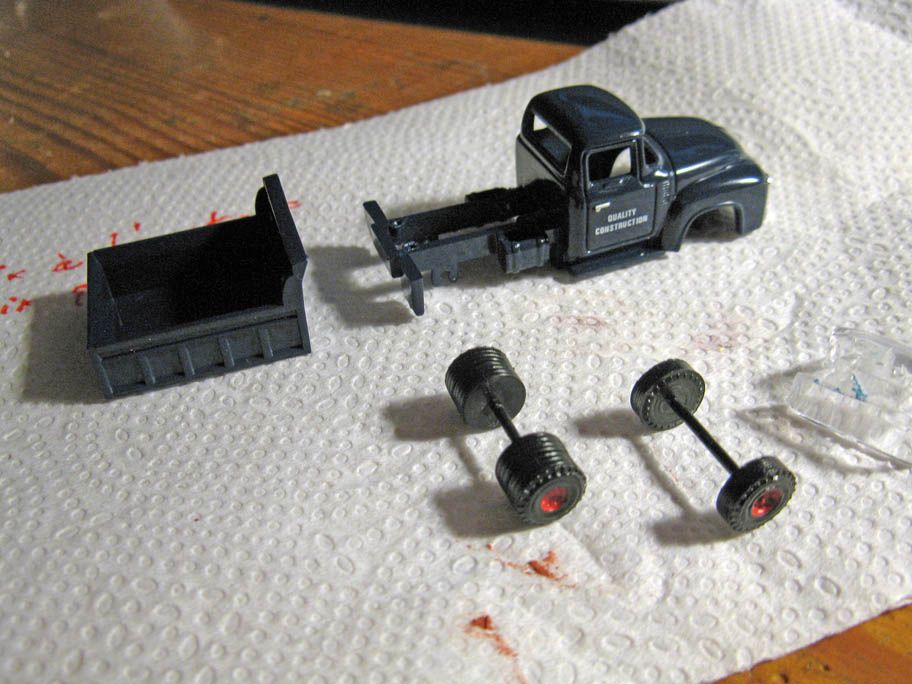
I got this little 50s pick up truck from a Life-Like construction set.

The vehicle itself isn't half bad. Not a foreground model, but still decent. I thought it would be a nice truck to have near St. Sacrement team track. The kind of truck general contractor keep under good shape for years.

The model was easy to dissamble.


I primer everything in brown red primer (Krylon spray paint).


Then, using Citadel acrylic paints, I painted the carbody robin's egg blue, a popular color of the time, the underframe brownish and rubber parts (tires, etc.) in a light dusty grey. The dumpster was painted a greyish-whitish aluminium color. I didn't bother covering completely the inside side and rather drybrushed it go keep some red primer visible. That would make a nice base for weathering. Strokes were done vertically to make it realistic.Once done, the model was dullcoated.


Finally, weathering was done with pastel chalk. I dusted the carbody with white to fade down the color. The frame received a generous coat of rust according to real life pictures. A dark brown color pencil was used to make some scratches here and there. The model isn't great even after a paint job, but still far better. Next step will be, someday, to add Quebec 1975 licence plate.