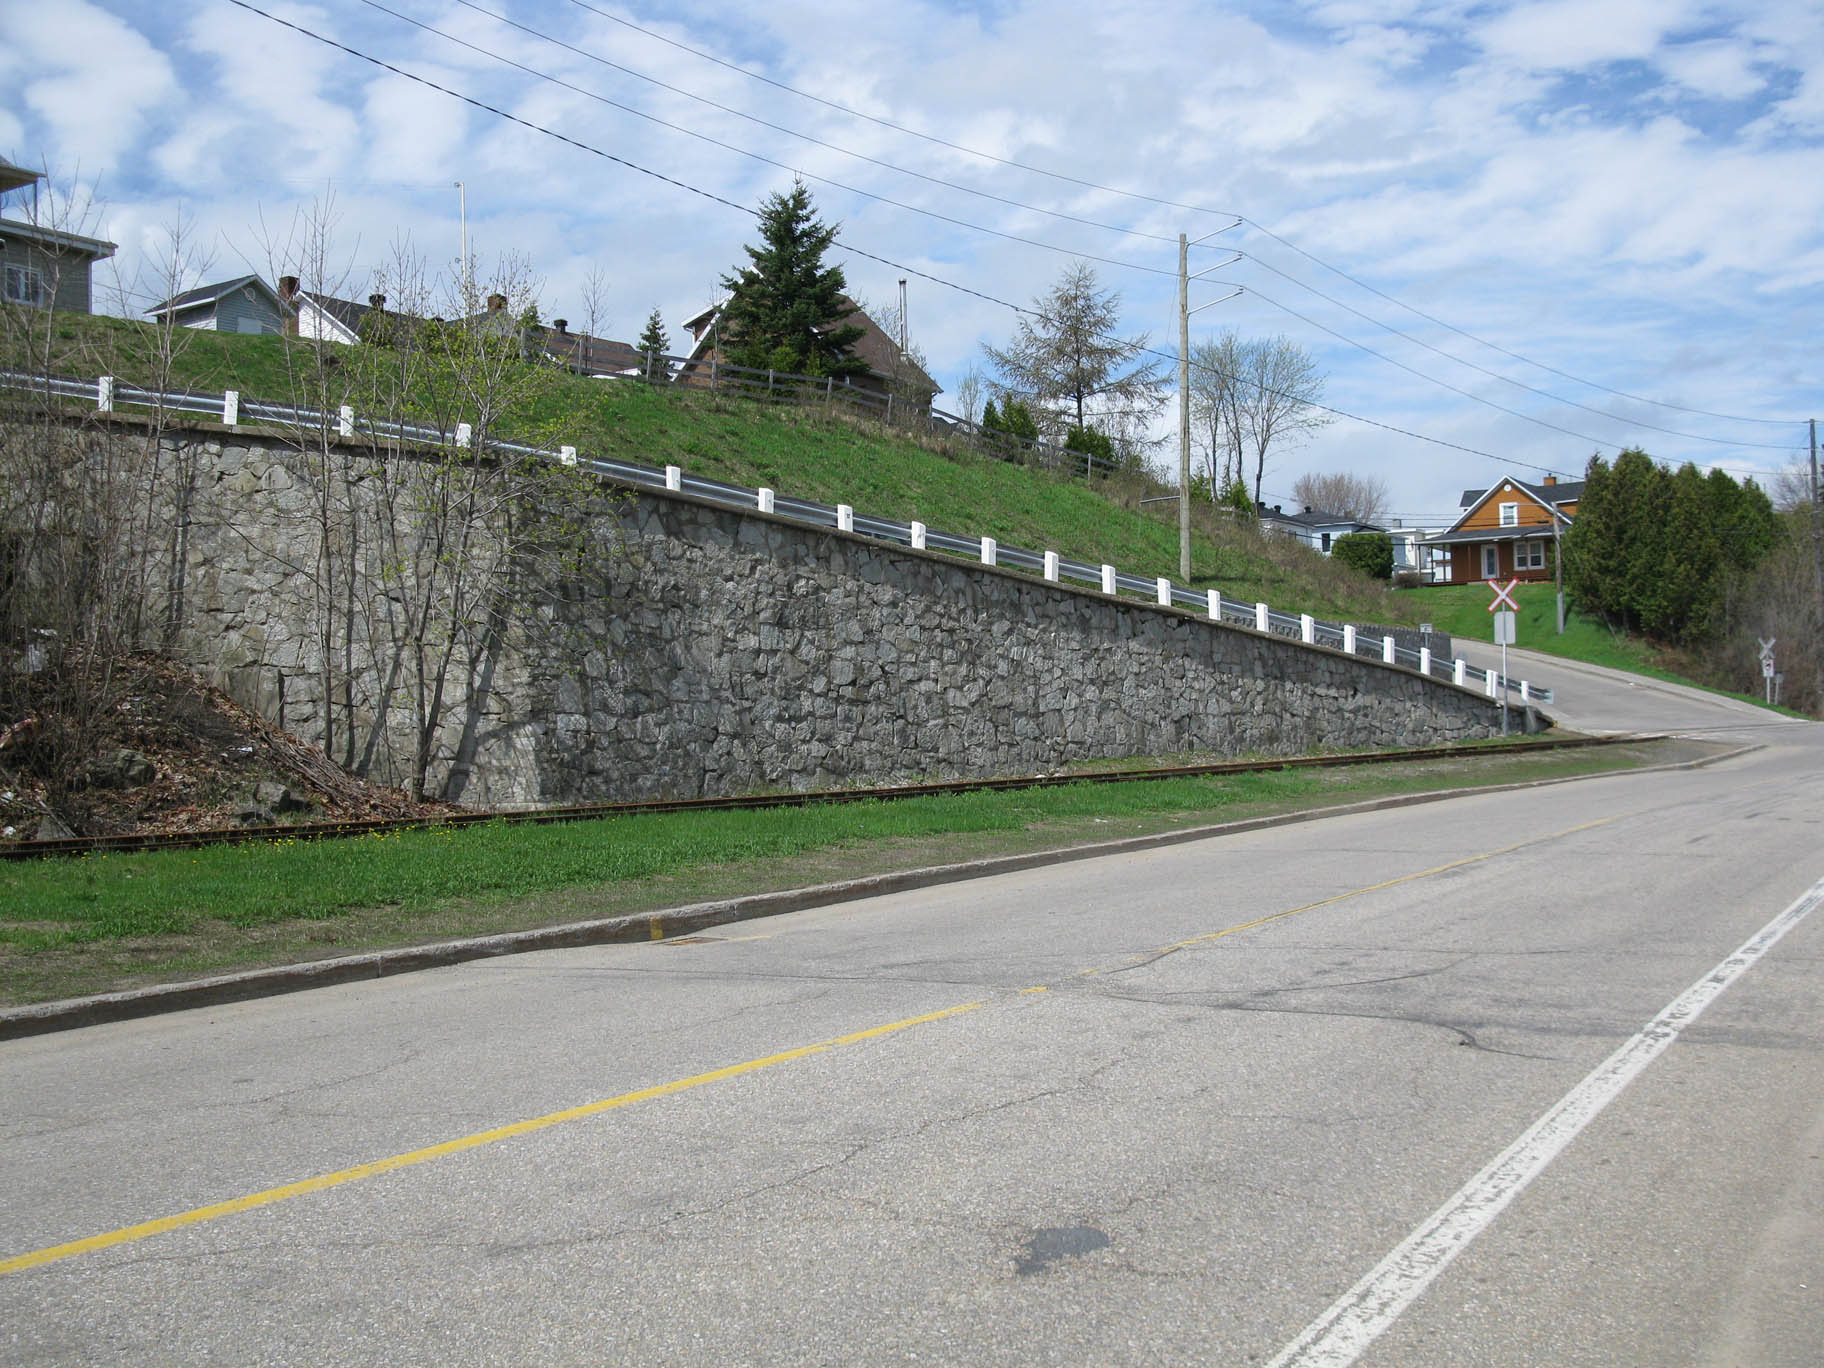
A noticeable feature of Clermont is the stone retaining wall. I poured a lot of efforts trying to replicate it as best as I could and now it's time to complete the job by crowning it with a sidewalk and some crash barrier.
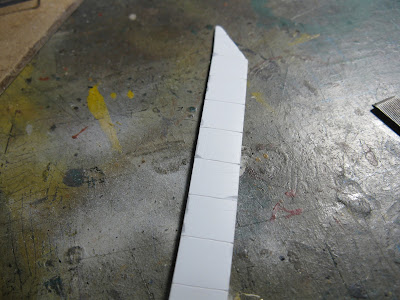
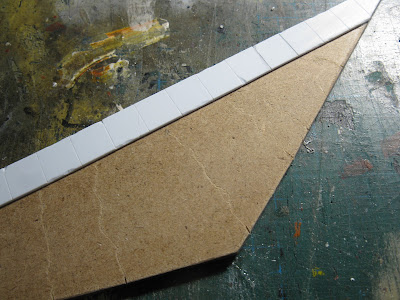
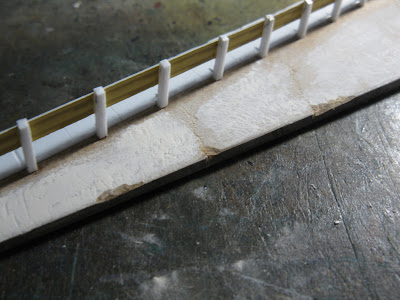
I started with a 1/8" thick MDF plank cut to size on which I glued a 1mm thick styrene sidewalks. Each slab of concrete was individually scribed and the surface and edges were distressed with a metal point and a blade to replicate damaged concrete.
The next step was to cut and distress the wooden posts of the crash barrier. As always, I made a small jig to ensure each post would have a 8 degree angle to fit he retaining wall incline.
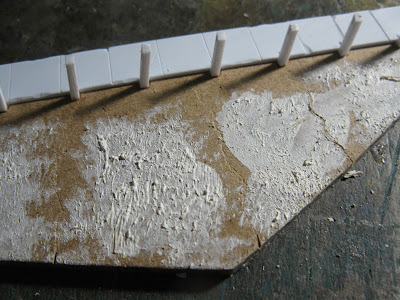
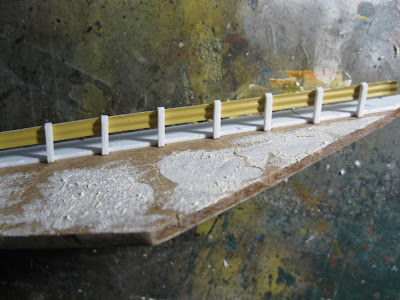
The large concrete slab over the retaining wall was also distressed. I added cracks and damages with a razor saw, a metal point and a hobby knife. Later, I came back and stippled Tamiya putty on the surface to add texture. This crude surface was then lightly sanded smooth to get a more realistic concrete surface. Indeed, with age, water erode the cement exposing the aggregate.
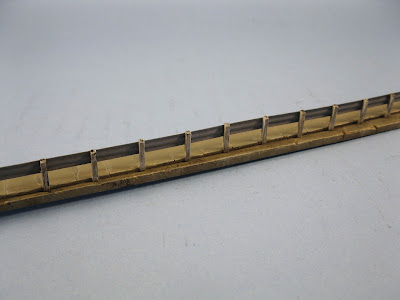
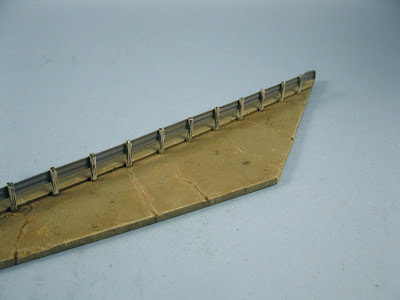
A crash barrier made of OO scale corrugated styrene sheet was then glued to the post. Small end pieces shaped with plain styrene were added per prototype. These little details generally do a big difference.


The crash barrier was painted with various acrylic paint. To get a weathered galvanized look, I don't mix gray using pure black, but Payne's grey which as a nice subtle bluish tint that match galvanized metal better.
Finally, several coats of thin oil pain washes were applied to weather the model. From prototype picture, it was evident the concrete had a warm brownish tone and the wash was perfect to replicate this color. On the concrete edge, very light colored vertical streaks are brushed on to create a rain pattern.
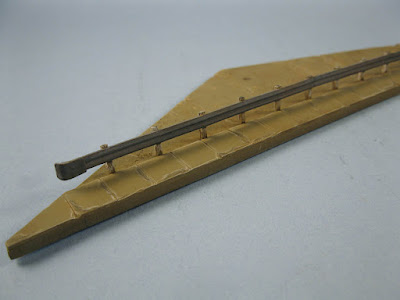
I can't wait to install that model on the layout. It will be a great achievement after all these years.
They look great!
ReplyDelete