
One of the main rail customer in Clermont used to be General Cable (ex-Reynolds) aluminium wire plant. Founded in the 1970s under the impetus of René Lévesque, the goal was to provide high paid manufacturing jobs in this rural area and prosper from the boom of hydroelectric dam construction in Quebec. The company struggled from the start to carve a spot in the market and was almost on life support until its closure in the 2010s. It was, first and foremost, a political project to industrialize Charlevoix that was far too optimistic. For this reason, shipment of cable reels by railway were common, but still sporadic. I do recall seeing frequent gondolas in the 1980s and early 1990s but rarely beyond that point even if gondolas spotted in Clermont yard near the plant later on did hint at some activity.

To replicate that traffic, I purchased a few Herpa plastic spools years ago. While not bad at all, they had the disadvantage to show "Herpa" on each side. Also, weathering plastic to look like wood it doable, but far to be that great when trying to model something that is built from rough lumber. For this reason, I thought about cutting some balsa wood to size and build my own loads. Balsa wood has the advantage and also disadvantage to be soft and easy to cut, which will help me to add some details without losing my mind. It's also easy to stain with alcohol and India ink which I always do before assembly.

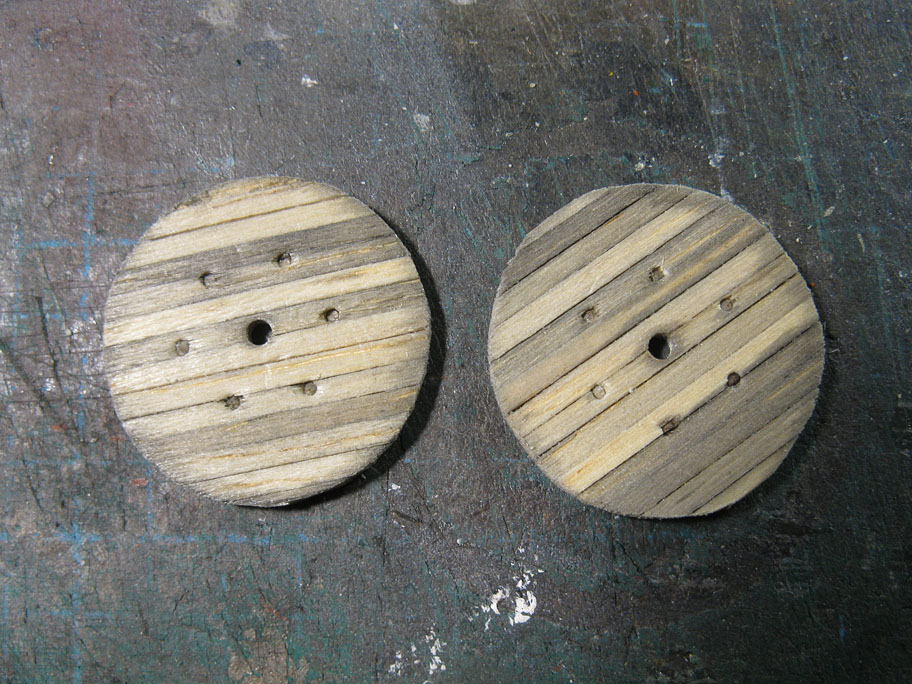
When the 2'' x 6'' scale strips were cut, I assembled them together by gluing together two perpendicular rows of planks just like the prototype. When dry, I draw the spool sides profile and cut them with a hobby blade. With a sanding stick, I was able to sand them down to an almost perfect circular shape.

Nut details and holes were punched out using various size of brass tubing which I files down until they had a cutting edge. That's were using balsa wood is handy before the brass tubing cut easily and neatly, leaving a perfectly clean edge.
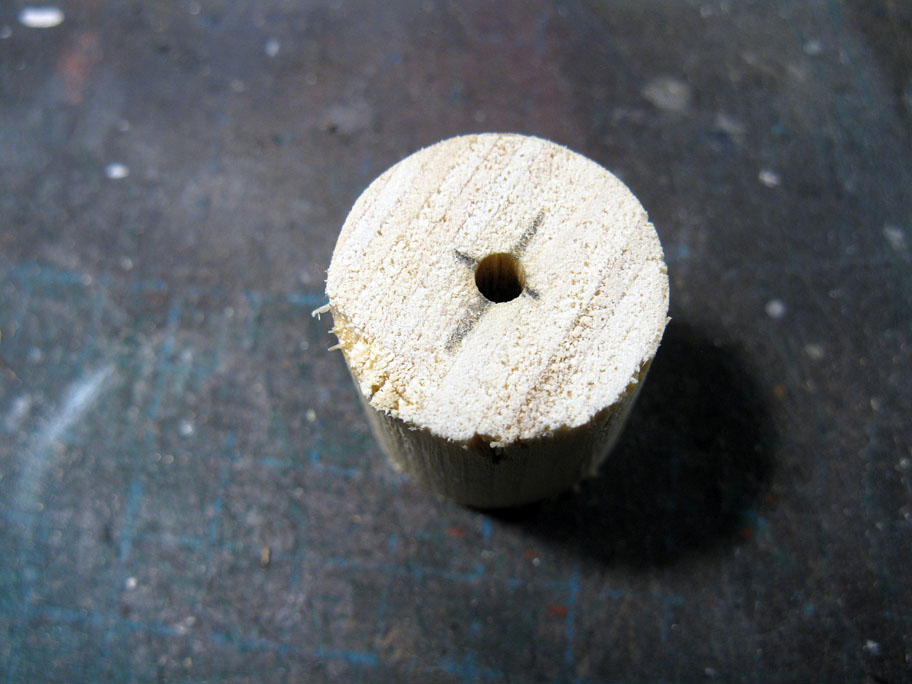
A piece of dowel cut to length was used to serve as the center part of the spool. I drilled a hole so I could insert metal cables to secure the spool to the cradle later.
Sides were carefully glued to the dowel and imperfections filled with putty.

Using thick sewing thread to replicate the electrical wire, I covered the entire dowel with it, applying here and there a few drop of glue to secure the thread. You don't need a lot of glue and it's not necessary to use more than a layer of thread. As long as the dowel is completely covered and the wire looks tidy and regularly winded, you're fine.

Using aluminium paint, the thread was painted until it got a satisfying appearance. Paint will also act like a glue, making sure the thread will never move again and sealing it.

The cradle was built using pine strips and following various pictures found online. Older cradle from the 1950s didn't always show metal straps securing the load to the cradle, but more modern one did so I elected to add them since they look good.

The cradle was built around the spools to get the dimensions right. The spools fit snuggly and wouldn't require glue. In fact, they are kept in place only by the metal straps which are made of sewing thread again. It makes for relatively sturdy loads that can be handled during operation without fearing to destroy them.

The cradles are also wide enough to only leave about 0.5mm free on each side of the gondola. This way, the loads can shift that much during train movement.
Looks like an excellent build project. jim.
ReplyDelete